How To Change Harley Grips – Easy Guide
To change your Harley grips, first turn off and cool your bike. Then, remove the old grips carefully using lubricant or compressed air to avoid damage.
Next, clean the handlebars thoroughly before sliding on your new grips. Use adhesive or lubricant to secure them in place. Make sure to align the grips properly for the best fit.
After that, test the throttle function to guarantee smooth operation and safety. Tighten any fasteners and verify that no slipping occurs. Also, check the handlebar movement to ensure everything feels right.
Using the right tools and techniques will help you get a flawless upgrade. With a little practice, you’ll master each step efficiently.
Identify the Right Harley Grips
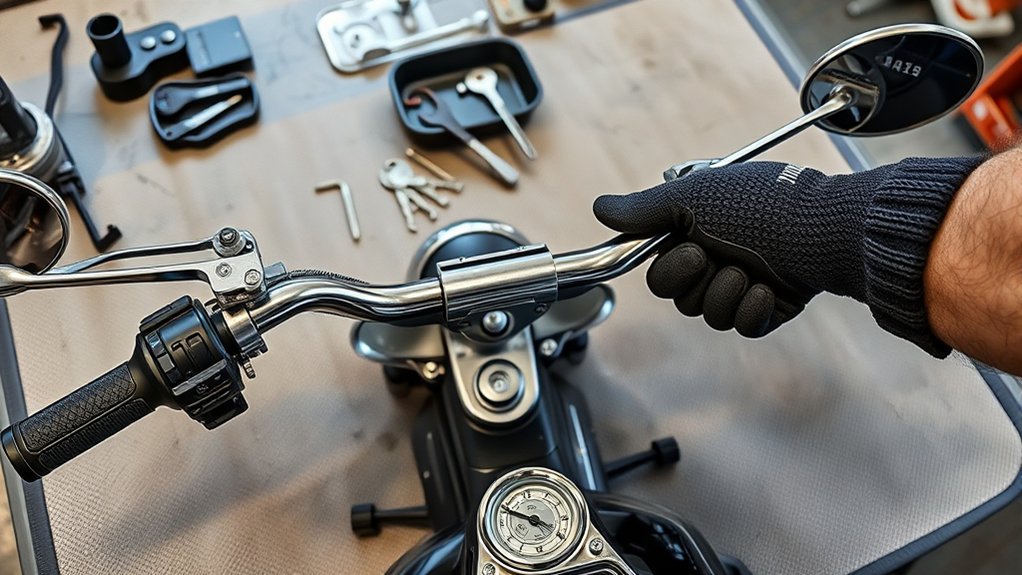
Before you buy new Harley grips, you need to identify the exact type your bike requires. Start by measuring the handlebar diameter, which is usually 1 inch or 1-1/8 inches, to guarantee a proper fit.
Identify your Harley’s handlebar diameter first—typically 1 inch or 1-1/8 inches—for the perfect grip fit.
Next, figure out if your Harley uses rubber grips or an integrated throttle tube system because this affects grip compatibility.
Check whether your stock grips are glued, screw-secured, or part of a complete throttle sleeve, as this influences how you’ll install the new grips.
Also, consider your bike’s era since older models might need specific grip types.
Make sure you know if you’re replacing just the rubber grips or the entire throttle assembly.
Finally, pick materials and textures that match your comfort preferences while still keeping a secure grip.
Properly identifying these factors will make the installation smoother and help you get the best grip performance.
Remove Old Harley Grips Without Damage
When removing old Harley grips, you’ll want to avoid damaging the handlebar or grip surface by using compressed air to carefully slide the grip off. Start by inserting the compressed air nozzle between the grip and handlebar to loosen adhesive and create a cushion of air.
For glued grips, apply a lubricant such as isopropyl alcohol or brake cleaner inside to further loosen adhesive. Avoid forceful pulling or twisting, especially around the plastic throttle, to prevent damage.
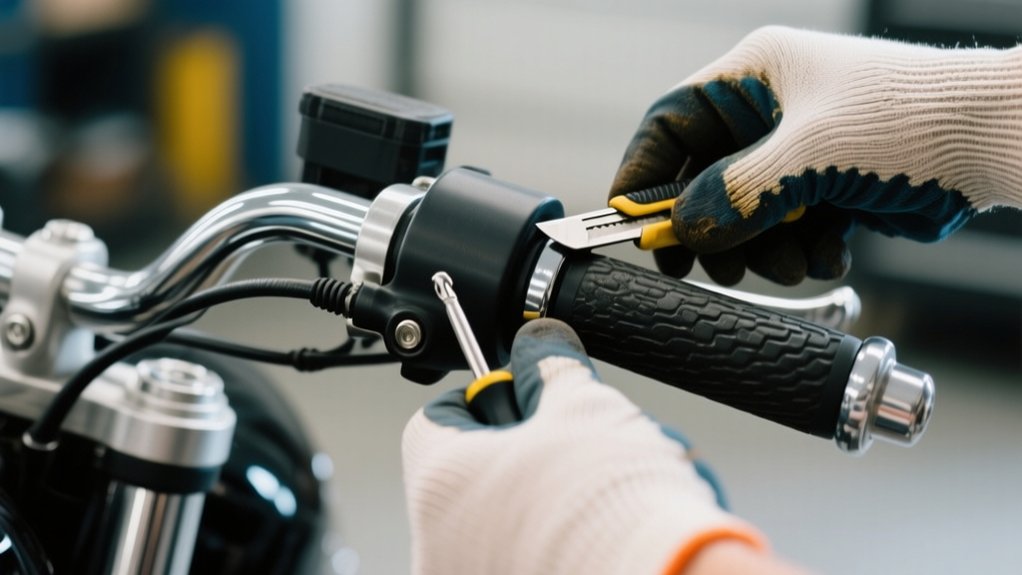
If grips remain stubborn, carefully cut along their length with a utility knife, taking care not to scratch the Harley-Davidson handlebar. Gradually work the grip loose, maintaining control throughout the grip removal process.
This precise technique guarantees safe removal of old handlebar grips without harming components. It’s all about patience and a gentle touch to keep everything intact.
Prepare Your Handlebars for New Grips
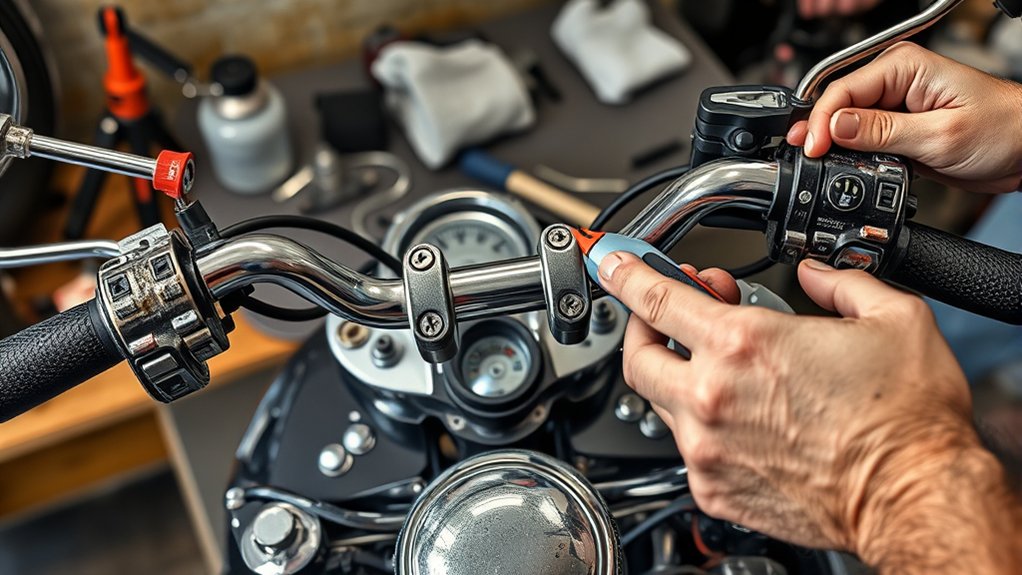
After carefully removing the old grips without damaging the handlebar, your next step is to prepare the handlebar surface for the new grips. Begin by thoroughly cleaning the handlebar surface to remove any dirt, grease, or adhesive residue. This helps guarantee maximum grip adhesion.
Next, measure the handlebar diameter to confirm compatibility with your new grips. Keep in mind that pre-1974 handlebars typically measure 1-1/8″, while post-1974 may be 1″ or 1-1/8″. When you’re preparing, check if the old grips were glued or slip-on.
If they were glued, you might need to loosen or replace the throttle sleeve. Also, make sure you’ve disconnected or moved aside any electronic or mechanical components like throttle cables or sensors. Proper preparation prevents installation issues and makes sure you get a secure fit.
Install Rubber, Gel, and Ride-By-Wire Grips
Although installing different types of Harley grips requires distinct techniques, understanding each method guarantees a secure and lasting fit. To install rubber grips, apply alcohol or lubricant inside the grip. Then, slide them onto the handlebar for a tight fit.
Gel grips need safety wire installation. You’ll have to drill a small hole to secure the wire without damaging the gel core.
Ride-by-wire grips bond to the throttle sleeve. So, you must replace the entire grip and throttle assembly. Carefully remove the existing grip and sensor unit to avoid harming electronics.
| Grip Type | Installation Tip |
|---|---|
| Rubber | Lubricate inside; slide onto handlebar |
| Gel | Use safety wire; drill small hole |
| Ride-by-Wire | Replace entire assembly; handle electronics carefully |
Secure Your Grips and Test Throttle Function
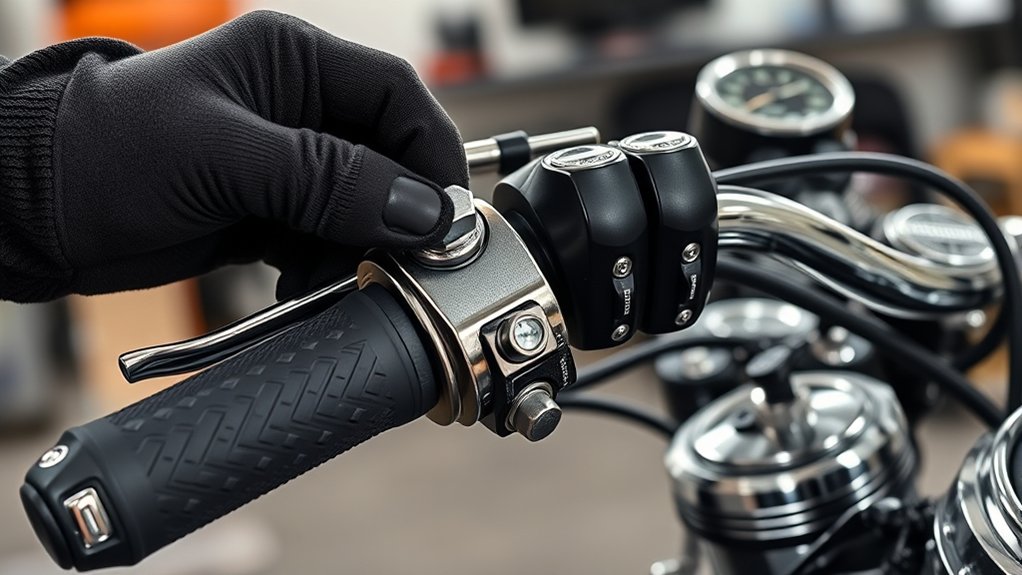
After you’ve installed your grips, make sure they’re seated firmly with no wobble or gaps. You want them to feel solid and secure.
Also, double-check that any safety wires or adhesive bonds are tight enough to keep the grips from slipping while you’re riding.
Once that’s all set, go ahead and test the throttle by twisting the grip. It should move smoothly and snap back fully to idle without any hesitation.
Grip Security Verification
Before hitting the road, you’ll want to verify that your grips are securely installed and the throttle functions smoothly.
After installing new motorcycle grips, gently wiggle the secure rubber to confirm there’s no sliding or rotation on the handlebar. Apply slight lateral pressure to check that the safety wire or adhesive firmly holds the grip in place.
Inspect for any gaps or a loose grip at the grip’s end, making sure it sits flush with the handlebar and throttle assembly.
Perform a safety check by testing the throttle movement. Confirm it operates smoothly and returns fully to idle without sticking or excessive resistance.
This grip security check helps prevent unexpected grip slippage. It ensures reliable throttle response and rider safety before you take off.
Taking a few minutes for this can save you a lot of trouble later.
Throttle Response Testing
Once you’ve confirmed the grips are firmly secured, proceed to test the throttle response by slowly twisting the throttle grip. On your Harley handlebar, observe the throttle cables’ movement to guarantee smooth operation without sticking or hesitation.
Check that the throttle return is swift and complete when you release the grip. This confirms proper tension and spring function.
Before testing, verify all electronic sensors and throttle cables are correctly connected, especially on ride-by-wire systems.
Perform this throttle response test in a controlled environment to detect any unusual resistance or delay.
Proper grip installation and securing methods, including the use of safety wire if applicable, are critical to prevent slipping during operation. This will assure safe, reliable throttle function after you install grips.
Safety Wire Inspection
Although securing the grips with safety wire might seem straightforward, ensuring the wire is properly tightened and positioned is crucial to prevent slippage during riding. During grip installation, perform a thorough safety wire inspection to confirm the wire forms a secure connection around the Harley grips without cutting into the material, preserving vibration dampening.
Use a torque wrench or a suitable tool to twist the wire tightly enough to maintain grip stability. After wiring, test the throttle function to verify smooth operation and full return without interference.
Periodically recheck the safety wire tension and inspect for wear or corrosion. Compromised wiring can impair grip security and throttle response. Taking the time to do this systematic inspection guarantees both rider safety and peak throttle function.
Troubleshooting Common Grip Installation Issues
If you encounter slipping grips or difficulty sliding them on, double-check that you’re using the correct size for both the handlebar and the specific side.
Start by properly removing old grips without damaging the grip or handlebar surface.
To install rubber grips smoothly, apply a proper lubricant like isopropyl alcohol inside the grip.
Avoid excess lubricant that can cause slippage once dry.
Inspect both the grip and handlebar for any damage or imperfections that could prevent full seating.
Confirm the grips installed are fully aligned and seated to maintain proper throttle function and rider safety.
Finally, secure the grips with safety wiring or adhesive as specified, allowing them to set completely to avoid loosening during rides.
Addressing these points prevents common grip installation issues efficiently.
Taking these steps will save you time and keep your ride safe.
Frequently asked questions
Can I Customize Harley Grips With Heated Elements?
Yes, you can customize Harley grips with heated elements. Just make sure the grips match your handlebar diameter and throttle setup.
You’ll need to embed the heating elements carefully to avoid damaging the core or electronics. Secure, insulated wiring is super important to prevent shorts and keep things reliable.
Connect the system properly to your bike’s electrical or auxiliary power source. With careful installation, you’ll enjoy adjustable warmth on cold rides without compromising how your grips function.
What Tools Do I Need Besides Grip Removal Tools?
You’ll need a utility knife or razor blade for cutting glued grips, needle-nose pliers to remove remnants or clips, and a small flat-head screwdriver to pry off stubborn grips or adjust parts.
An Allen wrench or socket set helps loosen handlebar clamps or control fasteners. Also, have a clean cloth and isopropyl alcohol ready to thoroughly clean the handlebar surface before installing new grips.
These tools guarantee a smooth, secure grip replacement. It really makes the whole process a lot easier and less frustrating.
How Often Should Harley Grips Be Replaced for Safety?
You should replace your Harley grips every 2 to 3 years for maximum safety, depending on how often and in what conditions you ride.
Inspect them regularly for wear, cracking, or hardening.
If you notice slipping, reduced traction, excessive vibration, or if grips become loose, torn, or slick, replace them immediately.
Keeping your grips in good condition guarantees better control, reduces hand fatigue, and prevents accidents caused by grip failure.
Are There Legal Restrictions on Grip Modifications?
Yes, you may face legal restrictions on grip modifications depending on your location. If your changes affect lighting, reflectors, or safety features like throttle control, they could violate local laws.
You should check with your DMV or transportation authority before altering grips to guarantee compliance.
Generally, modifications that don’t impact emissions, noise, or safety functions are less regulated.
Always prioritize safety and legal standards when modifying motorcycle grips. It’s better to be safe and informed than to risk penalties or unsafe riding conditions.
Can I Install Grips Myself or Hire a Professional?
Can you handle installing grips yourself? If you have basic tools and patience, you can definitely do it using lubricants like WD-40 or compressed air to slide them on smoothly.
But if your Harley has integrated throttle or electronic controls, hiring a professional is safer to avoid damage.
Always secure grips properly to prevent slipping. Review your bike’s manual or tutorials first.
Knowing your limits guarantees a reliable, safe installation.
Final Thought
Now that your new Harley grips are snug and secure, imagine the smooth feel beneath your fingers as you twist the throttle with confidence. With each ride, you’ll enjoy improved control and comfort, knowing your grips are installed right.
If you encounter any issues, just revisit the troubleshooting steps to fine-tune your setup. Changing your grips isn’t just maintenance, it’s upgrading your connection to the road, one precise step at a time.