How To Jump Start A Harley With A Car – Quick Tips
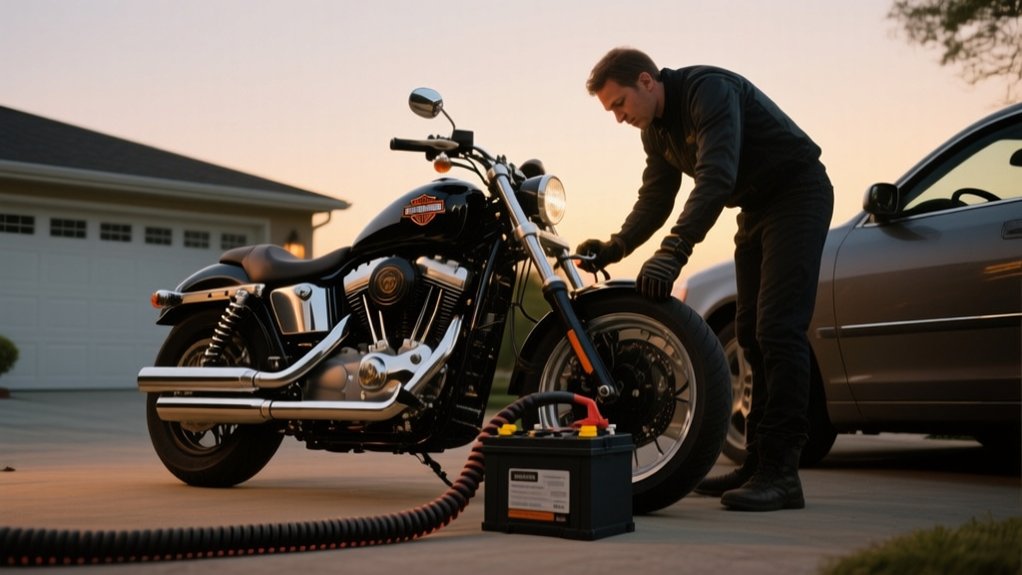
To jump start your Harley with a car, first confirm both batteries are 12V and undamaged. Turn off both vehicles and park close on a stable surface. Connect red clamps to positive terminals, then black to the car’s negative and a clean metal ground on the Harley.
Start the car engine for 3-5 minutes, then try starting your bike. Disconnect cables in reverse order once done. If it still won’t start, troubleshooting tips and safer portable options can help you next.
Check Battery Compatibility for Harley Jump Start
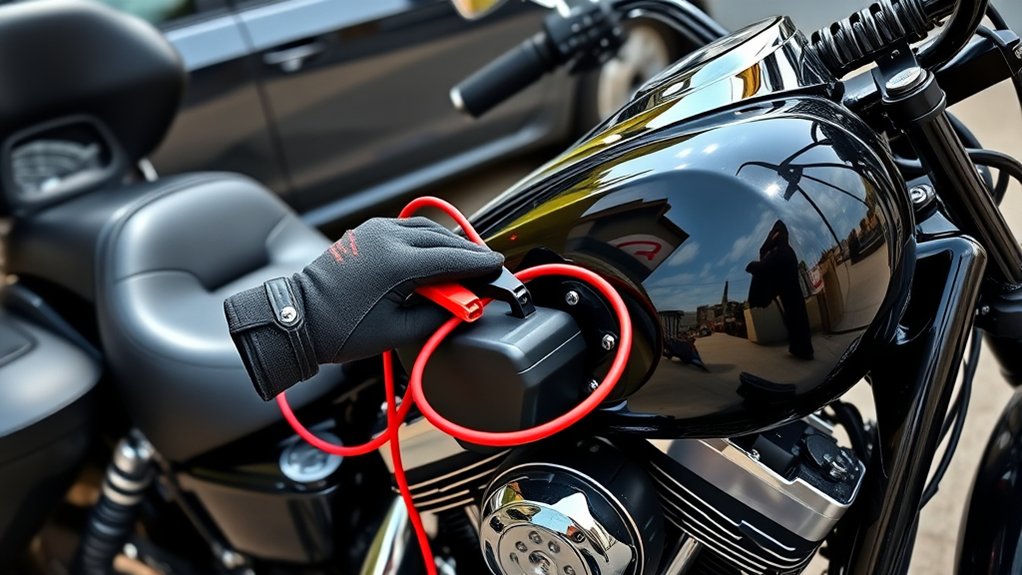
Before jump-starting your Harley with a car, make sure both vehicles have compatible 12V batteries. Confirm that your Harley’s battery is a 12V system to match the car’s voltage. Mismatched voltages can cause electrical damage, so this step is really important.
Inspect the Harley’s battery condition carefully. Avoid jump starting if it’s damaged or leaking. Also, check the battery capacity and verify that the car’s alternator and battery can safely supply the necessary current without overloading.
Always inspect the Harley’s battery and ensure the car’s system can safely handle the jump-start current.
Always consult the Harley’s owner manual for specific compatibility information and recommended jump-start procedures. Following these steps guarantees a safe, effective jump start.
This helps prevent harm to both the Harley’s electrical system and the car’s battery. Neglecting compatibility can lead to costly repairs or battery failure, so it’s definitely worth taking the time to double-check everything.
Prepare Your Harley and Car Safely Before Jumping
Before you connect the jumper cables, first check that your Harley’s battery voltage is 12V. Take a quick look at the terminals too—make sure there’s no corrosion or damage.
Next, park the car close enough so the cables can easily reach both batteries. You don’t want to stretch the cables or have them brushing against any hot engine parts.
Also, double-check that both vehicles are turned off. For the Harley, put it in neutral and switch the kill switch on.
This way, everything stays safe and ready to go.
Verify Battery Voltage
Although jump-starting a Harley can be straightforward, you must first verify that both the Harley’s and car’s batteries are 12V to avoid electrical damage. Use a multimeter to measure each battery’s voltage precisely. A healthy, fully charged 12V battery should read approximately 12.6V.
Make sure neither battery is damaged, leaking, or cracked before you proceed. Also, confirm the car’s engine is off to prevent voltage spikes during measurement. Verifying battery voltage ensures safe current flow and prevents harm to electrical components.
Never attempt a jump-start if either battery falls considerably below 12V or shows signs of deterioration. Proper verification protects both vehicles and guarantees that the jump-start process will be effective and secure.
Ensure Proper Vehicle Position
After confirming both batteries are healthy and at proper voltage, position your Harley and car carefully to guarantee safety and accessibility. Place both vehicles on a flat surface in a stable area to prevent movement during the jump start. Make certain the Harley is close enough to the car so the jumper cables can reach comfortably without stretching or tension.
Follow these steps to optimize vehicle position:
- Park the Harley with the kickstand up and clutch engaged; set the car in park or neutral with ignition off.
- Keep the batteries visible and unobstructed for straightforward cable connections.
- Maintain enough distance to prevent jumper cables from touching each other or metal parts, avoiding short circuits.
Proper vehicle position minimizes risk and ensures efficient cable attachment. Taking a little extra time now makes the whole jump start process smoother and safer.
Inspect Battery Terminals
How can you guarantee a reliable connection when jump starting your Harley? First, make certain both your motorcycle and car are completely turned off.
Inspect the battery terminals carefully for any signs of corrosion, looseness, or damage. Corrosion can block electrical flow, so clean the terminals thoroughly using a wire brush or terminal cleaner.
Next, tighten any loose connections to secure the terminals firmly to the battery posts. Also, examine the battery case for cracks, leaks, or swelling that could indicate a faulty battery.
Use a multimeter to verify the battery voltage; a fully charged Harley battery should read around 12.6 volts.
Connect Jumper Cables Correctly to Both Batteries
Start by attaching the red clamps to the positive terminals of both batteries. Make sure the connection is secure and clean.
Then, take one black clamp and connect it to the negative terminal of the car battery.
For the other black clamp, connect it to an unpainted metal surface on the motorcycle, away from its battery.
This proper grounding helps minimize the risk of sparks and ensures a safe flow of current.
Positive Terminal Connections
When connecting the jumper cables, you’ll want to attach the red (positive) cable to the positive terminal of both the car and motorcycle batteries first. This step is vital to guarantee proper connection and avoid damage.
Before attaching, inspect the battery terminals to confirm they’re clean, free of corrosion, and clearly marked with a “+” sign.
Use the jumper cable clamps carefully to prevent them from touching each other or any metal parts, which can cause sparks or short circuits.
Always double-check you’re connecting the red cable to the correct terminal.
Follow these key points:
- Connect red cable to positive terminal on both batteries.
- Guarantee terminals are clean and clearly marked.
- Prevent clamps from touching metal or each other during connection.
Proper Negative Grounding
Once you’ve secured the positive terminals, focus on connecting the negative cable correctly to guarantee a safe and effective jump start. Always attach the negative (black) cable first to the car’s negative terminal, then to a clean, unpainted metal surface on the Harley’s frame or engine block.
This proper grounding avoids sparks near the battery and reduces explosion risk. Never connect the negative cable directly to the motorcycle’s negative terminal. Make sure both vehicles are off before making connections to prevent electrical shorts.
Double-check all connections to confirm they’re secure and avoid contact with moving parts.
| Vehicle | Negative Connection Point | Reason |
|---|---|---|
| Car | Negative terminal | Safe spark prevention |
| Harley | Metal surface/frame | Proper ground, no explosion |
| Both | Off during connections | Avoid shorts and sparks |
Start the Car and Charge Your Harley’s Battery
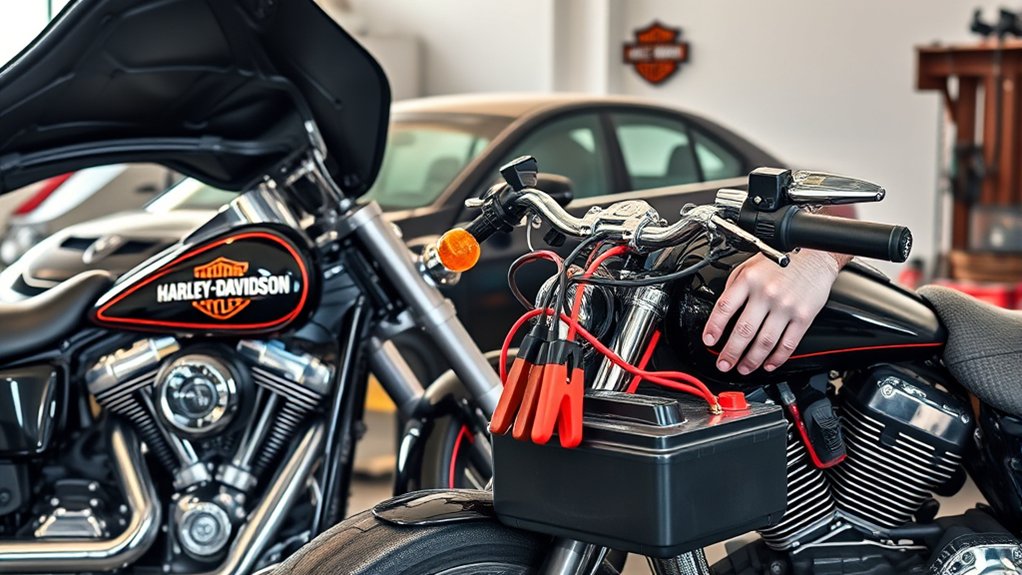
How do you effectively charge your Harley’s battery using a car? First, make sure both the Harley motorcycle and car battery are 12V. After you’ve connected the jump start cables properly, here’s what to do next.
Start the car engine and let it idle for 3 to 5 minutes. This gives the car battery time to charge the Harley’s battery.
While it’s charging, keep an eye on the cable connections to make sure they stay secure and there are no sparks.
Try not to rev the car engine too much. A steady idle is best because it provides a stable charge to your Harley.
This controlled charging helps the Harley battery regain enough power to start the bike.
Once you’ve given it enough charge, you can go ahead and start your bike with confidence.
Attempt to Start Your Harley After Charging
Although you’ve charged your Harley’s battery using the car, wait 1 to 2 minutes to let the voltage stabilize before attempting to start. Confirm the motorcycle is in neutral, the kill switch is set to “Run,” and the ignition is on.
Press the starter button gently; avoid continuous cranking to prevent electrical damage. If the engine doesn’t start, wait 30 seconds before trying again. Once it starts, keep the engine running or ride for 15-20 minutes to recharge the battery fully.
| Step | Action | Note |
|---|---|---|
| 1 | Wait 1-2 minutes | Voltage stabilizes |
| 2 | Attempt to start Harley | Kill switch “Run”, neutral gear |
| 3 | If no start, wait 30 secs | Avoid overheating starter |
Safely Disconnect Jumper Cables Without Sparks
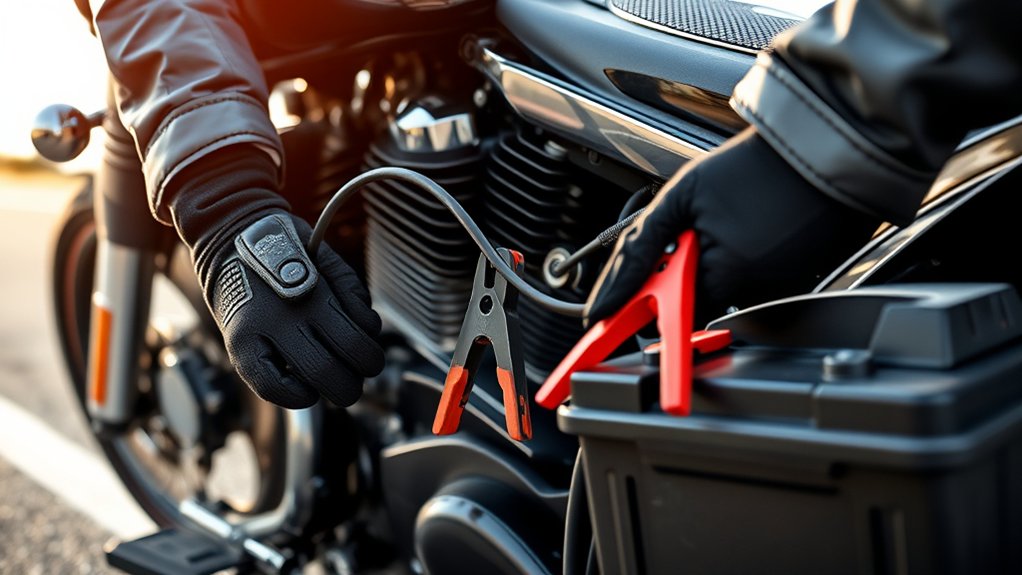
You’ll want to disconnect the jumper cables in the exact reverse order of how you connected them. Start with the black clamp on the motorcycle.
Make sure none of the clamps touch each other or any metal surface while you’re removing them—that can cause sparks.
And don’t forget, always double-check that both engines are off before you begin disconnecting. It’s the safest way to do it!
Reverse Connection Order
When disconnecting jumper cables, follow the reverse order of connection to prevent sparks and electrical shorts.
Start by removing the negative clamp (black cable) from the motorcycle’s grounded metal part. This step is crucial to avoid sparks.
Next, carefully disconnect the other end of the black cable from the donor vehicle.
Finally, remove the positive clamps, beginning with the motorcycle’s battery terminal and then the car’s battery.
Always make sure the clamps don’t touch each other during removal.
Follow this precise sequence:
- Remove the black clamp from the motorcycle’s grounded metal.
- Disconnect the black clamp from the car battery.
- Remove the red clamps from the motorcycle and then the car battery.
This reverse order guarantees safe disconnection without electrical shorts or sparks.
It’s a simple step, but it really helps keep things safe.
Prevent Clamp Contact
Following the correct sequence for removing jumper cables is key. But preventing the clamps from touching each other or any metal surfaces during disconnection plays an equally important role in avoiding sparks.
Always disconnect the negative ground clamp on the motorcycle first to minimize spark risk.
As you remove each clamp, hold it firmly and keep it clear of other clamps and metal surfaces. Sparks often occur when clamps accidentally contact each other or conductive parts.
So, maintaining proper insulation is critical.
Using insulated gloves or tools further reduces the chance of accidental contact and electrical surges.
Ensure Engine Off
Before disconnecting jumper cables, make sure both the motorcycle and car engines are completely off. This helps prevent electrical sparks. Confirm the motorcycle’s engine and ignition are fully shut down before you proceed.
Properly managing the engine off state is really important for safety when disconnecting jumper cables from the battery.
Follow these steps to disconnect safely:
- Remove the negative (black) clamp from the motorcycle battery first to minimize spark risk.
- Then disconnect the positive (red) clamp, keeping clamps clear of each other and metal surfaces.
- Make sure the jumper cables’ clamps never touch during disconnection to avoid short circuits.
Troubleshoot If Your Harley Won’t Start After Jumping
If your Harley won’t start after jump-starting, first double-check that you connected the jumper cables with the correct polarity to prevent electrical damage.
Next, verify the battery’s charge level. If it’s dead or severely drained, the engine won’t turn over despite the jump.
Check the battery’s charge—if it’s dead or low, the engine won’t start even after a jump.
Inspect all electrical connections for corrosion or looseness that could disrupt current flow.
Check the fuses carefully because a blown fuse can interrupt power to essential systems.
Confirm the ignition switch is on and the kill switch is set to “Run.”
If these steps don’t resolve the issue, the starter motor or ignition system may be faulty.
In that case, professional diagnosis is necessary to pinpoint the problem and avoid further damage.
Why Choose a Portable Jump Starter Instead of a Car
Although jump-starting your Harley with a car battery is common, using a portable jump starter designed specifically for motorcycles offers some clear advantages. A portable jump starter guarantees the correct voltage and current for your motorcycle battery. This helps prevent damage caused by voltage mismatch or overcurrent.
It also enhances safety by including features like reverse polarity protection and spark prevention. Plus, you avoid the hassle and risks of having to position a car close to your bike.
Key benefits include:
- Precise voltage control tailored to the motorcycle’s electrical system.
- Built-in safety features that minimize electrical system damage.
- Portability and readiness for emergency use without needing external power sources.
Choosing a portable jump starter protects your Harley’s electrical system and gives you efficient, safe starting support whenever you need it.
Bump Start Your Harley Without Using a Car Battery
When you don’t have access to a car battery, you can still start your Harley by bump starting it. Begin by shifting the bike into second gear, making sure the kill switch is on and the clutch is fully pulled in.
Position yourself on a slight downhill or incline to leverage gravity.
Push the bike to build momentum, reaching about 5-10 mph. Once you’re at speed, quickly release the clutch to engage the engine using the bike’s momentum.
Keep the throttle steady and be ready to pull the clutch back right away once the engine starts so it doesn’t stall.
After the engine fires up, gently accelerate and ride for 15-20 minutes. This will recharge the battery and give the alternator time to work properly.
This method is a simple way to bump start your Harley without needing external power.
Maintain Your Harley’s Battery to Prevent Future Issues
Properly maintaining your Harley’s battery guarantees reliable starts and extends its lifespan. Consistent battery maintenance prevents corrosion and ensures your electrical system functions at its best. Focus on these key steps to avoid future issues:
First, regularly clean battery terminals to prevent corrosion and keep a solid connection. Using a battery charger or tender during off-seasons helps keep your battery charged and maximizes its lifespan.
Also, perform a voltage check with a multimeter; a healthy battery should read about 12.6V.
Keep an eye out for swelling, leaks, or persistent discharge. If you notice any of these, address them right away. Don’t forget to fix any electrical system faults like faulty alternators promptly.
Following these simple habits keeps your Harley’s battery in peak condition and helps reduce unexpected failures. It’s all about staying on top of maintenance to enjoy smooth rides without battery troubles.
Frequently asked questions
Can I Use a Car Battery With Different Voltage for My Harley?
No, you shouldn’t use a car battery with a different voltage for your Harley. Harleys typically require a 12V battery, so connecting a 6V or 24V battery can cause serious electrical damage or battery failure.
Always make sure both batteries match at 12V to avoid harming your motorcycle’s electronics. Using mismatched voltages risks overvoltage or insufficient power.
This can reduce battery life and damage components.
How Long Should I Wait Before Trying to Jump-Start Again?
You should wait at least 1 to 2 minutes after your first jump-start attempt to let the battery regain some charge.
If the bike doesn’t start, wait 5 to 10 minutes before trying again.
Avoid repeated attempts within a short time to prevent overheating or electrical damage.
After multiple failures, allow the system to rest for 15 minutes.
Use a multimeter to check voltage.
If it’s below 12.4V, that suggests you need to recharge or replace the battery.
Is It Safe to Jump-Start My Harley in Cold Weather?
Jump-starting your Harley in cold weather is risky but possible if you take precautions. You should warm the battery and engine first to avoid electrical stress and potential damage. Use a battery warmer or move the bike indoors to raise the temperature.
Always check the battery voltage and health before attempting a jump-start, as cold can mask underlying issues. Proceed carefully to protect your motorcycle’s electrical system.
It’s better to be safe than sorry when dealing with cold weather and your Harley.
Can Jump-Starting Damage My Harley’s Electrical System?
Yes, jump-starting can damage your Harley’s electrical system if you’re not careful. Voltage spikes or incorrect polarity can harm the ECU, lights, and other sensitive electronics.
To avoid this, always use 12V power, connect cables properly, and ground correctly.
Repeated or improper jump-starts increase the risk.
Whenever possible, use a dedicated motorcycle jump starter to safeguard your bike’s electrical components and guarantee safe power delivery.
What Tools Do I Need Besides Jumper Cables?
You’ll need insulated gloves and safety glasses to shield yourself from sparks or acid splashes. No one wants a burning sting while working on a battery.
A multimeter helps you verify voltage before and after jump-starting, which can prevent electrical damage.
Have basic hand tools like screwdrivers or wrenches ready to access the battery compartment.
Finally, make sure your power source, like a fully charged car battery or portable jump starter, is reliable. That way, you avoid incomplete starts.
Final Thought
Jump-starting your Harley with a car is quick and effective when you follow proper safety and connection steps. Remember, over 30% of motorcycle breakdowns stem from battery issues, which shows how important good battery care really is.
If your Harley won’t start, troubleshoot carefully or think about using a portable jump starter for convenience. Regular maintenance will keep you riding smoothly and help prevent future battery failures.
That way, your Harley stays ready for the road whenever you are.