

How To Set Up Cones For Motorcycle Training – Easy Guide
To set up cones for motorcycle training, start by choosing a safe, spacious, low-traffic area with a flat surface. Use lightweight, durable cones spaced consistently, typically 8 to 12 feet apart, to create patterns like straight lines, weaves, or figure 8s. These patterns help improve your low-speed control.
Mark cone spots with chalk for precision and arrange them to mimic real riding scenarios. Practicing regularly with a proper setup builds your confidence and skills. Keep exploring to discover effective drills and advanced layouts.
Find a Safe, Low-Traffic Location for Cone Practice

Where should you practice setting up cones for motorcycle training? You should choose a safe location, ideally a large, empty parking lot with low traffic. Look for places like an abandoned shopping mall or a rarely used lot to avoid vehicle and pedestrian interference. This way, you can focus on your drills without distractions.
Make sure the surface is flat and even to maintain bike stability during low-speed maneuvers. Avoid busy or public areas to reduce hazards and distractions. Confirm the space is large enough to place cones at proper distances with no obstacles in the way.
Gather Essential Gear for Motorcycle Cone Drills
You’ll want to get small, lightweight orange cones that won’t damage your bike if you accidentally run over them. Plus, they should be easy to carry around.
Don’t forget a measuring tape—it’s super handy for spacing the cones out accurately at the standard distances.
And sidewalk chalk? Perfect for marking your setup area clearly.
To keep all your gear neat and tidy, grab a compact storage bag that fits easily in your backpack or saddlebag.
Essential Practice Equipment
Although setting up motorcycle cone drills might seem straightforward, having the right equipment makes all the difference in effective practice. To guarantee your practice setup is both efficient and consistent, focus on these essential items:
- Traffic cones: Use small, low-profile orange cones, around 8 inches tall, that resist damage if you run over them.
- Measuring tape: Accurate cone spacing is vital. Measure distances like 8 or 12 feet between cones to match your skill level or test standards.
- Marking tools: Optional sidewalk chalk or markers help you note cone positions, keeping your setup precise and repeatable.
Getting these basics right can really boost your practice sessions.
Plus, once you have everything set up properly, you’ll find it easier to track your progress and improve consistently.
Portable Cone Options
How can you make your motorcycle cone drills more convenient and efficient? Start by choosing portable cones designed for easy transport and quick setup. Opt for small, lightweight cones that fit into your backpack or saddlebag without hassle.
Orange, low-profile traffic cones work best. They’re durable enough to withstand being driven over without damage. For even easier handling, consider portable, collapsible cones or foam alternatives that store flat and pop up when needed.
Arrange your cones in varied patterns, like straight lines or staggered setups, to target different skills. With portable cones, you can quickly adapt your training space wherever you go, saving time and effort during setup.
This approach keeps your drills consistent, effective, and hassle-free every session.
Measuring Tools Needed
When setting up cones for motorcycle training, precise measurements guarantee your drills meet official standards and improve your skills effectively. To ensure accuracy, you’ll need the right measuring tools.
Start with a reliable measuring tape to space cones correctly, like 12 feet for MSF or 8 feet for Michigan drills.
Use a ruler or marked stick to confirm exact distances when aligning cones in straight lines or patterns.
Finally, employ a level or chalk line to keep cones perfectly aligned across the setup area. These tools help maintain consistency and safety throughout your training.
Remember, a pencil or marker can assist in marking spots, but the core gear for precision includes:
- Measuring tape
- Ruler
- Level
Gather these, and you’re ready to set up cones accurately.
Learn Basic Cone Setup and Spacing Guidelines
Since precise cone placement is essential for effective motorcycle training, you should follow specific spacing guidelines based on your testing requirements. For example, the MSF skills test calls for cone spacing of about 12 feet, while Michigan MOST uses roughly 8 feet.
Choose low-profile, durable cones, like 8-disc cones from Walmart, that can handle being ridden over. Arrange cones in straight lines or patterns that mimic real riding scenarios to sharpen your maneuvering skills.
Maintaining consistent spacing and proper layout guarantees your training setup supports effective practice of weaving, figure eights, and other drills. Visual diagrams from trusted sources like IdahoStar.org can guide your cone layout.
Set Up a Beginner’s Cone Weave Drill
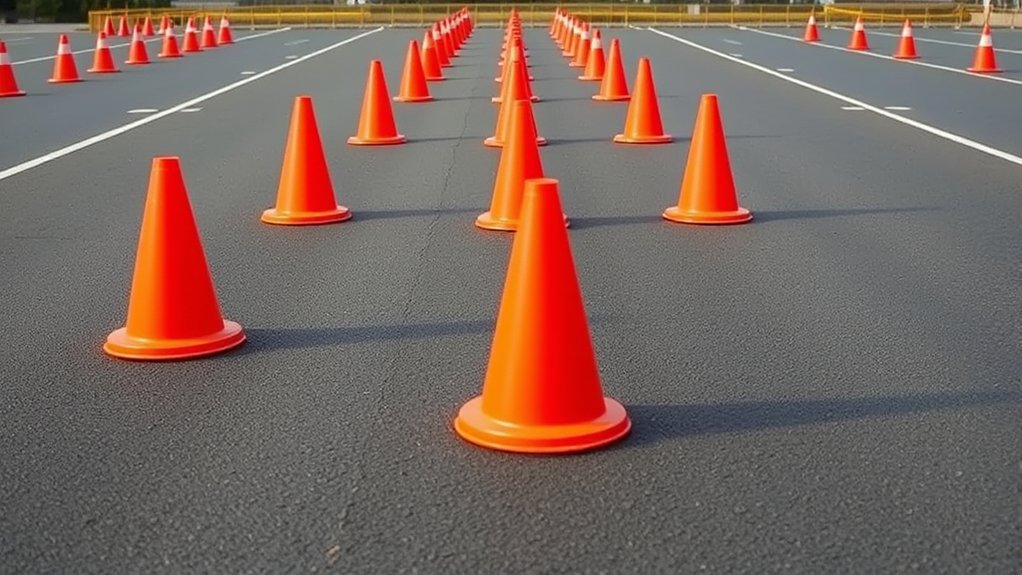
Although setting up a beginner’s cone weave drill might seem straightforward, paying close attention to cone placement is key to effective practice. Start by choosing a flat parking lot area for ample space and safety.
Setting up a beginner’s cone weave requires careful cone placement and a safe, flat area for practice.
Then, follow these steps to guarantee your cone weave setup builds solid riding skills:
- Place four low-profile, durable cones in a straight line, spacing each about 12 feet apart. Use sidewalk chalk or tape to mark the line for accuracy.
- Make sure cones are evenly aligned to encourage smooth weaving.
- Practice weaving slowly between cones, focusing on clutch and throttle control to maintain balance.
This setup hones your maneuvering precision. As you improve, you can adjust spacing or speed for a greater challenge. It’s all about building your confidence and control step by step.
Arrange an Advanced Cone Weave for More Challenge
Building on the basic cone weave, you can raise the difficulty by arranging cones in a staggered pattern with about 12 feet between each. Use low-profile cones on a flat surface to prevent tipping during tight turns.
Increase the number of cones to eight or more, and try an L-shape or zigzag cone arrangement to mimic real-world scenarios. Gradually decrease spacing from 12 to 8 feet to sharpen your precision and control.
| Skill Level | Cone Spacing (ft) | Cone Quantity |
|---|---|---|
| Beginner | 15 | 5 |
| Intermediate | 12 | 8 |
| Advanced | 8 | 10+ |
This advanced cone weave drill intensifies your motorcycle training. It improves your agility and builds confidence.
Create a Figure 8 Course for Low-Speed Control
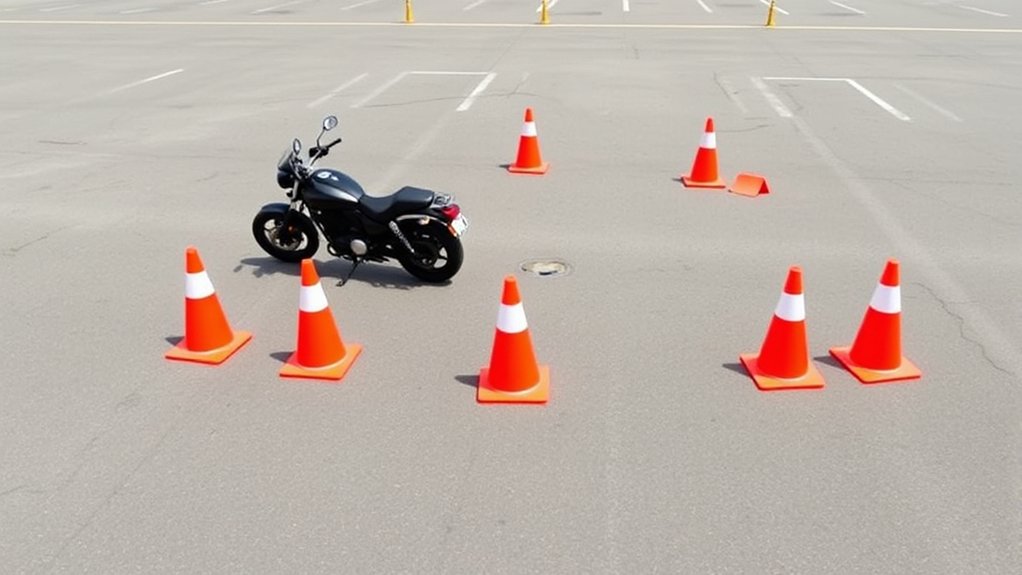
How can you sharpen your low-speed control and turning precision effectively? Setting up a figure 8 course in a flat parking lot is a proven method.
Start by arranging four cones or marking four parking spaces in a square, spaced 10-15 feet apart. This layout helps you practice smooth transitions and tight turns.
Follow these steps:
- Mark start and end points for each loop using visual cues or chalk lines.
- Practice turning past 180 degrees within the course to move seamlessly between loops.
- Gradually increase the spacing between cones as your confidence and control improve.
This setup challenges your motorcycle handling at low speeds. It helps you build precision and confidence in a controlled environment.
Give it a try, and you’ll notice improvement in no time!
Master Your Skills With Regular Cone Drill Practice
When you practice cone drills regularly, you sharpen your low-speed maneuvering and control, making each ride safer and more confident. Consistent repetition of exercises like figure eights and cone weaves builds your muscle memory and boosts confidence.
Adjust cone spacing between 8 to 12 feet to challenge your adaptability across different scenarios.
Gradually increase the complexity by varying cone arrangements to enhance your planning and bike handling skills. Schedule frequent sessions in safe, low-traffic areas to guarantee steady progress while reinforcing safe riding habits.
Regular cone drills are essential in motorcycle training to develop precise control and quick decision-making during low-speed maneuvers.
Commit to this routine, and you’ll notice improved stability and confidence every time you hit the road. It really makes a difference when you stay consistent with your practice.
Frequently asked questions
What Type of Cones Are Best for Motorcycle Training?
You’ll want to choose low-profile plastic or rubber cones for motorcycle training because they minimize damage if you run over them.
Opt for orange cones about 8-12 inches in diameter since they’re highly visible and durable.
Pick cones with flat or weighted bases to keep them stable, especially in windy conditions.
Flexible PVC or foam cones offer extra safety by reducing injury risk and bike damage during sharp maneuvers.
These materials are great if you want to practice confidently without worrying too much about knocking cones over.
Plus, they’re easy to spot and handle.
How Do Weather Conditions Affect Cone Setup and Practice?
Imagine setting up cones like a knight arranging his chessboard before battle. You’ll need to adjust cone placement in wet or windy weather since slippery surfaces and shifting cones affect stability.
Cold stiffens tires, so space cones wider for safer turns.
In hot sun, watch for glare on cones, which can throw off your spacing. Always double-check your layout and adapt to conditions to keep your training effective and safe.
Can I Use Cones for Off-Road Motorcycle Training Drills?
Yes, you can definitely use cones for off-road motorcycle training drills. They help you practice balance, steering, and obstacle avoidance on uneven terrain.
Choose lightweight, durable cones that you can easily move around.
Try arranging them to mimic trail features like tight turns and switchbacks. This kind of setup challenges your control and decision-making and really improves your off-road skills.
Just make sure to adjust the spacing and placement to suit the terrain and your training goals.
How Do I Maintain Cones for Long-Term Use?
Did you know that over 60% of training cones degrade prematurely due to improper care?
To keep your cones lasting long-term, store them in a cool, dry place away from UV rays and dirt.
Make sure to clean them regularly with mild soap and water.
Also, check for cracks or fading and replace any damaged cones.
Try not to stack cones too high because it can cause warping.
Following these simple steps will keep your cones safe and highly visible for every session.
Are There Safety Precautions When Practicing Cone Drills Alone?
Yes, you should always take safety precautions when practicing cone drills alone. Choose a low-traffic, enclosed area like an empty parking lot. Wear full protective gear, including your helmet and gloves.
Mark your practice zone with cones and caution tape to alert others. Check your motorcycle thoroughly before starting.
Stay within your skill level and increase difficulty gradually to avoid accidents.
These steps help keep your practice safe and effective. Taking it slow and being prepared makes a big difference, so you can focus on improving without any worries.
Final Thought
So, there you have it. Your personal cone kingdom awaits. Set up your plastic minions just right, and soon you’ll be weaving through them like a pro, not a confused tourist.
Skip this, and you might as well be practicing your “how to tip over gracefully” routine. Remember, these humble cones hold the key to your motorcycle mastery.
Treat them well, practice often, and soon you’ll be carving corners with confidence, not chaos.