
What Is Motorcycle Maintenance – What to Know
Motorcycle maintenance keeps your bike safe, reliable, and efficient by focusing on routine servicing and timely mechanical checks. You’ll regularly change oil, inspect brakes, monitor tire pressure, clean and lube the chain, and check battery health.
Proper brake and suspension care also prevents failures. Carry essential tools for roadside repairs, but seek professional help for complex tasks like electrical diagnostics or suspension overhauls.
Understanding these basics guarantees smoother rides and lower costs. Explore further to master key maintenance skills.
Understanding Motorcycle Maintenance: Why It Keeps You Safe and Saves Money
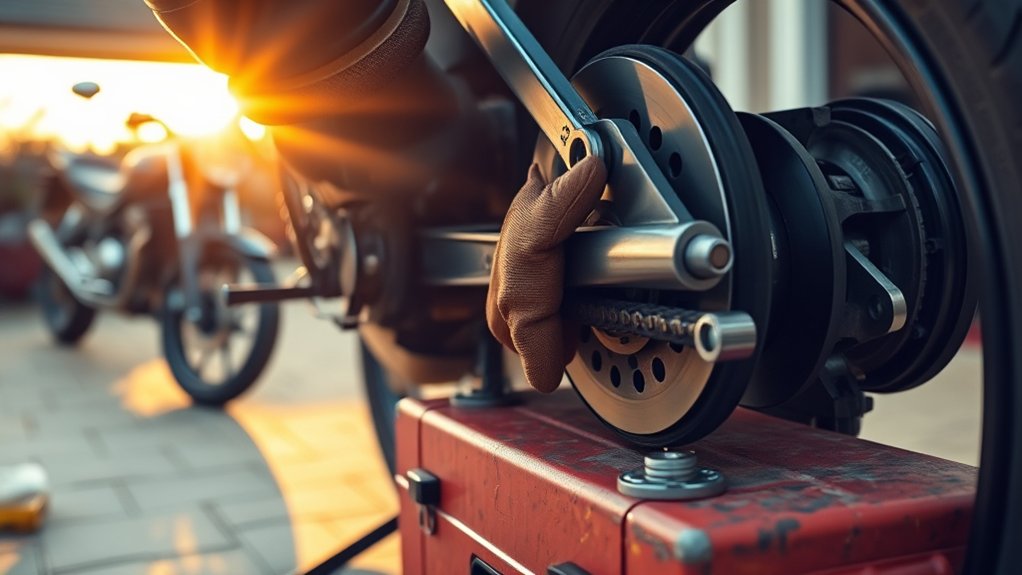
Regularly maintaining your motorcycle is essential for both safety and cost efficiency.
Routine motorcycle maintenance ensures safety and saves money in the long run.
Motorcycle maintenance involves routine tasks like changing engine oil and replacing the oil filter every 1,000–3,000 miles. This reduces engine wear and prevents overheating.
You should check tyre pressure before every ride to make certain of prime handling, fuel economy, and tyre longevity. Inspecting and servicing the brake system is critical. Monitor brake pad wear, fluid levels, and rotor condition to preserve stopping power and avoid safety-critical failures.
Furthermore, keeping the chain clean, lubricated, and properly tensioned prevents premature wear and guarantees efficient power delivery.
Consistent maintenance not only protects your investment but also keeps you safe on the road by preventing mechanical failures that could lead to accidents.
How to Keep Your Bike Clean and Protected Year-Round
Protect your motorcycle from corrosion and wear by washing it thoroughly after rides, especially following summer trips or exposure to wet and salty winter roads.
Use a mild, motorcycle-specific detergent and soft brushes to wash your bike without damaging paint or components.
After cleaning, apply a corrosion inhibitor or motorcycle wax to painted and chrome surfaces to block moisture and salt.
Follow these key steps:
- Wash your bike immediately after exposure to contaminants, focusing on brake components and metal parts.
- Apply corrosion inhibitor to all exposed metal to prevent rust, especially before winter storage.
- Store your bike indoors or cover it to minimise moisture exposure and accelerate drying after washes.
These steps guarantee your bike remains protected year-round and maintains peak condition.
Routine Servicing Tasks Every Rider Should Do
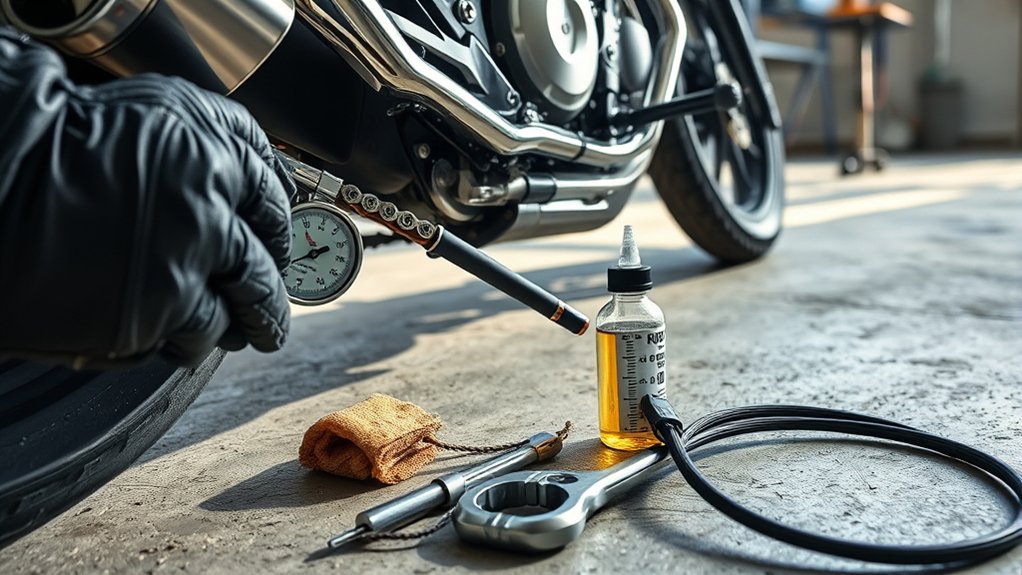
You should change your engine oil and replace the oil filter every 1,000 to 3,000 miles. This helps keep your engine properly lubricated and prevents unnecessary wear.
It’s a simple step that goes a long way in maintaining your bike’s performance.
Also, don’t forget to regularly check and replace the brake fluid based on what your manufacturer recommends. Doing this ensures your brakes stay effective and responsive when you need them most.
And one more thing—make sure to keep your battery terminals clean. Charging the battery during storage is important, too.
If your battery is more than four years old, it’s a good idea to replace it to avoid any starting problems down the road.
Essential Fluid Replacements
Keeping your motorcycle’s fluids in check means staying ahead of wear and mechanical failure. Prioritize these essential fluid replacements to maintain peak performance:
- Change engine oil every 1,000–3,000 miles per your owner’s manual. Always replace the oil filter to guarantee proper lubrication and extend engine life.
- Replace brake fluid every 1–2 years using the specified DOT rating to prevent moisture buildup and brake fade. This is critical for safe stopping power.
- Regularly check and top up coolant. Perform a full flush per the manual’s interval (usually every 2 years) to avoid overheating and corrosion in liquid-cooled engines.
Battery Care Basics
Regularly inspecting and maintaining your motorcycle’s battery guarantees reliable starts and prevents unexpected breakdowns.
Each month, check the battery for corrosion on terminals. Clean any buildup with a 50:50 baking soda and water paste, then apply a thin layer of dielectric grease to prevent re-corrosion.
When storing your bike, maintain charge using a smart or USB trickle charger delivering about 13.2–13.8V. Charge every 4–8 weeks if disconnected.
Before rides, quickly test voltage with a voltmeter. It should read 12.6V or more fully charged and 13.5V or more with the engine running. Replace batteries older than four years or with resting voltage below about 12.4V.
When removing for storage, disconnect the negative terminal first. Store the battery in a cool, dry place, topping up fluid levels for non-sealed types per manufacturer instructions.
How to Maintain Motorcycle Brakes, Discs, and Calipers for Safety
You should clean your calipers and pistons regularly using brake cleaner and a soft brush to get rid of any debris and keep everything moving smoothly.
It’s a good idea to inspect your brake pads often, too. If the lining thickness drops below 2–3 mm, it’s time to replace them to make sure your bike stops effectively.
Don’t forget to check your disc rotors as well. Look out for any warping or if they’re getting too thin. If they fall below the manufacturer’s recommended thickness, you’ll want to replace them to keep your braking performance safe and reliable.
Brake Component Cleaning
Although brake components often go unnoticed, cleaning them thoroughly after long storage or winter is essential. This helps maintain reliable stopping power and prevents corrosion.
First, clean brake calipers and pistons using brake cleaner and a soft brush. This removes salt, grime, and brake dust that can cause sticking.
Second, inspect brake pads for wear. Replace them when thickness nears the manufacturer’s minimum to avoid rotor damage and keep performance up.
Third, remove surface contaminants from discs with dedicated disc-cleaning solvent or isopropyl alcohol using a lint-free cloth. Avoid greasy detergents because they reduce friction and cause judder.
Always have basic tools ready, like Allen keys and a calibrated torque wrench, to refit calipers correctly and ensure safety. This precise cleaning routine preserves brake function and extends component life.
Pad and Disc Maintenance
Maintaining your motorcycle’s pads, discs, and calipers guarantees peak braking performance and safety. Inspect brake pads every 500 to 1,000 miles or monthly if you ride frequently. Replace them when lining thickness hits 2 to 3 mm.
Check discs for scoring, runout, and minimum thickness. Replace any that fail specs. Clean calipers after heavy use, lubricate slider pins, and torque bolts to manufacturer values.
Replace brake fluid every 1 to 2 years with the correct DOT-rated type. Bed in new pads with progressive stops from 30 to 40 mph.
| Task | Frequency | Key Tips |
|---|---|---|
| Brake pad inspection | Every 500 to 1,000 miles | Replace at 2 to 3 mm thickness |
| Disc check | Regularly | Monitor runout and thickness |
| Caliper cleaning | After winter or heavy use | Clean pistons, lubricate pins |
| Brake fluid flush | Every 1 to 2 years | Use correct DOT fluid |
| Pad bedding | After pad replacement | Progressive stops |
Fitting Motorcycle Accessories and Pre-Ride Setup Essentials
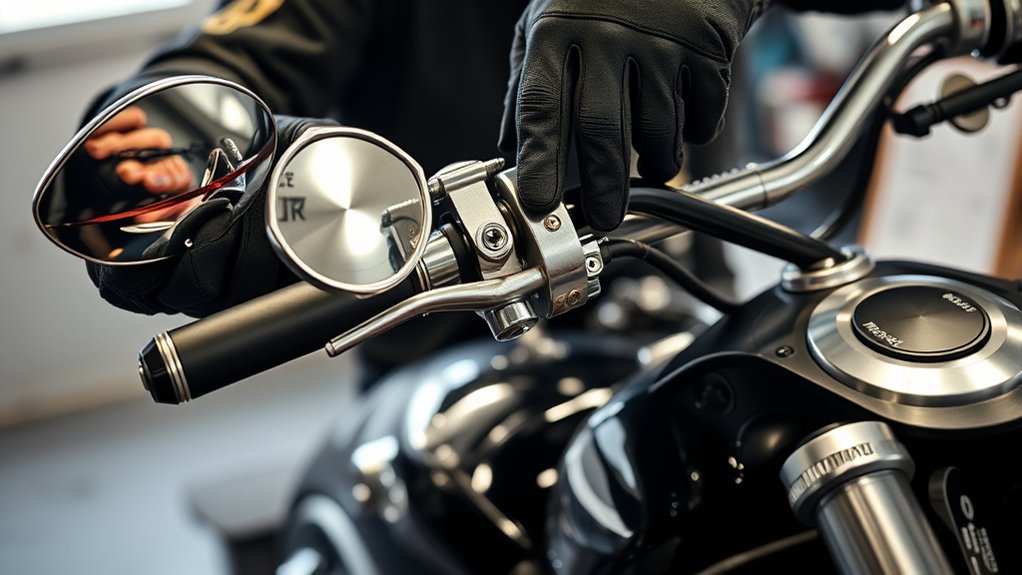
When fitting motorcycle accessories, prioritize compatibility and secure installation to guarantee safety and functionality.
For example, install heated grips with adjustable temperature control and low-draw wiring.
Make sure they match your bike’s 12V system and use fused ignition-switched power.
Next, wire USB ports and phone cradles with inline fuses and vibration-damping mounts to prevent power drain and keep devices secure.
Before every ride, perform a thorough pre-ride check.
Focus on these essentials:
- Verify tyre pressures, chain tension, and brake lever feel.
- Confirm all accessories like luggage, grips, and electronics are firmly mounted.
- Test lights and switches for full operation.
Correct accessory fitting combined with diligent pre-ride checks guarantees peak performance and rider safety.
Motorcycle Mechanical Checks: Suspension, Chain Care, and Troubleshooting Tips
Making sure your motorcycle’s suspension is properly set up starts with checking and adjusting the rear sag and preload according to your bike’s manual. It’s typically around 25–40 mm for sport bikes to maintain correct ride height and balance.
Inspect fork seals for leaks and measure fork travel regularly. Replace seals and change fork oil every 20,000–30,000 km or if the damping feels harsh.
For chain care, keep the chain clean and lubricated every 500–1,000 km or after wet rides. Maintain 20–30 mm slack mid-span to extend sprocket life.
Troubleshoot mechanical issues by listening for knocking, ticking, or squealing noises. These may indicate valvetrain, bearing, brake, or chain problems. Address these promptly to avoid damage and guarantee safe riding.
What to Do If Your Bike Breaks Down on the Road
If your bike breaks down on the road, pull completely off to a safe shoulder or parking area and turn on your hazard lights before inspecting the problem. Move at least one bike length away from traffic to guarantee safety.
Quickly assess the issue. Look for fuel, oil, or coolant leaks, a dead battery, or a snapped drive chain. If uncertain, avoid roadside repairs.
Here’s what you should do next:
- Use your roadside kit to address common problems like flat plugs, loose fasteners, or minor electrical issues.
- If repairs aren’t feasible, signal motorists and move to a safer location.
- Call roadside assistance or a tow service instead of risking repairs on narrow shoulders.
Record fault details, location, and time to help mechanics when arranging service.
Essential Tools and Emergency Gear for On-the-Go Repairs
After evaluating your bike’s issue on the roadside, having the right tools and emergency gear can make the difference between a quick fix and a prolonged wait.
For effective motorcycle maintenance, carry a compact toolkit with 8–19mm sockets, combination wrenches, screwdrivers, pliers, and an adjustable spanner tailored to your bike.
Include tire repair essentials like a tubeless puncture kit, tyre levers, and a portable air compressor or CO2 cartridges to reseat and inflate tyres.
Pack electrical repair items such as insulated wire, spare fuses, silicone tape, and a compact multimeter for diagnosing faults.
Also bring a jump-starter (~10,000 mAh), fuel siphon, spare spark plugs, and plug socket.
Safety gear such as a high-visibility vest, LED headlamp, gloves, zip ties, and duct tape ensures protection and secures temporary fixes, which is critical for efficient motorcycle maintenance on the go.
When to Seek Professional Motorcycle Maintenance Help vs. DIY
While you can handle many routine maintenance tasks yourself, knowing when to seek professional help is essential for your safety and your bike’s longevity. Regular maintenance like oil changes, chain lubrication, and brake-pad swaps are manageable DIY tasks. However, consult a specialist when dealing with complex or safety-critical issues.
- Leave valve adjustments, suspension overhauls, tire balancing, and wheel alignment to certified technicians to avoid structural risks.
- Always have brakes and brake-fluid changes done professionally if you lack hydraulic-bleeding or torque-wrench experience to prevent brake failure.
- Consult a specialist for electrical diagnostics, complex wiring, persistent engine noises, or pre-trip inspections after long storage to guarantee reliability.
Knowing these boundaries keeps your motorcycle performing safely and efficiently.
Frequently Asked Questions
How Does Weather Affect Long-Term Motorcycle Storage?
Cold condensation causes fuel and coolant to contract and expand, which can lead to seal hardening and cracked hoses during long-term storage.
Paint deterioration speeds up if you leave your bike exposed to UV rays or moisture, so it’s best to store it in a dry, ventilated place.
Protect electrical contacts from corrosion caused by humidity and road salt.
Also, keep your tyres properly inflated to prevent flat-spotting.
Make sure to regularly check your battery’s health to avoid capacity loss in cold weather.
What Are the Best Practices for Upgrading Motorcycle Lighting?
For the best LED conversion, choose high-quality retrofit kits that match your bike’s CAN-bus system and provide 2,000–3,000 lumens per side. Prioritize precise beam alignment using a wall test at 7–10 meters to avoid dazzling others.
Upgrade your wiring harness with fused relays and use proper grounding points to guarantee reliable circuits. Don’t forget waterproof connectors and correct polarity to prevent ECU errors and ensure safe, efficient lighting performance.
How to Choose the Right Motorcycle Insurance Coverage?
Choosing the right motorcycle insurance coverage isn’t as simple as picking the cheapest option. Start by checking your state’s liability limits to meet legal requirements.
Then decide if you need full coverage, especially if your bike is newer or financed. Pay close attention to full coverage deductibles. Higher deductibles lower your premium but raise your out-of-pocket costs after a claim.
Finally, customize with optional coverages based on your bike’s value and your riding habits.
What Fuel Additives Are Safe for Motorcycle Engines?
You should use fuel additives with stabilizer compatibility to prevent varnish and phase separation, especially for storage over 30 days. Octane boosters are safe if they raise the fuel’s RON within your bike’s recommended limits. Never exceed those limits.
Choose fuel system cleaners with PEA-based detergents for deposits removal, and avoid additives with methanol or lead. Always check your owner’s manual to make sure additives won’t harm your engine or carburetor components.
How to Improve Motorcycle Fuel Efficiency Without Modifications?
You know what they say: “A stitch in time saves nine.”
To improve your motorcycle’s fuel efficiency without modifications, maintain proper tire pressure as per specs. This ensures minimal rolling resistance.
Practice smooth riding by using steady throttle inputs and avoid sudden acceleration or braking.
Optimize gear shifts to keep the engine in its most efficient RPM range.
Together, these habits can boost your fuel economy markedly without spending extra on parts.
Conclusion
Think of your motorcycle as a finely tuned clock—each gear, chain, and brake working in harmony to keep time flawlessly. Skipping maintenance is like letting dust settle inside; it disrupts precision and risks failure.
By regularly tuning your bike with care and attention, you guarantee smooth rides, safety, and longevity. Remember, your hands-on effort today wards off costly breakdowns tomorrow, keeping your journey both reliable and rewarding.