How To Paint A Motorcycle Helmet – Easy Guide
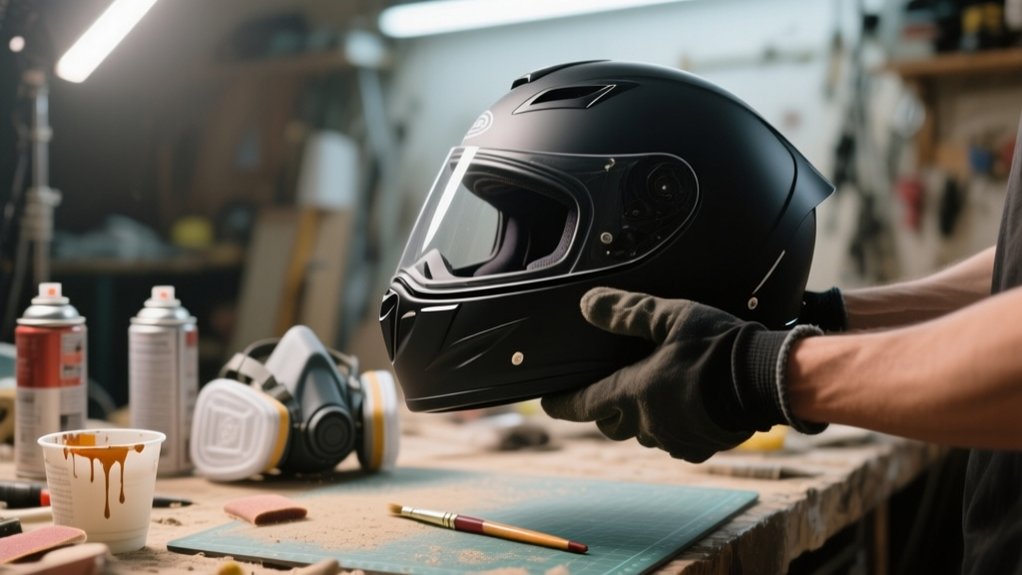
Start by stripping the helmet’s liner and chin strap.
Then clean the bare shell with acetone and a tack cloth.
Mask vents, snaps, and any DOT labels with painter’s tape and newspaper.
This keeps paint from clogging them or bonding there.
Spray two light base coats from 8–12 inches away.
Let them flash before you move on.
Lightly buff the surface, then wipe it clean.
Add two more thin coats for full coverage.
Finish with 2–3 clear coats.
Let it cure fully, and you’ll pick up the finer details next.
Prepare Your Motorcycle Helmet for Paint
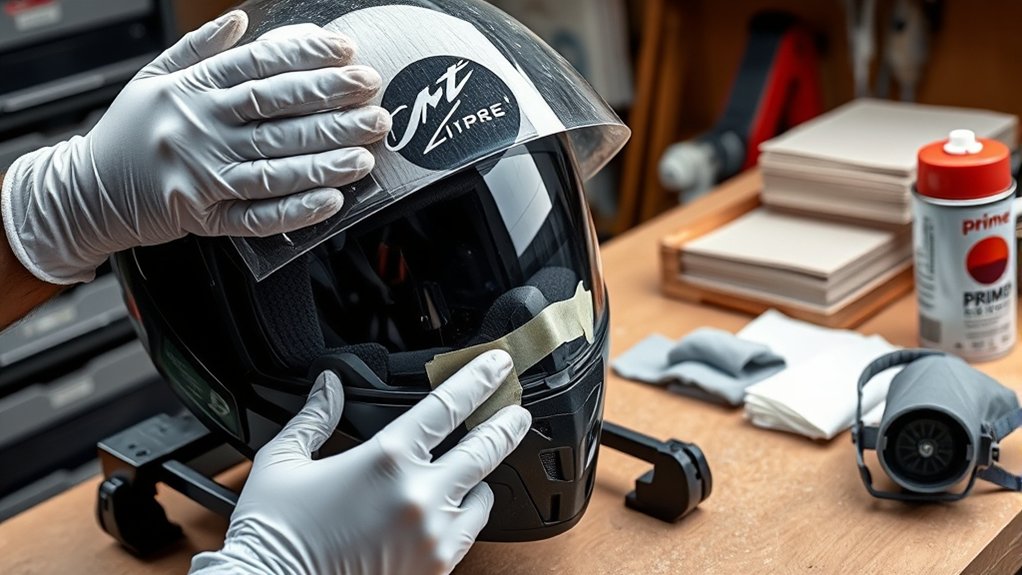
Before you spray a single coat, strip the helmet down and prep the shell carefully. Remove the inner lining, chin strap, and any metal loops or vents. Or mask them so paint won’t stick where it shouldn’t.
Strip the helmet down first, removing liners, straps, and hardware, or mask them to keep paint off.
Wipe the bare shell with acetone to cut oils, dirt, and fingerprints. Then use a tack cloth to lift fine dust.
Hang the helmet from a masked metal loop or set it on a secure stand. That way, you can spray evenly without touching the surface.
Protect DOT labels, snaps, and other no-paint areas with painter’s tape and newspaper.
After the first primer or paint coats dry, lightly buff with super-fine steel wool. Then clean again with acetone and tack-cloth it before you apply more paint.
This new account keeps the finish clean, safe, and durable.
Mask Vents, Straps, and Hardware
Mask off the vents, straps, and any hardware you’re not removing, so paint can’t clog openings or bond where it shouldn’t.
Remove the inner lining and chin strap if you can, then tape over the metal loop and the remaining straps.
| Area | What to do |
|---|---|
| Vents | Cover with tape and newspaper or plastic |
| Small hardware | Use small overlapping tape pieces |
| Hanging loop | Leave exposed for hanging, then re-mask for clear coat |
Press each tape edge firmly, especially around curves.
This helps prevent paint bleed-through.
Keep ventilation channels open.
Protect snap fasteners from buildup.
If you leave the helmet hanging, don’t let the loop touch wet finish.
After the paint and clear coat dry, peel masking off slowly at a shallow angle.
This avoids lifting edges or leaving adhesive on straps and hardware.
Apply the Base Color in Thin Coats

Shake the spray paint can vigorously for about a minute.
Then hold it 8–12 inches (20–30 cm) from the helmet and spray in thin, even passes.
Overlap each pass by about 50% to help prevent runs and get smooth, uniform coverage.
Keep your strokes steady and your wrist relaxed so you don’t flood one spot.
Apply two light base coats first, not one heavy coat.
Respect the manufacturer’s flash time between coats, usually 5–15 minutes.
Work in a space that stays within the paint’s recommended temperature range, about 50–85°F (10–29°C).
Use low humidity for better adhesion and drying.
After those coats dry, add two more thin finishing coats for solid color.
Buff, Clean, and Recoat the Helmet
Once the first two light coats have dried for the manufacturer’s recommended time, lightly buff the surface with super fine steel wool. This knocks down orange peel and dust nibs.
Lightly buff the dried coats with super fine steel wool to smooth orange peel and dust nibs.
Wipe the helmet with acetone on a lint-free cloth to remove oils and loose particles. It won’t strip fully cured paint, but it helps the next coats bite.
Use a tack cloth to catch any remaining dust. Hang the helmet by its metal loop, then spray two more thin, even coats of matched paint.
Keep the can 8–12 inches away and move in steady overlapping passes. Follow the product’s dry times carefully between coats so you don’t trap defects and weaken adhesion.
Seal the Paint With a Clear Coat

Before you clear coat the helmet, mask off any chin strap metal loop and vents. This helps prevent the finish from bonding where it shouldn’t or clogging airflow openings.
Choose a clear coat that’s compatible with your paint. Shake the can well for about a minute after the mixing ball rattles.
Hold the can 8–12 inches from the shell and spray 2–3 light, even coats. Keep your passes moving, and respect the flash time between coats, usually 5–15 minutes, to avoid runs or sags.
If the product allows it, lightly buff with super fine steel wool between coats. This can help smooth orange peel.
Let the clear cure overnight, or for the full 24 hours your product specifies. After curing, remove masking and reassemble the helmet.
Frequently Asked Questions
Can I Paint a Helmet Without Removing the Visor?
Yes, you can paint a helmet without removing the visor, but you’ll need to mask it carefully.
Tape off the visor edge, hinges, vents, snaps, and any foam or straps, then cover them with newspaper.
Avoid spraying into seams.
Use light coats only, and wipe the shell with acetone first.
Removing the visor is still safer.
It reduces masking time and lowers the risk of damage.
Which Paint Types Work Best on Motorcycle Helmet Shells?
You’ll get the best results with acrylic enamel spray paint, plastic-specific spray paint, or automotive aerosol paint. These options stick well to thermoplastic and fiberglass helmet shells and hold up better than cheap general-purpose sprays.
You should always use a compatible clear coat for UV and chip protection. Avoid harsh solvent-based paints or lacquer thinners, because they can soften or craze the shell. Apply several light coats for a smooth, durable finish.
How Long Should Paint Cure Before Riding With the Helmet?
You should wait at least 48–72 hours before riding, but 7 days is best for full cure and chemical resistance.
Let the final clear coat dry 24 hours minimum before handling, then check for any tackiness on a hidden spot.
Don’t ride in wet or cold conditions during the first week.
Moisture and low temperatures can weaken adhesion.
Follow your clear coat’s label for any longer curing time.
Will Painting Affect My Helmet’s Safety Certification?
Yes, painting can affect your helmet’s safety certification. It could void the warranty and possibly invalidate DOT, ECE, or SNELL approval. This can happen if you use harsh solvents or incompatible paints.
Check your helmet maker’s manual before you spray anything. Use only helmet-safe or plastic-compatible products. Apply thin coats and let the paint cure fully.
If certification matters for racing, resale, or liability, it’s usually best to replace the helmet instead.
Can I Use Airbrushing for Custom Helmet Designs?
Yes, you can use airbrushing for custom helmet designs. It’s almost funny how a tiny spray gun can deliver finer detail than a big can.
You’ll get smooth gradients, sharp lines, and more control if you use plastic-safe paints. Prep the shell, prime it, spray thin coats, and clear it.
Don’t rush drying, and avoid covering safety markings unless you’ll reapply approved labels.
Conclusion
With a little care, you can turn your helmet into a custom piece without risking its integrity.
Prep it properly, then mask every vent and strap.
Next, lay down thin coats so the finish stays smooth and even.
Buff between passes, and clean away dust as you go.
When you’re done, seal everything with a clear coat for lasting protection.
Like a well-kept shield in a modern-day joust, your helmet should look sharp, ride-ready, and safe every time you hit the road.