How To Build A Motorcycle – Easy Steps
Start by defining your build goal. Decide whether it’s a cafe racer, restoration, or off-road custom.
Then choose a solid donor bike with proven parts support. This makes sourcing upgrades and repairs much easier.
Get the factory manual next. Set a budget with extra contingency so you’re covered for surprises.
Gather the right tools and safety gear too. A proper setup helps you work faster and safer.
Strip the bike and tag every part as you go. Inspect the frame, engine, brakes, and wiring carefully.
Repair what needs fixing, then rebuild and tune. Take it slow and test ride step by step.
If you keep going, you’ll learn each step in more detail.
Define Your Motorcycle Build Goal
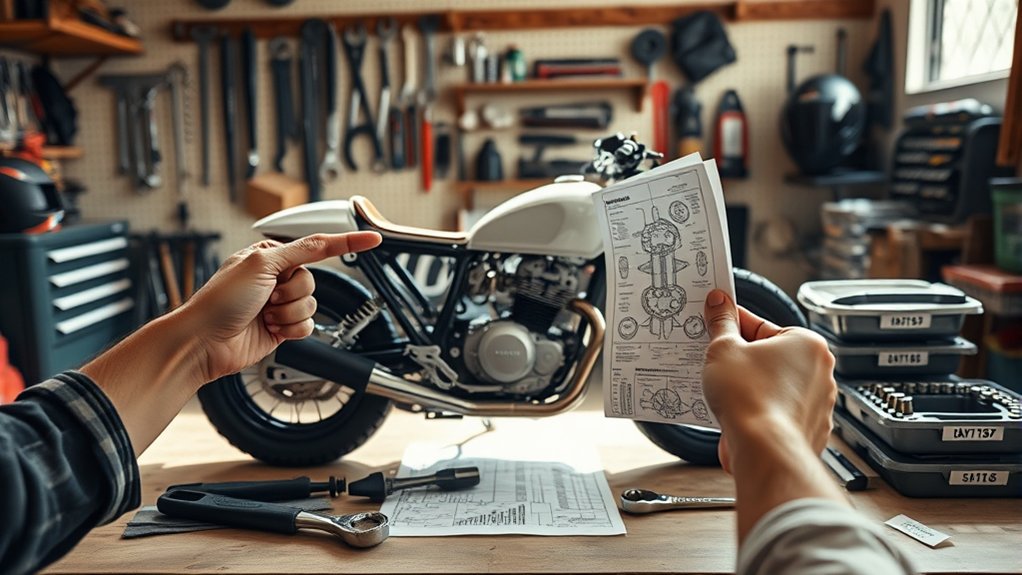
Start by defining exactly what you want the motorcycle to do: a cafe racer for quick town sprints, a full restoration for show, or an off-road crosskart-style build. The use case determines frame geometry, suspension, and parts selection.
Define the bike’s purpose first; your use case shapes geometry, suspension, and every parts choice.
Then set target numbers for wheelbase, rake, trail, seat height, and engine placement before you buy parts. Use proven dimensions from similar builds so you don’t create unstable handling or poor ergonomics.
Match the project to your skill level and parts access. That affects how much fabrication you’ll need to do.
Build a budget that covers the bike, tools, consumables, machining, paint, and a 10–30% contingency. Finally, map out your timeline and learning goals so you can schedule welding practice, wiring work, fixtures, and outsourced tasks.
Choose the Right Project Bike
You should start by inspecting the donor bike’s frame, steering head, engine compression, and wiring. That way, you can confirm it’s straight, complete, and actually worth repairing.
Next, take a minute to verify that replacement parts, manuals, and aftermarket support are easy to find. Otherwise, you might end up with a costly sourcing problem before you even finish the project.
Finally, match the bike to your skill level. If you’re new, a simple carbureted, air-cooled single or twin is usually the best place to start.
Assess Frame Condition
Before you buy a project bike, inspect the frame like it’s the backbone of the whole build. Use a bright light to check for cracks, bends, rust, and hairline fractures.
Pay close attention around the engine mounts, swingarm pivot, and headstock. Tap welds with a hammer to expose weak spots.
Measure straightness with a string line, tape measure, or a 4-point jig. Verify wheelbase, axle alignment, and headstock centerline within 2–3 mm.
Look for inconsistent welds, gussets, or non-factory tabs that suggest repairs or crashes. Check the neck, rear subframe, and shock mounts for corrosion and metal loss.
Surface rust is manageable, but pitted or perforated tubing often means section replacement or a new frame. Confirm engine cradle, footpeg, swingarm, and steering head dimensions match your plan.
Check Parts Availability
Check parts availability early. The right project bike is the one you can actually keep supplied with parts.
Choose a donor with strong aftermarket and salvage support, such as a Honda CB, Yamaha XS650, or Suzuki GS. That way, you can source OEM and replacement parts fast.
Before you buy, search Partzilla, BikeBandit, eBay, and local scrapyard inventories for the exact year and model. If possible, focus on machines with simple, well-documented engines and electrical systems, plus lots of service manual and forum coverage.
Verify hard-to-replace items like the frame, forks, gauges, and the wiring harness. Also note lead times and costs for stock parts or compatible substitutes.
Add up wear items such as tires, chain, sprockets, brake parts, carb kits, seals, and gaskets. Compare those costs against a cleaner donor before you commit.
Match Skill Level
Once parts availability narrows your options, match the bike to your skill level. This keeps the project manageable.
Pick a solid, running donor like a Honda CB350, CB750, Yamaha XS650, or a late-1970s Twinstar. Carbureted, air-cooled engines are simpler and cheaper to service.
| Skill Level | Project Scope |
|---|---|
| Beginner | Seat, bars, fenders, paint |
| Intermediate | Carb rebuilds, brakes, wiring |
| Advanced | Engine swaps, frame mods |
Avoid liquid-cooled, fuel-injected bikes unless you have diagnostic gear and training. Check forums for harness, carb, seal, and brake issues before you buy.
Plan for 50–200 hours on a novice restoration. Budget 20–100% of the purchase price for parts and tools.
If you’re aiming for a full custom chassis, expect advanced welding skills. Costs will usually run higher too.
Study the Manual and Set Your Budget
Start by reading the factory service manual for your exact model. That way, you’ll have the torque specs, wiring diagrams, and the correct teardown and reassembly sequence before you spend a dime.
Next, build a line-item budget for the bike—parts, consumables, tools, and any outsourced work. Then add a 20–30% contingency for hidden repairs you only discover once you start tearing things down.
Finally, check prices and availability for wear items like tires, chains, brake pads, and fork seals. It’s an easy way to avoid getting stuck mid-project.
Read The Manual
Before you turn a single wrench, get the factory service manual for your exact model.
Also get a parts fiche so you have the correct torque specs and disassembly order.
Read every section before you remove a part.
Note each torque value, fastener sequence, and clearance spec as you go.
Then cross-check the manual with your build plan or an aftermarket guide.
Make sure your chosen parts, frame changes, and chain alignment actually fit.
Use the wiring diagram to label every connector and wire.
Tag them or take photos before you disconnect anything.
Next, list consumables, likely replacement parts, and any required machining.
Confirm compatibility before you buy.
A calibrated torque wrench isn’t optional.
It keeps fasteners tight without warping components or damaging the frame.
Set Your Budget
Study the service and parts manual first. Then you can price the build from real numbers instead of guesses.
Use the exact part numbers, torque specs, fluid capacities, and disassembly sequence to build a line-item budget.
Include purchase price, engine seals, bearings, gaskets, fluids, fasteners, paint, and any specialty tools or rentals.
Add at least a 20–30% contingency, since hidden wear always shows up once you open the bike.
Price machine work, powder coat, TIG welding, and electrical diagnostics before you commit. Compare those rates with your own labor value.
Estimate total build hours, then multiply by your hourly rate to measure your true cost.
Buy the critical-path parts first: engine, frame, forks, brakes, wheels, and electrical. That way, you know the major numbers before you spend on cosmetics.
Plan For Extras
Once you’ve got the factory service manual and parts diagrams for your specific bike, use them to build a real budget instead of guessing.
Check torque specs, wiring diagrams, and part numbers, then price every needed item separately.
- Buy the bike, consumables, specialty parts, and paid services, then add a 20–30% contingency for surprises.
- List tools and fixtures, like a torque wrench, lift, pullers, and welders, so you don’t hide capital costs inside parts.
- Match maintenance intervals and part lifespans to your timeline.
Then schedule labor and cash flow around chain, tire, and brake wear.
Include lighting, horn, mirrors, and secure fuel fittings, plus inspection and registration fees, so your finished motorcycle is safe, compliant, and street-legal.
Gather Tools, Parts, and Safety Gear
Start by gathering the tools, parts, and safety gear you’ll need.
Gather your tools, parts, and safety gear first so the build runs smoothly from start to finish.
This way, the build doesn’t stall midway.
Build a complete hand-tool kit with metric and standard sockets from 8 to 24 mm.
Add a torque wrench rated to 200 Nm, combination wrenches, screwdrivers, pliers, and a quality ratchet or impact set.
Stock penetrating oil, anti-seize, Loctite Blue and Red, grease, shop rags, and wire ties.
Use a fuel-safe container, plus model-specific gaskets and seals.
Use a motorcycle lift or jack rated at least 400 kg.
Add a front-wheel chock and adjustable stands for stability.
Include feeler gauges, micrometers, calipers, a chain breaker, and a sprocket puller.
Also add a compression tester, multimeter, and the full service manual.
Wear safety glasses and ear protection.
Use chemical-resistant gloves, and welding PPE if needed.
Strip Down and Inspect the Bike

Drain the fuel, oil, and coolant, then remove the battery before you touch anything else. This helps you avoid spills, corrosion, and electrical hazards during teardown.
Strip the seat, fairings, fenders, mirrors, and crash bars first. Then you can expose the frame and harness.
As you work, tag and bag every fastener. Also, photograph wiring and vacuum line routes so you don’t have to guess later.
- Inspect the frame, swingarm, forks, and wheels for cracks, bends, and rust.
- Measure spoke tension and check wheel bearings for play.
- Examine engine mounts, cables, connectors, brake lines, hoses, and grommets for wear.
Note what you can refurbish and what needs replacement. Keep every part organized.
Fix the Frame, Engine, and Wiring
With the bike stripped bare, inspect the frame for cracks, rust-through, and misalignment.
Use a straightedge and tape measures, then repair small cracks with TIG welds on cleaned metal, or replace bent sections as needed.
Check wheelbase and head angle against spec before you paint.
Tear down the engine completely, and measure piston-to-cylinder clearance.
Verify valve lash and timing, then replace the head gasket and seals.
If the cross-hatch is worn, hone the cylinders.
Retorque the head bolts to manual specs.
For wiring, trace a labeled diagram from the schematic.
Replace corroded connectors and brittle insulation, then run a fused main feed with the correct gauge wire.
Crimp and heat-shrink terminals, and keep one solid frame ground.
Confirm charging output is 13.5–14.5 V at 3,000 rpm.
Rebuild, Tune, and Test Ride Safely
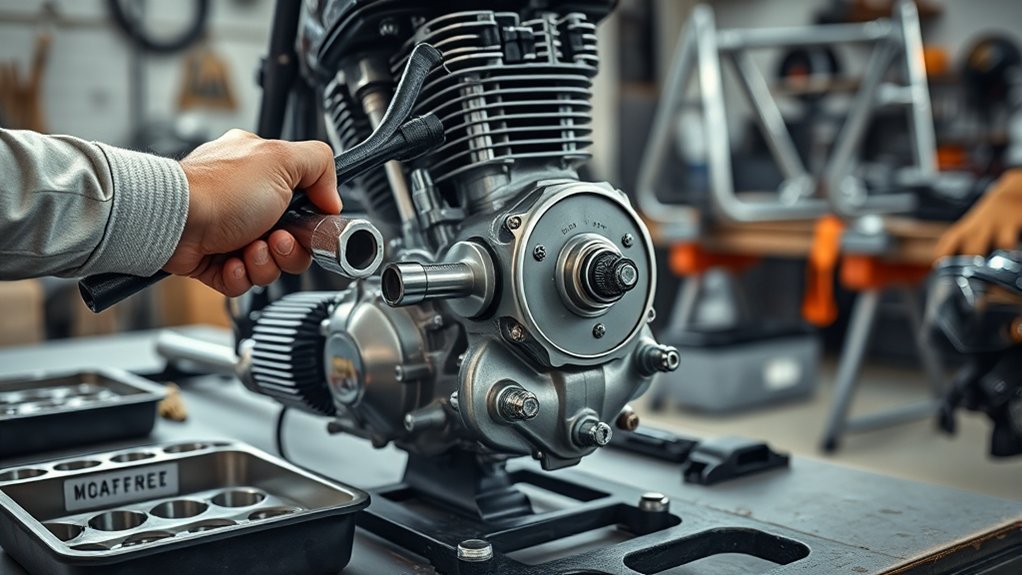
Before you bolt everything back together, give the engine a full tune. This helps it run cleanly on the first test ride.
Install new spark plugs. Clean and set the carburetor jets and float height to spec. Check valve clearances against the factory manual. Change the oil and filter.
Torque every critical fastener to spec. Use threadlocker where the manual calls for it.
Bleed the brakes until the lever feels firm. Replace worn pads or lines as needed.
Set sag for your setup: rear about 30–35% and front about 25–30%.
Check steering freeplay, wheel alignment, tire pressure, fuel lines, battery, and wiring.
Start with short, low-speed runs. Watch temps, charging voltage, braking, and handling. Extend the ride only when everything stays stable.
Frequently Asked Questions
How Do I Choose Between a Cafe Racer and Bobber Build?
Choose a cafe racer if you want quicker steering, a forward lean, and a bike tuned for sprints and city riding.
Choose a bobber if you want a simpler, low-slung cruiser with a solo seat and cleaner lines.
You’ll need to match your budget, skills, and intended use.
If you want performance work, pick cafe.
If you want cosmetic customization and relaxed cruising, pick bobber instead.
What Permits or Paperwork Are Needed Before Modifying a Motorcycle?
You’ll usually need your vehicle title, registration, and any state modification forms before you touch the bike.
If you change the frame, engine, or classification, you may need a rebuilt or reconstructed title, VIN inspection, and reclassification paperwork.
For custom frames, you might need an assigned VIN or engineer’s affidavit.
Also check zoning, welding permits, emissions or noise compliance, and tell your insurer about the planned modifications.
How Can I Find Discontinued Parts for an Older Bike?
You can find discontinued parts by searching OEM part numbers from your service manual. Then check eBay, Facebook Marketplace, Craigslist, Partzilla, and BikeBandit.
Join model-specific forums and groups. Post WTB requests with the exact year, model, and part numbers.
Check salvage yards, bike breakers, and Car-Part.com too. Compare reproduction parts for fit and mounting points.
If nothing turns up, buy a core and repair or fabricate the part.
What Should I Document Before Taking the Bike Apart?
You should document every angle, connector, fluid level, and critical dimension before you dismantle the bike. About 80% of rebuild mistakes come from missing notes, not bad parts.
Photograph the bike front, rear, sides, and key components. Label wires, tag hoses, and bag fasteners by location and torque spec.
Record wheelbase, axle spacing, mount points, and battery specs. This helps you reassemble the bike accurately and safely.
How Do I Store Motorcycle Parts During a Long Rebuild?
Store motorcycle parts in labeled zip-lock bags or clear bins.
Note each part name, bike side, bolt size, thread pitch, and removal location.
Use foam or magnetic trays for small hardware.
Seal rubber parts with silica gel.
Rack large components off damp floors on padded shelving.
Cover them and keep photos matched to each label.
Store fuel, solvents, and batteries separately in approved containers.
Keep everything cool, dry, and ventilated.
Conclusion
Building your motorcycle is like tuning a carburetor. Every adjustment matters, and small errors compound fast.
You’ve defined your goal and picked the right bike. You also rebuilt each system with care.
In one shop survey, 8 out of 10 failed builds traced back to poor planning, not bad parts. So double-check torque specs, wiring, and test procedures before you ride.
When you finish, you won’t just have a bike. You’ll have a machine you built correctly.