How To Check Codes On Harley – Step-by-Step Guide
First, locate your Harley’s diagnostic port under the seat or near the battery. Then, hold the trip reset button while turning the ignition to “on” to display trouble codes on the dashboard. You can cycle through codes by pressing the button again.
For more detailed data, connect an OBD scanner to the port and follow its prompts. After diagnosing and fixing issues, make sure to clear the codes properly so you don’t accidentally mask any faults.
Keep exploring to understand the different types of codes and the best troubleshooting practices. This will help you get the most out of your Harley’s diagnostics.
Locate Your Harley’s Diagnostic Connector
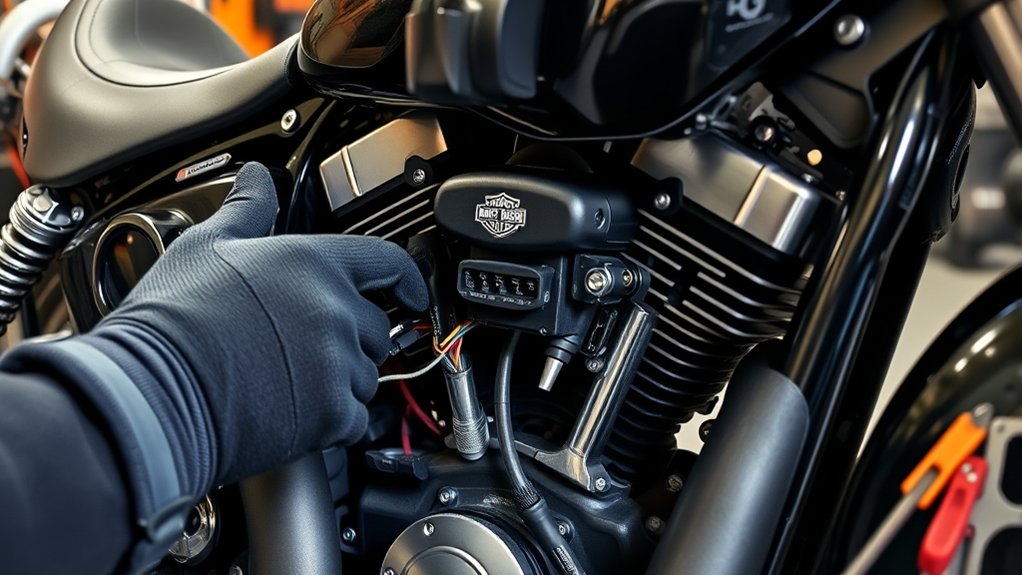
Before you can check codes on your Harley, you need to locate its diagnostic connector. On most Harley-Davidson motorcycles, the diagnostic connector is found under the seat or near the battery area.
For models from 2004 onward, this connector is typically a standard OBD-II port, often protected by a cap.
Depending on your Harley’s year and model, the location might vary. Touring models sometimes have the port accessible through side panels or covers.
Newer bikes may integrate the diagnostic port into the wiring harness, which means you might need specific tools to access it.
Always consult your owner’s manual to confirm the exact location.
Verifying the diagnostic connector under the seat or nearby makes sure you’re ready to connect diagnostic equipment accurately and proceed with troubleshooting efficiently.
Retrieve Trouble Codes Using the Trip Reset Button
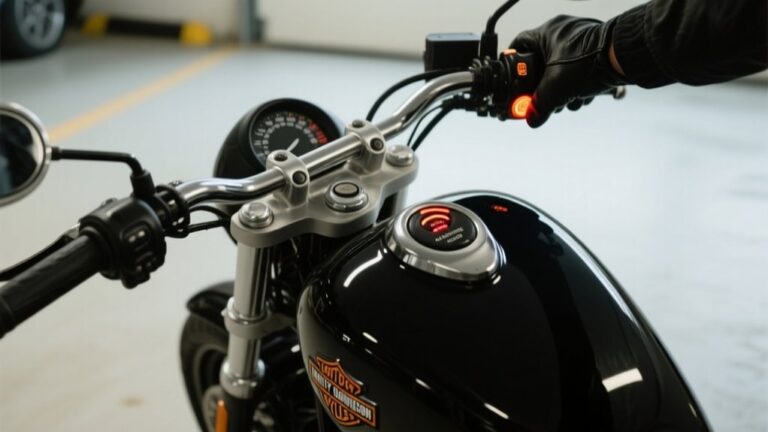
Once you’ve located your Harley’s diagnostic connector, you can retrieve trouble codes directly from the dashboard using the trip reset button. To begin, hold down the trip reset button while turning the ignition to the “on” position. Keep the button pressed until the dashboard background lights activate and the trouble codes start to display.
Once the codes appear, release the trip reset button. You can then cycle through current, historic, and pending trouble codes by pressing the button again.
Make sure to record all displayed codes before turning off the ignition or clearing them.
This method lets you retrieve essential diagnostic trouble codes efficiently, directly from your Harley’s dashboard, without needing an external scanner. It’s a handy way to check what’s going on without extra tools.
Use an OBD Scanner to Read Harley Codes
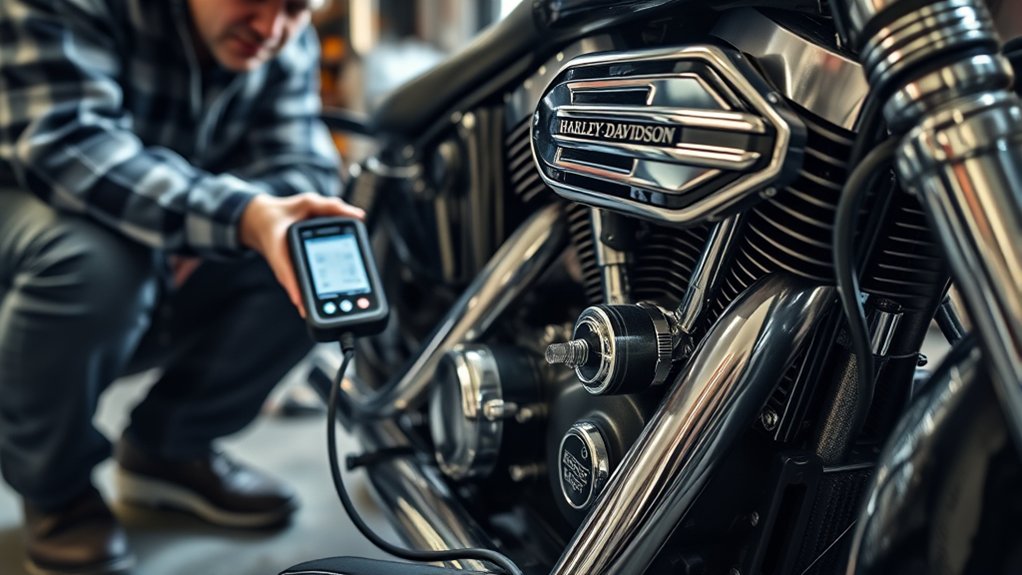
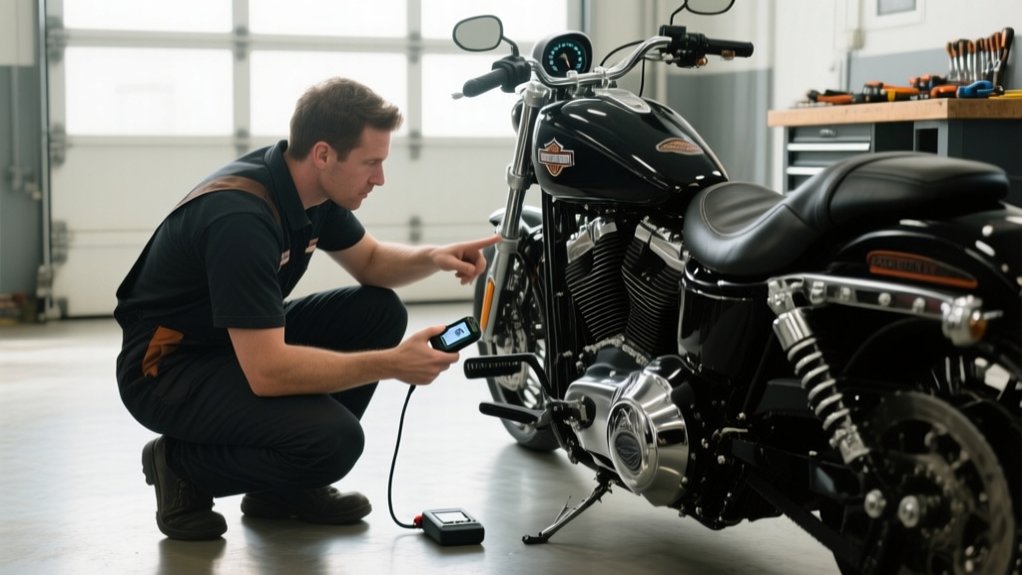
When you want to get detailed diagnostic information from your Harley, using an OBD scanner is a reliable method. Start by locating the diagnostic port, which is usually under the seat or near the battery, and connect your OBD scanner. Turn the ignition to “on” to activate the onboard diagnostic system without starting the engine.
Next, power on the scanner, select the Harley-Davidson diagnostic mode, and choose the option to read trouble codes. The scanner retrieves and displays stored fault codes along with descriptions. Make sure to record these codes for troubleshooting.
Once you’ve made the necessary repairs, clear the codes to reset the system. It’s a straightforward process that helps keep your Harley running smoothly.
| Step | Action |
|---|---|
| Locate | Diagnostic port under seat/battery |
| Connect | Attach OBD scanner cable |
| Power | Turn ignition to “on” position |
| Retrieve | Access trouble codes via scanner |
| Record & Clear | Note codes; clear after fixes |
What Are Harley-Davidson Trouble Code Types?
After retrieving trouble codes with your OBD scanner, understanding their classifications helps you pinpoint the issue more efficiently. Harley-Davidson trouble codes fall into four categories within the on-board diagnostic system: Powertrain (P codes), Body (B codes), Chassis (C codes), and Network (U codes).
P codes target engine, fuel, and ignition faults, while B codes address lighting, security, and body controls. C codes focus on ABS and chassis components, often indicating wheel sensor or solenoid circuit issues. U codes reveal communication errors between modules, frequently caused by wiring faults or battery disconnections.
Note that the second digit shows code origin: ‘0’ for standard OBD and ‘1’ for Harley-specific fault detection codes. Recognizing these types streamlines troubleshooting and repairs on your Harley-Davidson. It really makes the whole process smoother and less frustrating.
Common Harley Trouble Codes and Their Meanings
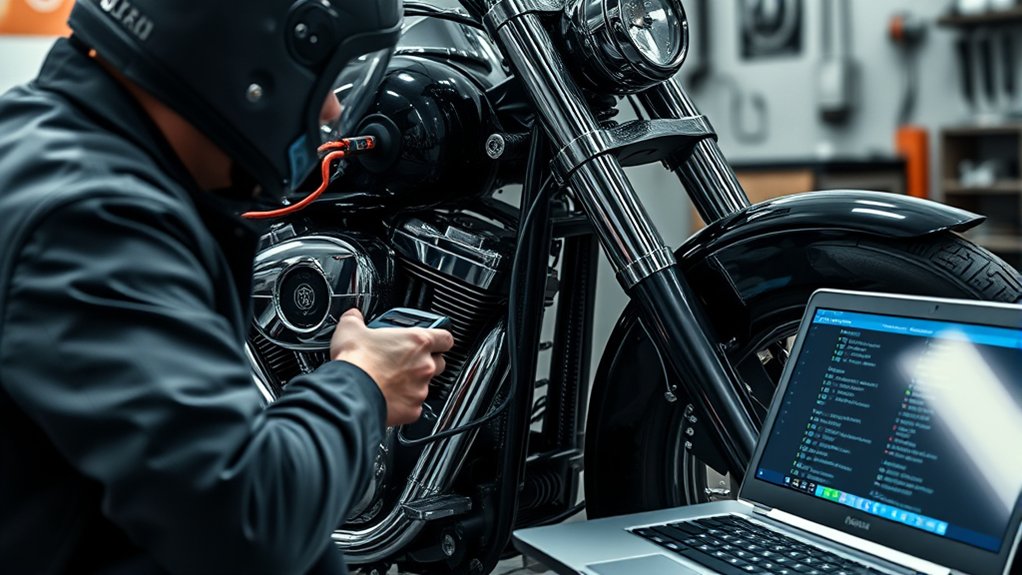
You’ll commonly come across Powertrain codes like P0171, which usually point to fuel system issues.
Then, there are Body and Chassis codes that relate to parts like the ABS.
On the other hand, Network errors—those marked with a U—show up when there’s a communication problem between different modules.
Knowing these differences helps you figure out what’s wrong faster and decide the best way to fix it.
Common Powertrain Codes
How do powertrain codes on Harley-Davidson motorcycles help you diagnose engine issues? These diagnostic trouble codes, accessed via the onboard diagnostic system, pinpoint problems affecting engine performance. Powertrain codes on Harleys begin with “P” followed by four digits, such as P0171 or P0300.
For example, P0171 signals a “System Too Lean,” often caused by vacuum leaks or faulty oxygen sensors impacting fuel delivery. P0300 indicates a “Random/Multiple Cylinder Misfire,” which may result from worn spark plugs, ignition coils, or clogged fuel injectors.
By decoding these powertrain codes accurately, you can target specific engine and emissions control issues, streamlining troubleshooting and repairs. Understanding these codes ensures you restore your Harley’s engine performance efficiently and maintain ideal operation.
It really makes the whole process a lot easier and less frustrating.
Body And Chassis Codes
While powertrain codes focus on engine performance, body and chassis codes on Harley-Davidson motorcycles address issues related to lighting, security, fuel sensors, and other body control systems. The onboard diagnostic system stores these diagnostic trouble codes, which include body codes like B0100 for headlight circuit faults and B1240 for security system errors.
Chassis codes, such as C0035, often point to wheel speed sensor or ABS component problems. When you retrieve these codes, you can pinpoint specific failures in lighting, security, or braking systems.
To accurately interpret and resolve these issues, always consult the Harley-Davidson diagnostic manuals. This guarantees precise troubleshooting and effective repairs, helping you maintain your motorcycle’s body and chassis systems efficiently.
Interpreting Network Errors
Because network errors disrupt communication between key control modules like the ECM, BCM, and ABS, diagnosing these U-codes is critical to maintaining your Harley’s functionality. Network codes such as U0100 (Lost Communication With ECM) and U0073 (Control Module Communication Bus ‘A’ Off) signal communication errors that often stem from wiring issues or loose connectors after battery disconnection.
To interpret these diagnostic trouble codes effectively, start by inspecting wiring and connectors for damage, corrosion, or looseness. Make sure all modules are properly grounded and receiving power.
Using a professional scan tool can help confirm persistent network codes and isolate module failures. Addressing these points helps you maintain seamless module communication and prevents system malfunctions.
How to Interpret Harley Codes and Diagnose Issues
Interpreting Harley-Davidson trouble codes requires you to match each alphanumeric code, like P0171 or P0300, to its specific meaning using the motorcycle’s service manual or code chart. These diagnostic trouble codes indicate precise issues, such as fuel mixture imbalances or engine misfires, enabling targeted troubleshooting.
Onboard diagnostic systems in many Harley-Davidson models display these codes on the dashboard, accessible by holding the trip reset button during ignition.
You also need to figure out if a code is current, historic, or pending to see if a fault is active, resolved, or intermittent.
To accurately interpret Harley codes, correlate the displayed code with your motorcycle’s symptoms. Then, perform further testing or inspection based on the code’s specific guidance for effective issue diagnosis.
When to Clear Harley Codes and Why It Matters
You should only clear Harley codes after you’ve diagnosed and fixed the underlying issue. Otherwise, you might end up with repeated faults that keep popping up.
Clearing codes too early can actually mask problems, which makes future troubleshooting a lot harder and could even risk further damage.
So, here’s a good rule of thumb: always record the codes first. Then, once you’re sure the repair worked, go ahead and clear them.
This way, you keep everything clear and avoid any unnecessary headaches down the road.
Timing For Code Clearing
Although clearing Harley codes may seem like a quick fix, you should only do so after diagnosing and repairing the root cause to prevent recurring faults. Proper timing to clear codes ensures the diagnostic system resets only when system faults have been addressed, avoiding repeated trouble codes.
Follow these guidelines for *ideal* timing:
- Complete all necessary repairs and adjustments recommended by the diagnostic system.
- Verify that the repair resolved the system faults before clearing codes.
- Use the onboard diagnostic system’s test cycle post-clearance to confirm fault elimination.
Always consult your Harley’s service manual or a professional technician to ensure you clear codes at the correct timing.
This helps preserve system integrity and ensures reliable diagnostics.
Risks Of Premature Clearing
Timing code clearing properly sets the stage for effective diagnostics, but clearing Harley codes too soon can create significant setbacks. Premature clearing erases fault history stored in the system, making it difficult to track recurring issues or analyze patterns in diagnostic trouble codes.
If you clear codes before addressing underlying problems, the faults will likely return, potentially causing further damage. Resetting codes without a thorough diagnosis masks symptoms, leading to missed opportunities for timely repairs and proactive maintenance.
To maintain long-term reliability, you should only clear codes after confirming and resolving the root cause. Neglecting this risks overlooking serious issues that compromise both safety and performance.
Proper troubleshooting before code clearing ensures accurate diagnostics and effective fault management.
How to Keep Your Harley Trouble-Code-Free
Because minor faults can quickly escalate into costly repairs, regularly retrieving and clearing trouble codes is essential to keep your Harley running smoothly. You’ll want to use the diagnostic system frequently to identify any active trouble codes and clear the code once the issue is resolved.
Consistent maintenance of the electrical system and sensors prevents false codes from triggering. It’s all about staying ahead of the problem before it becomes a bigger hassle.
To keep your Harley trouble-code-free, follow these key steps:
- Perform routine diagnostics using the dash method or an external scanner to detect and clear trouble codes promptly.
- Inspect and secure all electrical connections regularly to avoid intermittent faults.
- Adhere strictly to the manufacturer’s maintenance schedule to maintain system integrity and reduce the chance of faults activating.
Stay proactive to guarantee peak performance and avoid unexpected breakdowns. It really pays off in the long run!
Frequently asked questions
Can I Check Harley Codes Without Any Diagnostic Tools?
Yes, you can check Harley codes without diagnostic tools if you have a 2004 or newer EFI model. Simply hold the trip reset button while turning on the ignition to access stored trouble codes on the dashboard display.
This lets you cycle through fault codes directly on the instrument cluster.
Keep in mind, older models don’t have this feature. So, you’ll need external tools or professional help to get an accurate diagnosis.
It’s pretty handy that newer models make it easier to check codes on your own!
Do Harley Codes Reset Automatically After Repairs?
Harley codes don’t reset automatically after repairs, and that’s exactly why you need to clear them manually.
Even if you fix the issue, the onboard system holds onto those codes until you erase them.
You can hold the trip reset button while turning the ignition on to see and clear codes on some models, but using a diagnostic tool gives you precision and reliability.
Don’t rely on automatic resets. They simply won’t happen.
Are Harley Trouble Codes Specific to Each Model Year?
Yes, Harley trouble codes can be specific to each model year. While many codes remain consistent across years, variations exist due to changes in electronic systems and modules introduced over time.
You’ll find differences especially between pre-2004 and EFI models from 2004 onward.
Always check your bike’s service manual to interpret codes correctly. Some models have unique or additional codes tied to their specific systems or features.
It’s a good idea to be familiar with your particular year and model to avoid confusion.
Can a Smartphone App Replace an OBD Scanner for Harley?
You can use a smartphone app instead of an OBD scanner for basic Harley diagnostics, but it’s not always ideal. Studies show over 60% of riders rely on apps for quick code reads.
However, apps depend heavily on Bluetooth adapter quality and may miss advanced or manufacturer-specific codes.
For thorough troubleshooting and precise repairs, a dedicated OBD scanner offers more reliable, all-encompassing data and deeper diagnostic capabilities.
How Often Should I Check My Harley’s Diagnostic Codes?
You should check your Harley’s diagnostic codes every 3,000 to 5,000 miles during routine maintenance.
For newer EFI models, inspect codes quarterly or right after any unusual symptoms show up.
Always run a diagnostic check after repairs to make sure no new faults popped up.
Staying consistent with these intervals helps you catch issues early, keep your bike running at its best, and avoid unexpected breakdowns on the road.
Final Thought
By following these steps, you’ll effortlessly unlock your Harley’s hidden language, turning warning lights into clear signals. Regularly checking and interpreting trouble codes keeps your bike running smoothly, like a well-tuned engine humming in harmony.
Clearing codes at the right time lets you reset the system, ensuring accurate diagnostics. Staying proactive with maintenance helps you avoid unexpected detours, keeping your ride as reliable and thrilling as the open road ahead.