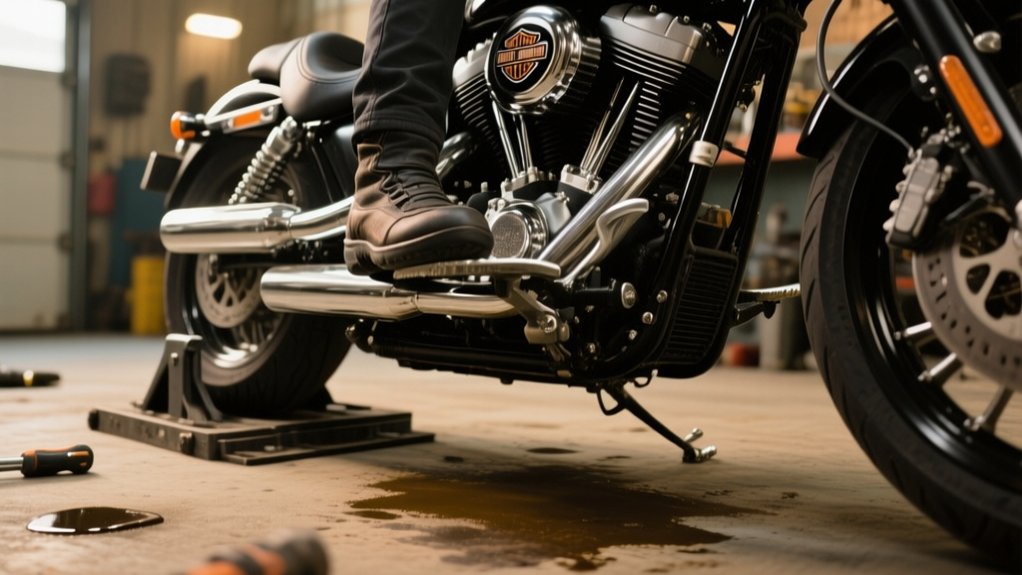
How To Shift A Harley Davidson – Step-by-Step Guide
To shift a Harley Davidson, first fully pull in the clutch lever and press the gear shift lever down with your left foot for first gear. Gradually release the clutch while rolling on the throttle to engage smoothly.
When you’re ready to upshift, squeeze the clutch, lift the shift lever, then release the clutch while applying throttle between 5,000-7,000 RPM.
To downshift safely, clutch in, push the lever down, and blip the throttle to match the RPM. Mastering the timing of throttle, clutch, and RPM will guarantee reliable, smooth shifts.
Keep practicing and explore more techniques to really refine your ride.
Basic Gear Shifting Controls on a Harley
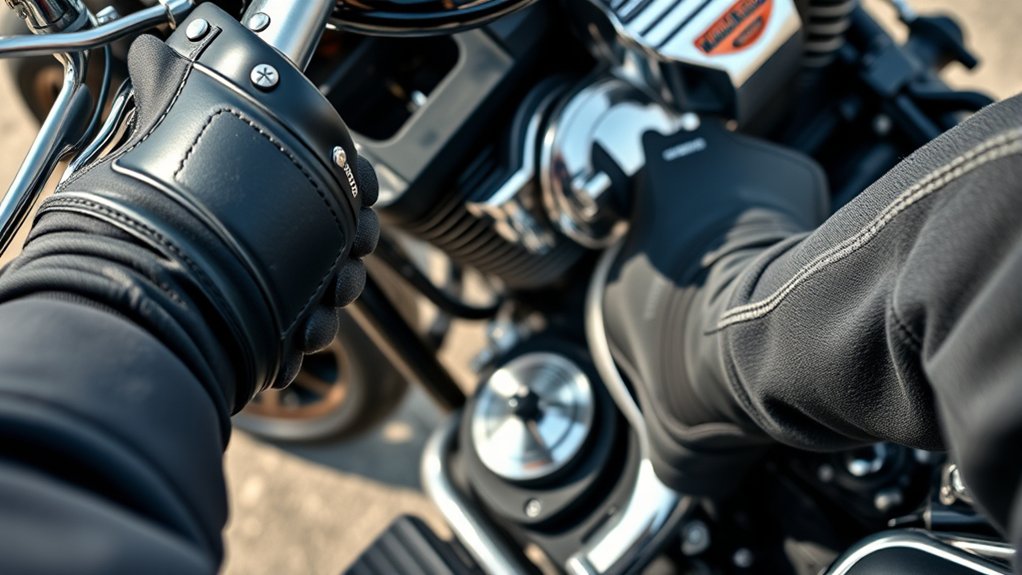
Although shifting gears on a Harley Davidson might seem straightforward, mastering the basic controls is essential for smooth operation. You use the clutch lever on the left handlebar to disengage the engine from the transmission, allowing you to shift gears without damage.
The gear shift lever, operated by your left foot just forward of the foot peg, follows a specific shift pattern: neutral sits between first and second gears. To engage first gear, press the lever down fully; for higher gears, lift it up in sequence.
Make sure you apply full depression or lift on the gear shift lever to guarantee proper gear engagement. Coordinating clutch release with precise shift control prevents missed shifts and ensures smooth transitions through the gear sequence.
Getting familiar with these controls is fundamental before you start riding. It really helps you enjoy a smoother, safer ride.
Starting and Getting Your Harley Moving Smoothly
Before you start moving your Harley, make sure the transmission is in neutral by gently lifting the shift lever until it clicks. The neutral indicator light will confirm the position. Start the engine with the bike in neutral to prevent any unintended movement.
When you’re ready, pull in the clutch fully and then shift down into first gear using the foot pedal.
Slowly release the clutch lever to find the friction zone, which is the point where the motorcycle begins to engage and move forward smoothly.
As you release the clutch, gradually twist the throttle to provide steady engine power. Coordinating the clutch release with throttle input ensures a smooth changeover from stationary to moving without stalling or jerking.
Getting the hang of this balance is key for controlled starts and safe riding.
Timing Shifts Using the Tachometer and Engine Sound
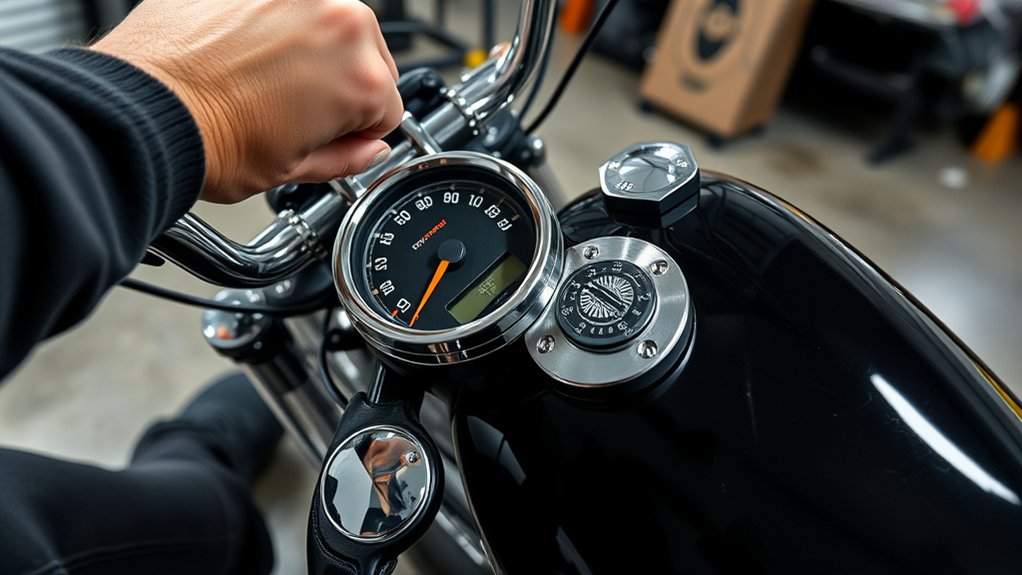
You’ll want to keep a close eye on the tachometer, shifting between 5,000 and 7,000 RPM to get the best power.
Listen carefully to the engine’s pitch, too. When you hear high-pitched whines, that’s your cue to shift up.
On the other hand, lower tones mean it’s time to downshift.
Timing your shifts by matching these sounds not only helps protect the engine but also keeps your ride smooth.
Reading Tachometer Effectively
When you monitor the tachometer closely, you get a precise understanding of your Harley Davidson’s engine RPM. This helps you time your shifts for peak performance. The tachometer is your main tool to pinpoint shifting points and avoid going past the redline, which can damage the engine.
Use the RPM gauge to identify ideal revs between 5,000 and 7,000 RPM for smooth gear changes. You can also watch tach readings to anticipate shifts before hitting the redline.
Synchronizing engine RPM during downshifts makes for seamless engine synchronization.
It’s a good idea to combine tachometer data with engine sounds to refine your timing and ensure efficient shifting. Mastering how to read your tachometer gives you better control over gear changes. This keeps your engine healthy and optimizes performance on every ride.
Recognizing Engine Sound
Although the tachometer gives you a clear visual of engine RPM, recognizing your Harley Davidson’s engine sound sharpens your shift timing. Pay close attention to the engine pitch. A high-pitched whine signals high RPMs, meaning it’s time to shift up before reaching the redline.
Use the tachometer to confirm engine revs ideally stay between 5,000 and 7,000 RPMs for smooth gear engagement.
When decelerating, notice the engine sound drop in pitch. This cues you to shift down for maximum power and engine health.
Smooth shifts produce a subtle click, confirming precise timing. Combining tachometer readings with engine sound awareness prevents over-revving and guarantees efficient gear changes on your Harley Davidson.
It’s all about listening and watching to keep your ride smooth.
How to Upshift on a Harley
Before upshifting on your Harley Davidson, make sure the engine RPM is within the ideal range of 5,000 to 7,000.
Ensure your Harley’s engine RPM stays between 5,000 and 7,000 before upshifting for optimal performance.
To upshift smoothly, follow these steps precisely:
Gradually roll off the throttle while fully squeezing the clutch lever to disengage power. Lift the shift lever upward with your left foot until you feel or hear a click, confirming gear engagement.
Release the clutch lever smoothly while gently rolling back on the throttle to match engine RPM with the new gear.
Shift sequentially through gears, ensuring each gear change completes before accelerating again.
Maintaining this RPM range and executing a smooth release of the clutch lever ensures peak engine performance and a seamless gear change on your motorcycle.
How to Downshift Safely and Smoothly
How exactly do you downshift safely and smoothly on a Harley Davidson?
First, gradually roll off the throttle and squeeze the clutch to prepare for the downshift. Use the shift lever to push down firmly but controlled into a lower gear.
Before releasing the clutch, quickly blip the throttle to raise engine RPM. This matches the speed of the lower gear and prevents rear wheel lockup.
Then, execute a smooth release of the clutch while gently applying throttle to guarantee a seamless gear transition.
Throughout the process, rely on engine braking combined with precise clutch control to maintain stability and avoid abrupt deceleration or rear tire slip.
Mastering this sequence gives you maximum control, preserving both the bike’s mechanical health and your safety.
Tips for Smooth Gear Changes on a Harley and Common Mistakes
To get those smooth gear changes on your Harley, it’s all about coordinating your clutch release with the throttle. When you do this right, you’ll avoid those sudden jerks that make the ride feel rough.
Another handy tip is to preload the shift lever while keeping your engine RPM steady. This helps your gears engage precisely and cuts down on unnecessary wear.
Just remember, don’t rush your shifts or try to skip gears. Doing that can cause harsh transitions and put extra stress on your bike’s mechanics.
Taking it a bit slower really pays off in the long run.
Master Clutch And Throttle
When you gradually engage and disengage the clutch within the friction zone while coordinating throttle input, you guarantee smooth gear changes on your Harley.
Mastering clutch control and throttle input is key to seamless gear shifts and preventing transmission wear.
To optimize your gear shift technique, apply consistent, gentle pressure on the clutch lever to avoid abrupt transitions.
Release the clutch slowly while rolling on the throttle to match engine RPM with the new gear.
Avoid riding the clutch partially engaged to prevent clutch overheating and accelerated wear.
Coordinate clutch and throttle precisely to prevent engine lugging, stalling, or harsh shifts.
This method ensures a smooth transition through the friction zone and maintains engine performance during every gear change.
Avoid Common Shifting Errors
Although shifting may seem straightforward, common errors can quickly undermine smooth gear changes on your Harley. To avoid shifting errors, always practice precise clutch control by fully disengaging the clutch before shifting. This helps prevent gear grinding and false neutrals.
Avoid shifting at low RPMs to prevent engine lugging and rough gear engagement. Use smooth clutch disengagement and throttle modulation to achieve seamless progression between gears.
Follow the correct gear sequence without skipping gears abruptly to maintain transmission integrity. Regular transmission maintenance is essential. Check clutch and transmission components frequently to guarantee peak performance.
Mastering these techniques ensures smooth shifting, reduces wear, and extends your Harley’s drivetrain life. By focusing on clutch control, RPM management, and proper gear sequence, you’ll experience reliable and efficient gear changes every ride.
Frequently asked questions
What Type of Oil Is Best for Harley Davidson Transmissions?
You should use a high-quality, JASO MA or MA2 certified motorcycle transmission oil for your Harley Davidson. The excellent viscosity usually ranges from SAE 20W-50 to SAE 75W-140, depending on your riding conditions and climate.
Choosing the correct oil prevents overheating and gear wear, which helps ensure smooth shifts and lasting transmission components.
Always follow your owner’s manual for oil change intervals to maintain peak performance and avoid costly damage. It’s really worth sticking to these guidelines to keep your bike running great.
How Often Should I Service My Harley’s Clutch System?
You should service your Harley’s clutch system like clockwork, every 10,000 miles or at least once a year, whichever comes first. Regular checks include inspecting clutch plates, springs, and cable or hydraulic fluid levels to avoid slipping or shifting issues.
For cable adjustments or hydraulic fluid changes, aim for every 5,000 to 7,500 miles. Staying on this schedule guarantees precise gear engagement and prevents costly repairs down the road. It’s all about keeping your ride smooth and reliable.
Can I Shift Gears While Riding Downhill on a Harley?
Yes, you can shift gears while riding downhill on a Harley. You’ll need to use smooth clutch and throttle control to keep traction and avoid wheel lockup.
Downshifting increases engine braking, which helps reduce brake wear and improves control.
Make sure to match the engine RPM to the lower gear to prevent lugging. It’s a good idea to anticipate gear changes before you start the descent.
Shift gradually to maintain stability and momentum throughout the downhill ride.
What Are the Signs of a Worn-Out Clutch on a Harley?
You’ll notice a worn-out clutch if your Harley’s clutch lever feels harder to pull but the engine or wheel performance doesn’t improve.
If the engagement point shifts noticeably higher or lower, that’s another red flag.
A burning smell or excessive heat around the clutch area means slipping plates.
Also, frequent clutch chatter or slipping during shifts signals deteriorating friction material.
These signs mean it’s time to inspect or replace your clutch.
How Do I Adjust the Clutch Lever Free Play on My Harley?
To adjust the clutch lever free play on your Harley, first locate the adjuster screw or nut at the lever’s end. Loosen the lock nut, then turn the adjuster screw inward or outward to get about 1/8 to 1/4 inch of free play at the lever tip.
Once you have it set, tighten the lock nut securely to prevent any movement.
Finally, pull the lever gently to confirm smooth engagement without excessive travel or tightness. It should feel just right—not too loose and not too tight.
Final Thought
Mastering gear shifts on your Harley demands focus and timing, much like a conductor guiding an orchestra from the days of yore. By understanding the controls, using the tachometer, and practicing smooth upshifts and downshifts, you’ll guarantee peak performance and safety.
Avoid common mistakes, and your riding experience will be seamless and efficient. Keep these techniques sharp, and your Harley will respond like a well-tuned machine every time you hit the road.