How To Change Clutch Lever On Harley Davidson – Quick Guide
To change your Harley Davidson clutch lever, first secure the bike to prevent tipping and relieve cable tension. Remove the rubber boot and mark the perch before taking off the old lever using a T10 Torx wrench and snap ring pliers.
Transfer the sleeve and spring to the new lever, making sure they’re properly aligned. Reinstall the lever and adjust the clutch cable tension with the barrel adjuster for smooth operation.
Getting the setup right and fine-tuning it is key. Learning these detailed steps will help ensure reliable performance and make the lever easier to use.
Prepare Your Harley for Clutch Lever Replacement
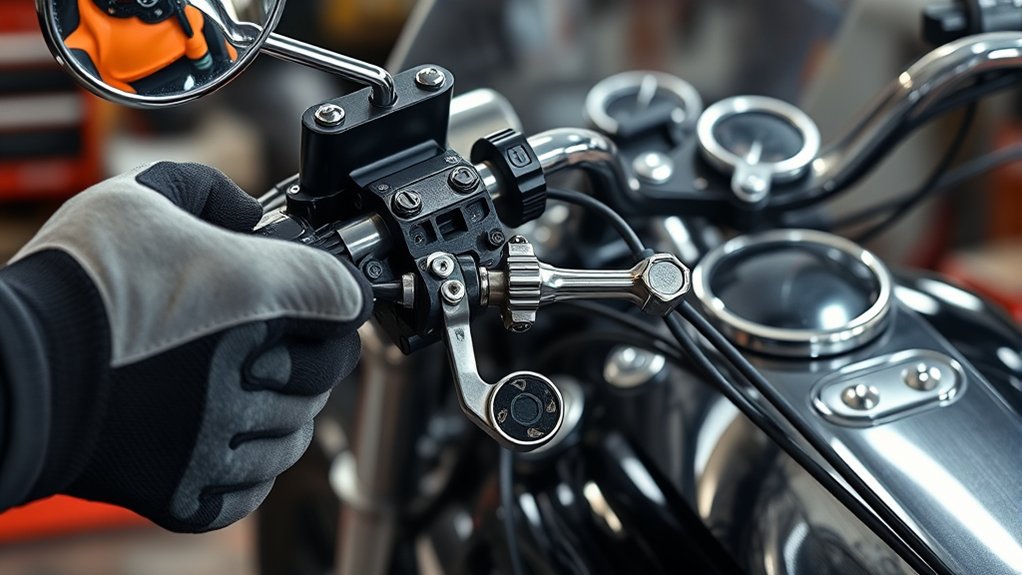
Before you begin replacing the clutch lever on your Harley Davidson, make sure the motorcycle is securely mounted on a lift or stand to prevent tipping.
To prepare, relieve tension on the clutch cable using an aftermarket Fat Bagger’s Easy Clutch Adjuster. This step simplifies removal and reduces cable strain.
Next, remove the protective rubber boot covering the clutch lever assembly to access the mounting hardware easily.
Before detaching the lever, mark the perch position clearly. This ensures proper alignment during reassembly.
Mark the perch position clearly before removing the lever to ensure precise realignment later.
By following these preparation steps, you minimize errors and streamline the replacement process.
Properly preparing your Harley Davidson helps maintain clutch lever functionality and rider control.
Taking the time to prepare thoroughly sets the foundation for a smooth, efficient clutch lever replacement.
Gather Tools for Clutch Lever Replacement
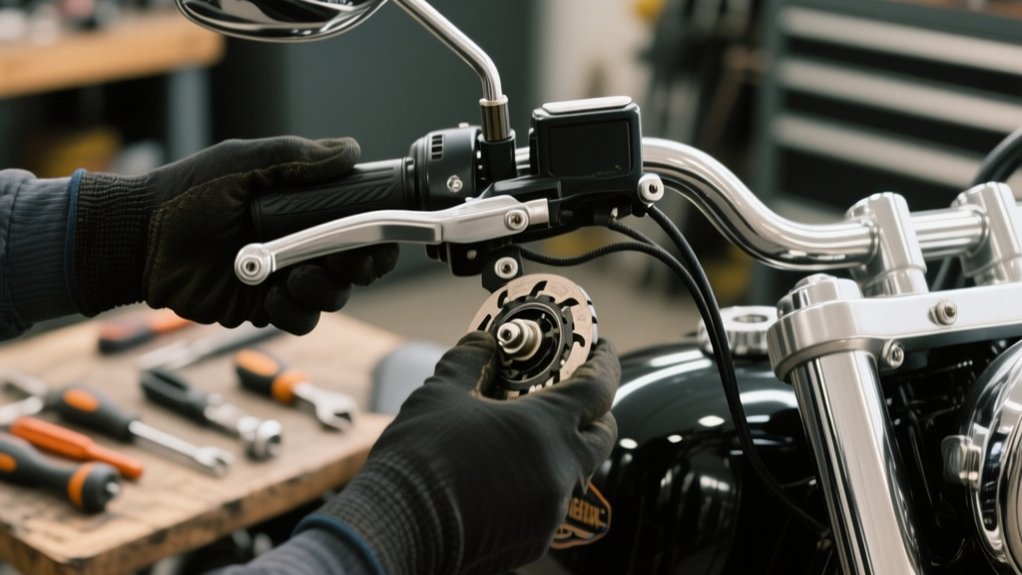
Start by gathering some essential tools like a T10 Torx wrench, snap ring pliers, and two 15mm wrenches—these will help you handle the clutch lever removal and installation smoothly.
Next, set up a stable workspace with good lighting. It’s also a good idea to secure your motorcycle on a lift or stand to keep it steady while you work.
Knowing what each tool is for will make the replacement process easier and help you avoid any damage or losing small parts along the way.
Essential Tools Checklist
Although replacing the clutch lever might seem straightforward, gathering the right tools is essential to avoid delays and damage. To install a whole new lever on your Harley Davidson, make sure you have a T10 Torx wrench, snap ring pliers, two 15mm wrenches, a rubber mallet, and a socket set ready.
These tools allow you to safely detach the clutch cable, retaining ring, and bolt without harming components.
Also, have replacement clutch cable tension adjusters and new hardware on hand for smooth installation. Don’t forget cleaning supplies and lubrication to maintain ideal lever function after installation.
Ensuring you have this essential tools checklist completed before starting will streamline the process and preserve your bike’s performance.
Preparing Workstation Setup
When you gather essential tools like a T10 Torx wrench, snap ring pliers, and two 15mm wrenches, you’ll guarantee a smooth clutch lever replacement on your Harley Davidson. Start by stabilizing the motorcycle securely to access the clutch lever safely and comfortably.
Clear your workspace to avoid losing small parts during the process. Remove the protective rubber boot from the clutch lever assembly to expose the components for easier handling.
Next, loosen the clutch cable tension using an aftermarket Fat Bagger Easy Clutch Adjuster; this step facilitates lever removal.
Key setup steps include:
Securely lift or stabilize the motorcycle.
Clear the workspace of debris and loose parts.
Remove the rubber boot from the clutch lever assembly.
Loosen clutch cable tension with an easy adjuster tool.
Tool Functions Explained
Gathering the right tools after setting up your workspace guarantees the clutch lever replacement goes smoothly. Use a T10 Torx wrench to remove screws securing the clutch lever assembly precisely.
Snap ring pliers are essential for removing and reinstalling the retaining rings on the clutch lever pin without damage.
Two 15mm wrenches help you efficiently loosen and tighten the nuts and bolts involved in the installation.
A rubber mallet paired with the correct socket allows you to remove or install the clutch sleeve gently, preventing harm to surrounding components.
Having all these tools prepared beforehand minimizes delays and assures each step proceeds efficiently. This reduces the risk of errors or part damage during the clutch lever replacement on your Harley Davidson.
It really pays off to be ready!
Remove the Stock Clutch Lever
Start by grabbing a T10 Torx wrench to remove the bolt that holds the clutch lever onto the handlebar perch.
Once that’s off, gently disconnect the clutch cable by popping off the retaining ring using snap ring pliers.
Make sure you keep track of all the little hardware pieces and take a good look at how the cable is routed—this will make putting everything back together a lot easier.
Lever Removal Tools
Although removing the stock clutch lever requires precision, having the right tools makes the process straightforward. To safely detach the lever without damaging components, you’ll need specific tools that guarantee smooth removal and preserve hardware for reassembly.
Essential tools include a T10 Torx wrench to remove the securing bolt, snap ring pliers for detaching the retaining ring, and a rubber mallet or socket to gently push the clutch lever pin upward. You’ll also want a container or tray to keep pins, clips, and springs organized.
Using these tools correctly helps you avoid stripping bolts or bending pins. Keep track of all small parts to guarantee an efficient reinstallation or replacement of the clutch lever later.
This preparation sets the stage for the next step in the process.
Disconnecting Clutch Cable
Before removing the stock clutch lever, loosen the clutch cable tension using an aftermarket adjuster to ease disconnection. This step reduces cable tension, making lever removal smoother and preventing damage.
Next, use the appropriate wrench or socket to remove the bolt securing the clutch lever.
With snap ring pliers, carefully slide the retaining ring off the clutch lever pin to free the lever.
Then, push the clutch lever pin upward out of the handlebar assembly.
Once the pin and retaining ring are removed, gently pull the clutch lever away from the handlebar. This process fully disconnects the clutch cable from the lever, preparing it for replacement.
Handle components carefully to avoid bending or damaging any parts during removal. It’s a good idea to take your time here so everything stays in good shape.
Transfer Hardware and Install the PSR Clutch Lever
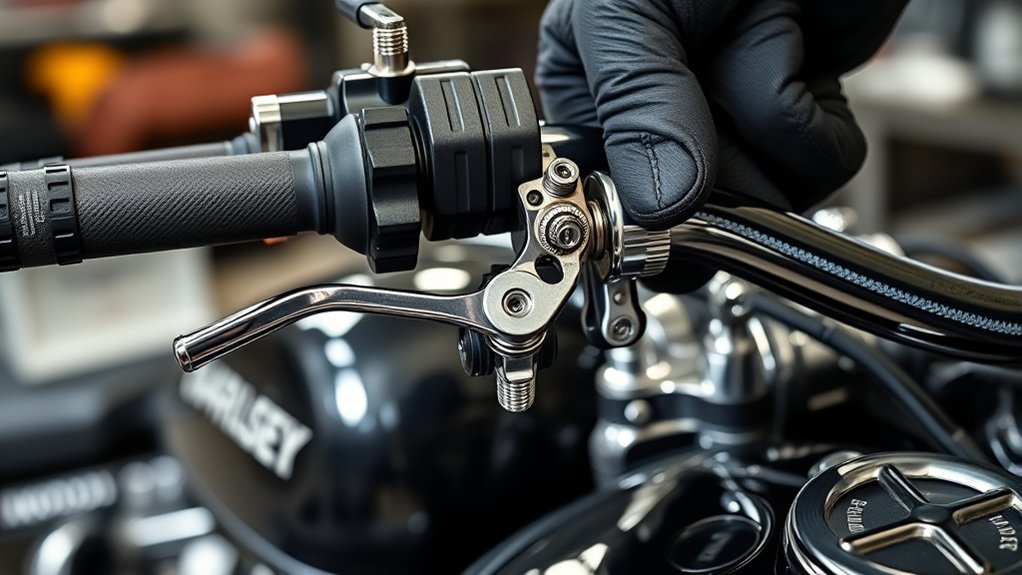
Once you’ve removed the snap ring securing the clutch lever pin with snap ring pliers, push out the pin and transfer the clutch lever sleeve and spring from the old lever to the new PSR lever.
After removing the snap ring, push out the pin and transfer the sleeve and spring to the new lever.
Make certain the spring sits properly inside the sleeve to ensure proper function.
Align the new lever with the existing hardware, verify the sleeve and spring placement, then insert the lever pin through both components.
Finally, reinstall and secure the snap ring to hold everything firmly in place.
Keep these points in mind:
- Make certain the spring is seated correctly inside the sleeve
- Align the lever precisely with the clutch assembly
- Insert the lever pin fully before snap ring installation
- Confirm hardware security and lever movement before reconnecting the cable
This guarantees a smooth, reliable clutch lever installation.
Align the Clutch Lever Spring for Smooth Operation
When aligning the clutch lever spring, position its coil precisely over the hole in the housing to guarantee proper engagement. Use a small tool or your finger to hold the spring steady while guiding the lever into place to prevent slipping.
Make sure the spring seats fully into the groove or notch for smooth lever action. Also, verify the spring’s open end faces the direction specified by the manufacturer.
After assembly, test the lever’s movement to ensure smooth operation and correct alignment.
| Step | Action | Purpose |
|---|---|---|
| 1 | Center coil over hole | Proper engagement |
| 2 | Hold spring while positioning | Prevent spring displacement |
| 3 | Seat spring in groove | Smooth lever operation |
| 4 | Check spring orientation | Ideal performance |
Adjust PSR Clutch Cable Tension
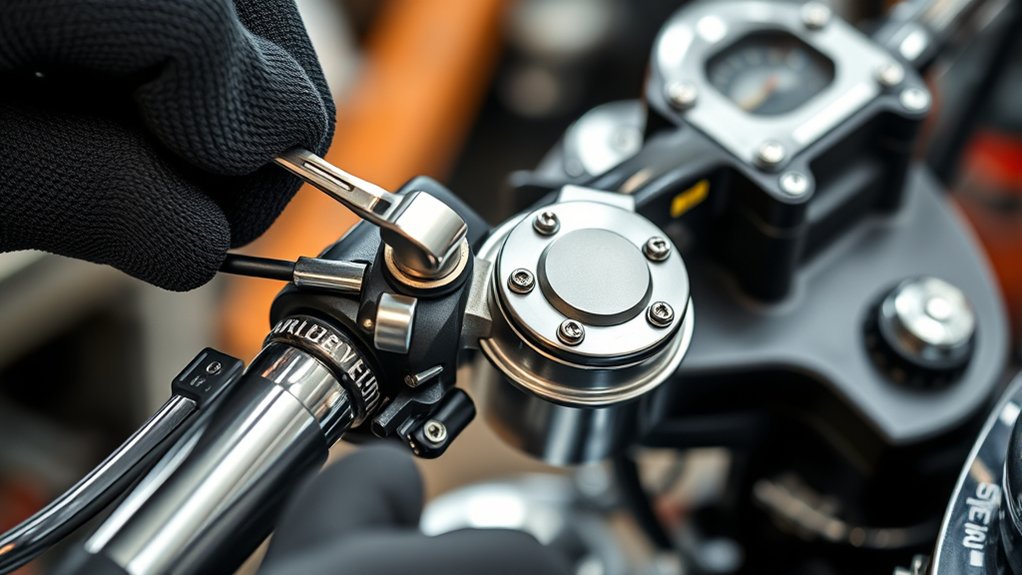
Although the PSR clutch lever comes pre-adjusted, you’ll often need to fine-tune the cable tension for ideal clutch engagement. Start by turning the barrel adjuster clockwise to increase tension or counterclockwise to reduce it.
Aim for smooth clutch engagement with minimal lever travel by making small, incremental changes.
Make sure the clutch fully disengages when you pull the lever.
Focus on these key steps:
- Use a clutch cable tension gauge or measure lever free play per your Harley’s manual.
- Adjust the barrel adjuster gradually to reach the recommended clearance.
- Test clutch function by pulling the lever and ensuring smooth disengagement.
- After a short ride, recheck and fine-tune tension for efficient performance and rider comfort.
Proper adjustment ensures reliable clutch operation and extends cable life. It’s worth taking the time to get it just right.
Avoid Common PSR Clutch Lever Installation Problems
To avoid common PSR clutch lever installation problems, you need to guarantee the spring aligns perfectly with the hole in the housing before reassembly. Start by marking the perch before removal to ensure accurate repositioning.
Ensure the spring perfectly aligns with the housing hole and mark the perch before removal for precise reassembly.
Assemble the clutch components off the handlebar to gain better control and prevent the spring from slipping during installation.
Use visual cues, such as your marks or reference images, to verify the spring’s and lever’s correct alignment. Follow a step-by-step process, double-checking each connection as you go.
This method minimizes frustration, prevents misfits, and ensures smooth lever function.
Taking these precise steps helps you avoid malfunction and saves time during installation. Plus, it keeps your Harley Davidson’s clutch performance at its best.
Frequently asked questions
Can I Change the Clutch Lever Without a Motorcycle Lift?
Yes, you can change the clutch lever without a motorcycle lift. Just make sure to secure your Harley on a stable, level surface so it doesn’t move around while you’re working.
Removing the clutch cable and lever assembly from the handlebar will give you better access and a more comfortable working space.
If you need to, you can use a compact stand or ramps to slightly elevate the bike for better reach.
This method is practical and effective. It lets you complete the job safely without needing any specialized lifting equipment.
How Often Should I Replace My Harley Clutch Lever?
You should replace your Harley clutch lever every 10,000 to 20,000 miles, depending on how often and hard you ride. Inspect it regularly for cracks, bends, or looseness.
If the lever feels stiff, hard to operate, or the adjustment mechanism fails, it’s time to swap it out.
Upgrading to adjustable or aftermarket levers can extend durability and improve comfort.
Don’t wait. Maintain safety by replacing worn levers promptly.
Will Aftermarket Levers Affect My Bike’s Warranty?
Aftermarket levers typically won’t void your Harley’s warranty unless they cause damage or interfere with original systems.
Manufacturers have to prove the part caused the issue to deny coverage, thanks to the Magnuson-Moss Warranty Act.
To protect yourself, keep installation records and use high-quality, OEM-approved levers.
Always review your specific warranty terms because some require original parts for certain repairs.
Choosing compatible components is a smart way to minimize warranty risks.
What’s the Difference Between Stock and PSR Clutch Levers?
The main difference is adjustability and build quality. Stock clutch levers offer limited or no adjustments and are designed for basic use.
PSR levers let you fine-tune reach and friction zones with features like barrel adjusters and ergonomic grips. This enhances comfort and control.
They use higher-quality materials, which improves durability and lifespan. You’ll get a more personalized feel and better performance with PSR compared to the fixed, standard stock levers.
It’s really about getting that extra level of customization and reliability.
Can I Use the Same Clutch Cable With a New Lever?
Yes, you can use the same clutch cable if it’s in good condition and properly adjusted.
For example, a rider replaced their Harley clutch lever with an aftermarket model but kept the original cable after checking for fraying and ensuring correct routing.
Just inspect your cable for wear or rust first. If it’s damaged or the new lever’s geometry differs, you’ll need a new cable or an adapter to maintain smooth clutch operation.
It’s all about making sure everything works smoothly together.
Final Thought
By following these straightforward steps, you’ll have your Harley’s clutch lever swapped with ease, enhancing your ride’s responsiveness. Just remember, a little patience and attention to detail can turn this task from a mild inconvenience into a smooth upgrade.
Keep an eye on cable tension and spring alignment to avoid hiccups. With your new PSR lever in place, you’re all set to enjoy a more confident and comfortable clutch feel on every ride.