How Do I Know If My Harley Timing Is Off – Guide
You’ll know your Harley’s timing is off if you notice misfires, hesitation during acceleration, reduced engine power, or unusual knocking sounds. Rough idling, difficulty starting, excessive fuel use, and vibrations also signal timing problems.
Check timing marks on the cam and crankshaft for alignment, and scan for error codes related to ignition or sensors. Using proper tools like a timing light can help verify timing accuracy.
Keep following for precise steps and solutions.
How to Tell If Your Harley’s Timing Is Off
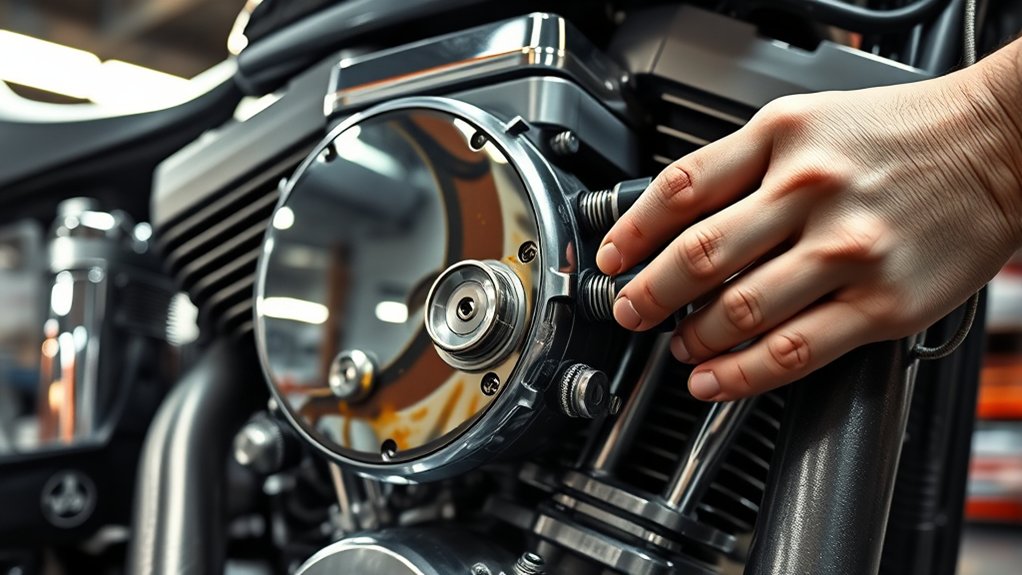
How can you tell if your Harley’s timing is off? Start by observing engine performance. Misfiring, hesitation during acceleration, or reduced power often signal timing issues.
Listen for unusual knocking or pinging sounds, especially under load. These usually indicate improper ignition timing. Also, check for rough idling or difficulty starting since timing affects spark delivery, which is critical for combustion.
Excessive fuel consumption can also hint at timing misalignment.
Another good step is to visually inspect the timing marks on the cam and crankshaft. If they don’t line up exactly as specified in your Harley’s manual, the timing is probably off.
You might also want to run a diagnostic scan to see if it reveals any ignition timing faults. Catching these symptoms early can save you from engine damage and help keep your bike running at its best.
Tools You Need to Diagnose Harley’s Timing Issues
To accurately diagnose your Harley’s timing issues, you’ll need some essential tools like a timing light, a dial indicator, and a good-quality multimeter. These tools help you get precise measurements, so you’re not just guessing.
Using the right diagnostic equipment makes sure you measure timing parameters correctly. That way, you avoid any mistakes that could cause engine problems.
Choosing reliable tools is really important because even small inaccuracies can lead to improper adjustments. And nobody wants that when working on a Harley!
Essential Timing Tools
Although diagnosing timing issues on your Harley might seem straightforward, having the right tools is vital for accurate measurement and adjustment. Without these, you risk misreading timing marks or damaging components.
Here are four essential timing tools you need:
1. Timing Light
Provides a visual indication of the exact moment the spark plug fires. This is crucial for checking ignition timing.
2. Dial Indicator
Measures precise piston position and valve timing. It’s essential for verifying mechanical timing.
3. Feeler Gauges
Helps set accurate valve clearances, which directly affect timing performance.
4. Torque Wrench
Ensures bolts are tightened to manufacturer specs. This prevents timing component slippage.
Equipping yourself with these tools guarantees a precise diagnosis and effective timing correction on your Harley. It’s definitely worth having them on hand!
Diagnostic Equipment Overview
When diagnosing timing issues on your Harley, having the right diagnostic equipment makes all the difference in accuracy and efficiency. Start with a digital timing light designed for motorcycle engines. It lets you easily observe ignition timing relative to the crankshaft position.
A high-quality multimeter is essential for testing electrical continuity and sensor outputs that affect timing. You’ll also want a dial indicator to measure precise piston or camshaft movement. This ensures mechanical timing aligns with specs.
Moreover, an OBD-II scanner compatible with Harley models can read ECU codes linked to timing faults, which streamlines troubleshooting. Each tool serves a specific purpose, helping you figure out whether the problem is electrical, mechanical, or sensor-related.
Equip yourself accordingly to diagnose timing issues without guesswork or unnecessary disassembly.
Tool Accuracy Importance
Choosing the right diagnostic tools is only half the battle. Ensuring their accuracy directly impacts your ability to pinpoint timing problems on your Harley. Inaccurate tools can mislead you, causing unnecessary adjustments or overlooked issues.
To maintain precision, focus on these key factors. First, regularly calibrate tools like timing lights and dial indicators to factory specifications.
Next, use tools with fine measurement resolution for detecting subtle timing deviations.
Also, invest in reputable brands known for consistent performance and durability.
And don’t forget to inspect tools for wear or damage before each use to avoid false readings.
Staying on top of these details will help you get the most reliable results every time.
How to Check Your Harley’s Timing Step-by-Step
First, find the timing marks on your Harley’s engine—they’re key reference points for getting the timing just right.
Then, hook up a timing light to the spark plug wire. This way, you can see the timing marks in action while the engine is running.
Doing this lets you check if your timing matches what the manufacturer recommends.
Locating Timing Marks
Where exactly do you find the timing marks on your Harley? These marks are critical for verifying proper ignition timing. Typically, you’ll locate them on the primary drive cover or the camshaft pulley.
Here’s how to pinpoint them: first, remove the timing inspection cover on the primary drive side. Then, look for a notch or pointer on the outer edge of the camshaft pulley or primary drive.
Next, find the corresponding timing scale or dial on the inside of the primary cover.
Align the pointer with the scale to identify Top Dead Center (TDC) and other specific timing degrees. These marks let you visually confirm your engine’s timing position before fine-tuning.
Just make sure the engine is cold and stationary to avoid inaccurate readings.
Using a Timing Light
Although locating the timing marks is essential, using a timing light provides a dynamic way to verify your Harley’s ignition timing under real operating conditions.
First, connect the timing light’s inductive pickup to the number one spark plug wire. Attach the power clamps to the battery terminals, making sure of proper polarity.
Start the engine and let it reach operating temperature.
Point the timing light at the timing marks on the crankcase. The strobe will illuminate the marks, showing the exact timing position while the engine runs.
Compare the illuminated mark to the factory-specified timing degree in your service manual.
If the mark is off, adjust the ignition timing accordingly by loosening the distributor or timing mechanism.
This method guarantees precise timing verification under load, which improves performance and helps prevent damage.
How to Adjust Timing on Popular Harley Models
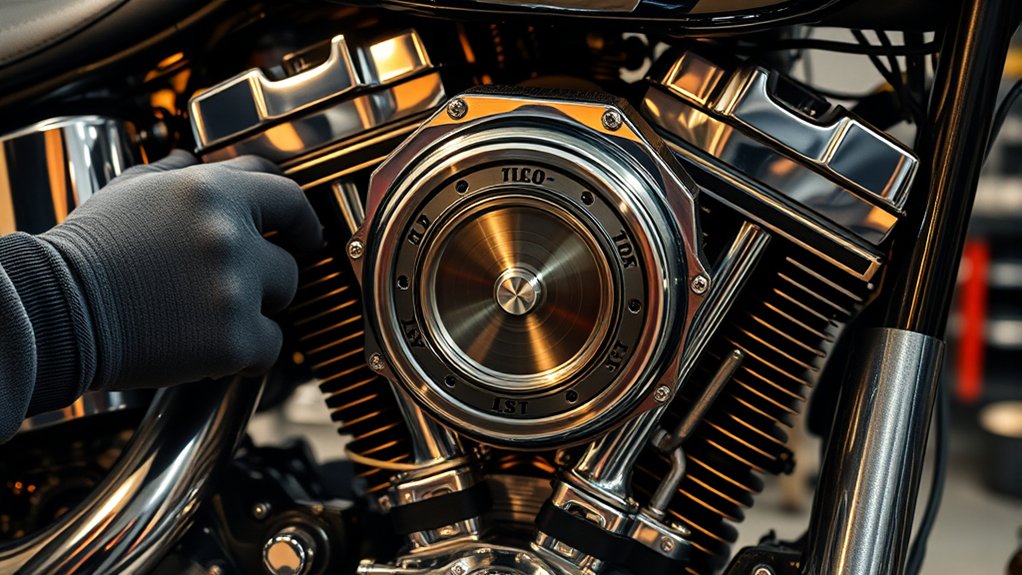
When you need to adjust the timing on popular Harley models, you’ll first want to identify the specific engine type. Procedures vary between Evolution, Twin Cam, and Milwaukee-Eight engines.
Here’s a practical approach to get you started.
First, locate the timing marks on the crankcase for your engine type. Then, use a timing light to verify if the timing aligns with manufacturer specs at idle.
Next, loosen the ignition module bolts carefully. On Evolution and Twin Cam engines, this allows timing adjustment. Milwaukee-Eight models often require ECU tuning instead.
Rotate the ignition module slightly to advance or retard timing. After that, retighten the bolts and recheck with the timing light.
Always consult your service manual for torque specs and specific timing degrees relevant to your Harley model before making any adjustments. It’s the best way to make sure you’re doing it right.
Common Causes of Harley Timing Problems
If your Harley’s timing feels off, several common issues might be causing it. First, worn or damaged timing chains can lead to slack, disrupting precise timing.
Second, incorrectly installed or misaligned camshaft sprockets shift valve timing.
Third, a faulty ignition timing sensor can send inaccurate signals, causing ignition to fire too early or late.
Fourth, a failing crankshaft position sensor may provide erratic input, affecting spark timing.
Furthermore, improper valve clearances can alter combustion timing.
Finally, engine modifications without corresponding timing adjustments often create mismatches.
To diagnose properly, inspect these components methodically, focusing on wear, alignment, and sensor functionality.
Addressing these areas ensures accurate timing and maintains engine performance and reliability.
Taking the time to check these things can really save you from bigger headaches down the road.
How to Prevent Harley Timing Issues
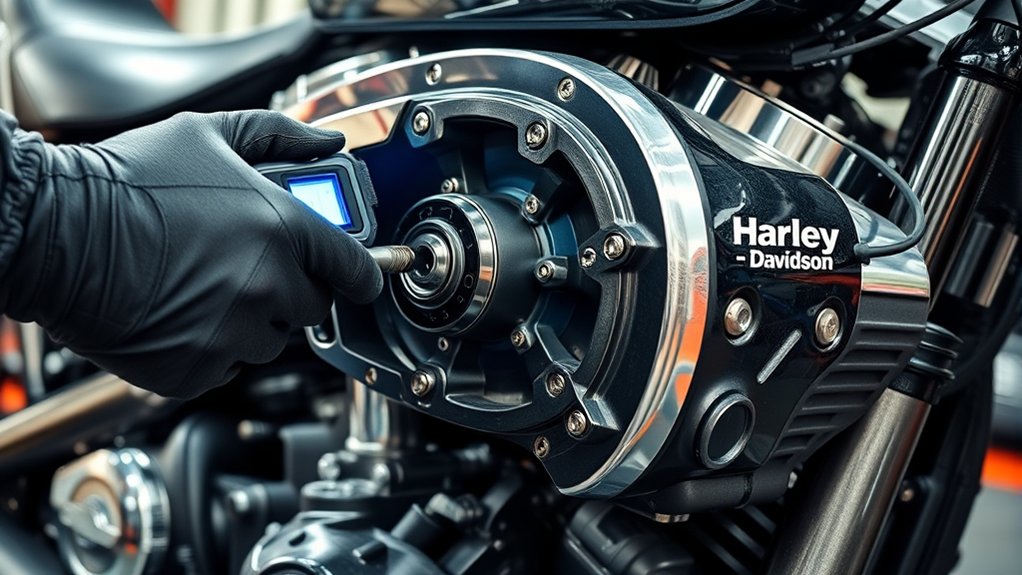
Preventing Harley timing issues starts with regular maintenance and careful attention to key engine components. To keep your timing precise, follow these steps:
- Inspect the timing chain and tensioner regularly for wear or slack. Replace parts as needed to maintain proper tension.
- Check camshaft alignment during scheduled tune-ups. Make sure timing marks line up exactly according to the service manual.
- Use quality lubricants to reduce wear on timing components. This helps prevent premature failure.
- Monitor ignition timing settings with a timing light. Confirm they stay within manufacturer specifications.
Taking these steps consistently will keep your Harley running smoothly and avoid timing problems down the road.
When to Seek Professional Help for Harley Timing?
Although you can handle many timing adjustments yourself, certain symptoms indicate it’s time to consult a professional. If you notice persistent misfires, engine knocking, or unusual vibrations despite your adjustments, these may signal deeper timing issues beyond basic correction.
Furthermore, if your Harley’s computer throws repeated timing-related error codes or the engine fails to start altogether, professional diagnostics become necessary. Complex tasks like verifying camshaft and crankshaft synchronization or replacing timing components require specialized tools and expertise.
Avoid guessing or forcing fixes, as improper timing can cause severe engine damage. When you face ambiguous symptoms or lack the proper equipment, seeking a certified Harley technician ensures accurate diagnosis and precise repairs, maintaining your bike’s performance and longevity.
Frequently asked questions
What Is the Ideal Spark Plug Gap for Harley Engines?
The ideal spark plug gap for most Harley engines is typically between 0.035 and 0.040 inches (0.89 to 1.02 mm).
You should check your specific model’s manual since some variations exist.
Setting the gap correctly guarantees efficient combustion, smooth idling, and peak performance.
Use a feeler gauge to measure and adjust the gap carefully, avoiding damage to the electrode.
Proper gap maintenance helps prevent misfires and poor fuel economy.
It’s a small step that makes a big difference in how your bike runs.
How Does Fuel Quality Affect Harley Engine Timing?
Fuel quality directly impacts your Harley’s engine timing by influencing combustion efficiency. Poor-quality fuel can cause incomplete combustion, leading to knocking or pinging, which forces you to retard timing to prevent damage.
On the other hand, high-octane, clean fuel lets you optimize timing for better performance and fuel economy. Using substandard fuel may also cause carbon deposits that disrupt timing sensors and ignition systems.
Can Aftermarket Exhausts Impact My Harley’s Timing?
Yes, aftermarket exhausts can impact your Harley’s timing. They often change backpressure and exhaust flow, which affects scavenging and cylinder pressure.
This shift can cause your engine’s timing to run lean or rich, leading to misfires or poor performance.
You’ll need to retune ignition timing and fuel mapping to compensate. Always use a tuner or dyno to optimize your setup after installing an aftermarket exhaust for precise engine timing adjustments.
It’s definitely worth the effort to keep your bike running smoothly.
What Are the Symptoms of a Failing Ignition Coil?
You’ll notice symptoms like engine misfires, rough idling, and difficulty starting when your ignition coil is failing. Your Harley might also experience reduced power and poor fuel economy.
Sometimes, you’ll get intermittent stalling or the check engine light might come on.
These issues happen because the coil’s not delivering consistent voltage to the spark plugs. Testing the coil’s resistance with a multimeter can confirm if it’s faulty.
How Often Should I Replace My Harley’s Timing Components?
You should replace your Harley’s timing components every 20,000 to 30,000 miles. This depends on your riding conditions and the specifics of your model.
Make sure to inspect parts like the timing chain, tensioners, and sprockets regularly for any wear or slack.
If you start to notice unusual noises, engine misfires, or a drop in performance, it’s a good idea to replace them sooner.
Always follow your owner’s manual for the exact intervals.
And remember to use OEM parts to keep your engine timing spot on and avoid costly damage.
Final Thought
If your Harley’s timing feels like a misfiring engine in a symphony, it’s time to act. With the right tools and careful steps, you can tune your bike’s rhythm back to perfection. Remember, timing is the heartbeat of performance. Neglect it, and you risk stalling the ride.
Stay sharp and prevent issues early. And don’t hesitate to call a pro when the puzzle gets complex. Keep your Harley running like a well-oiled machine.