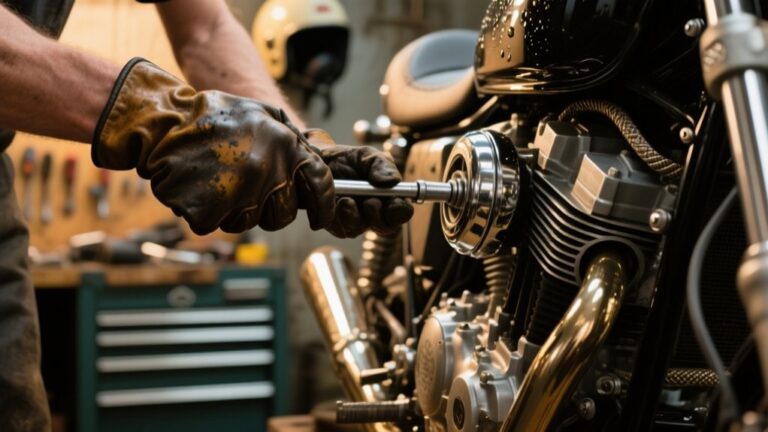
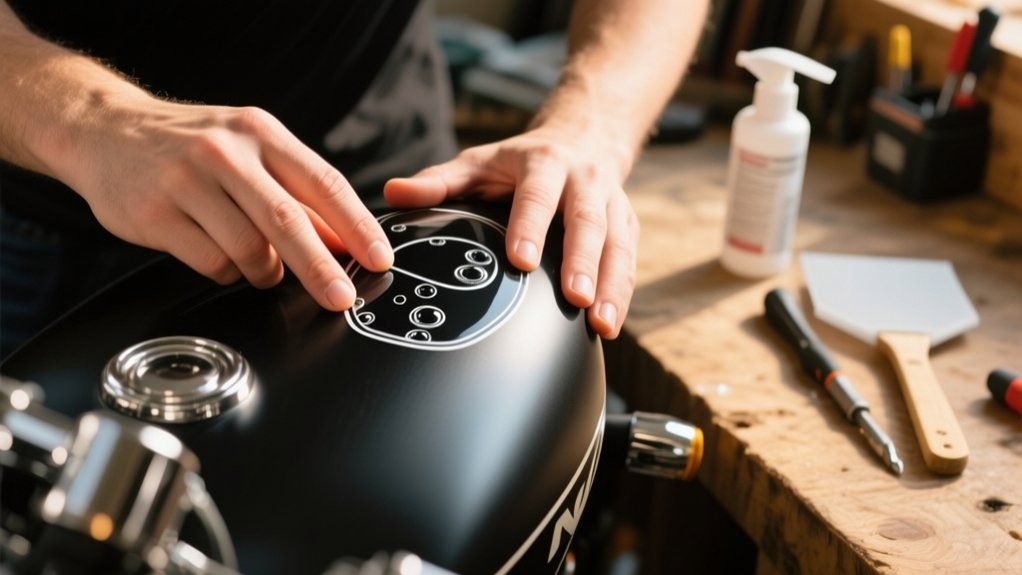
How To Apply Motorcycle Decals – Easy Steps
You’ll want to start by cleaning and degreasing your bike’s surface thoroughly, then trim the decal backing close for easy handling. Use a soapy water spray on both the bike and decal so you can slide it perfectly into place without it sticking right away.
Secure alignment with tape hinges, then squeegee out all bubbles and water from the center outward. Heat helps with curves, and fixing tiny wrinkles is a breeze.
There’s plenty more tips to help you nail that flawless finish.
Gather Tools and Set Up Workspace for Motorcycle Decals
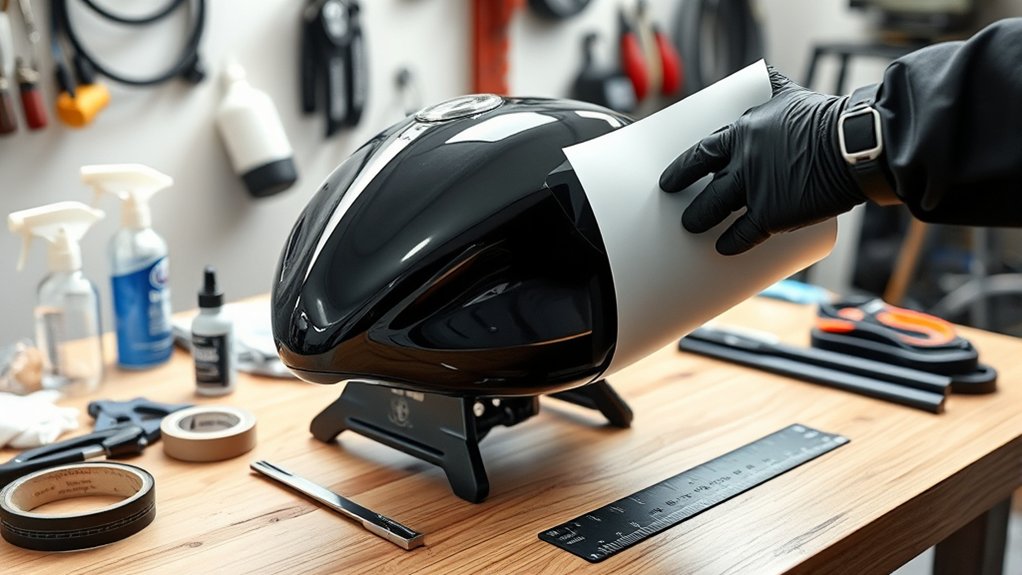
Start by setting up a clean, dust-free workspace where you can focus without distractions. You’ll need a well-lit, wind-free area at a steady 60–80°F to get your vinyl decals to stick perfectly.
Clean surface prep is key, so have soap, water, and 70%+ isopropyl alcohol ready to wipe down the fairings. Before peeling your decal’s backing, fill a spray bottle with water and add a couple of drops of dish soap. This mix helps position the decal without it sticking too fast.
Grab a plastic squeegee for smoothing out bubbles and ensuring solid adhesion. Don’t forget microfiber cloths for drying and masking tape to hold your decal in place while you check alignment. Getting these tools and setup right sets you up for smooth, flawless decal application.
Deep Clean and Degrease Motorcycle Fairings
Start by giving your fairings a good wash with some car soap and water to blast away all the dirt and grime.
Once that’s done, dry them off using a clean microfiber cloth.
After that, you’ll want to strip away any wax or polish with a dedicated remover—this helps make sure there’s nothing left behind that could mess with how your decals stick.
Finally, take a bit of high-proof isopropyl alcohol and wipe down the exact spot where the decal will go to get rid of any oils.
Let it dry completely before you touch it again, and you’re all set!
Thorough Surface Washing
Almost always, the key to a flawless decal application lies in how well you clean and prep your motorcycle fairings.
Start by washing your fairings with soapy water mixed from car wash soap and clean water to knock off dirt and grit.
Rinse thoroughly with clean water and dry each panel carefully using a clean microfiber cloth. This prevents scratches and removes any lingering grime.
Next, remove any wax, polish, or ceramic coatings; these layers block adhesives from bonding properly.
For that last essential step, perform a final-degrease by wiping the decal area with 70%+ isopropyl alcohol on a fresh microfiber cloth. Let the alcohol evaporate completely before you touch the surface again.
This deep clean guarantees your decals will stick like a dream without bubbles or peeling later.
Wax And Residue Removal
Once your fairings are squeaky clean from washing, it’s time to tackle any wax, polish, or ceramic coatings hiding on the surface.
To remove wax effectively, grab a dedicated wax remover or a citrus-based adhesive remover. These break down stubborn residues quickly.
Apply it generously, then wipe away all traces, making sure the surface feels smooth and residue-free.
Don’t skip degreasing; it’s essential for a flawless decal bond. While the final alcohol degreasing comes later, at this stage, use adhesive remover on any leftover sticky patches, especially if you peeled off old decals.
This step preps your fairings perfectly, setting the stage for that crisp, clean decal look.
Your bike deserves nothing less than a deep, thorough clean before decals go on!
Final Alcohol Degreasing
Ensuring your fairings are perfectly prepped means giving them a final wipe-down with 70%+ isopropyl alcohol using a clean microfiber cloth until every trace of wax, oil, or residue disappears. Grab a fresh, lint-free cloth for this essential degrease step, and don’t touch the cleaned surface with your bare hands afterward. Finger oils will ruin your work.
Work in a temperature-controlled space between 60–80°F to help the alcohol evaporate quickly, usually within a minute. If you’re removing old decals, gently heat and peel them, then scrub off adhesive residue with alcohol and repeat the degrease process until the surface is spotless. This deep clean guarantees your decal sticks perfectly, giving your bike that flawless finish you’re aiming for.
Trim Backing Paper Closely and Plan Decal Placement
You’ll want to trim the backing paper tight to the decal edge, leaving just enough to grip without messing up the adhesive.
Then, plan your placement carefully.
Use tape to hold it in place and mark key reference points so everything lines up perfectly.
Taking these steps makes sure your decal sits straight and flawless on your bike.
Precise Backing Paper Trimming
Start by trimming the backing paper closely, keeping it within 1 to 2 millimeters of the decal edge. This reveals the decal’s true size during dry-fit and stops excess backing paper from messing with your alignment.
When working with large decals, trim near the edges and peel back only 10–20% of the backing paper at once. This keeps exposed adhesive minimal so you can reposition without trapping dust.
Use small rolled masking tape tabs on the trimmed backing as temporary holds, and frame the area with tape to relocate the decal exactly after trimming. On tricky or curved panels, trim the backing in sections to prevent big flaps from catching vents.
Keep all trimmed pieces tidy to avoid loose paper sneaking under the decal while you squeegee it down.
Strategic Decal Positioning
Trimming the backing paper closely sets you up perfectly for positioning your decal with precision. When you trim the backing paper right to the decal’s edge, your dry-fit shows true dimensions, avoiding visual tricks from extra paper.
Here’s how to nail it:
- Use a small rolled piece of masking tape to hold the decal temporarily while you step back and eyeball alignment or re-measure for symmetry.
- Frame the spot with strips of masking tape, using reference points like bolts or seams, so you can reposition it exactly after handling.
- For larger decals, peel just a small part of the backing to anchor an edge, then gradually expose more as you squeegee across. This keeps control and avoids dust.
This method guarantees your decal sits flawless and symmetrical every time!
Dry Fit Your Decal to Check Placement
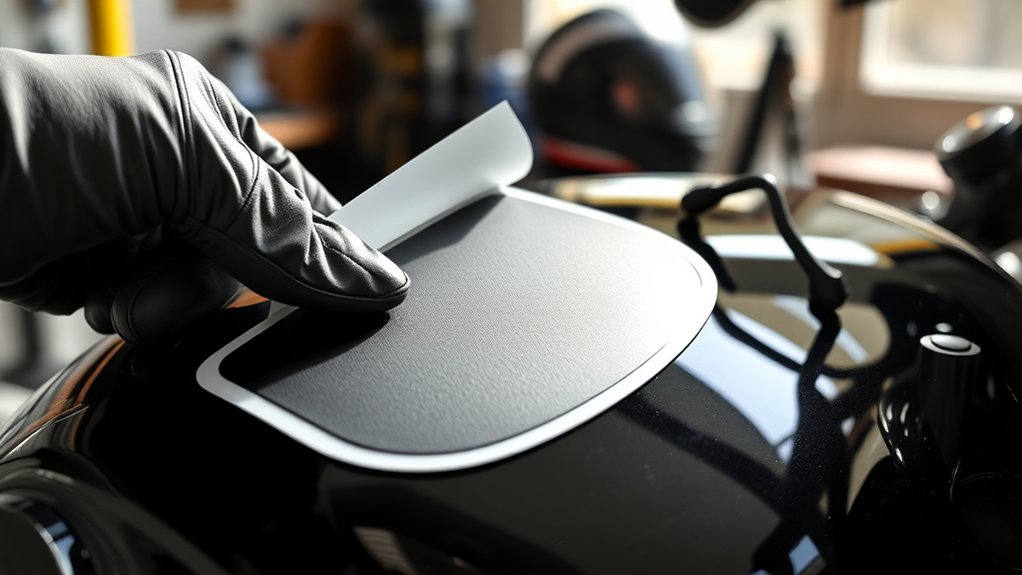
Before you stick your motorcycle decal down for good, it’s essential to dry fit it and get a feel for the placement. Start by trimming excess backing paper, so you’re working with true sticker dimensions.
Use a small rolled piece of masking tape to hold the decal in place during your dry fit. Frame the spot with more masking tape to mark the area and step back to eyeball the alignment.
Don’t hesitate to measure with a ruler to confirm it’s level and centered. Perform multiple dry fits, repositioning the decal until you’re happy with gaps around vents, edges, or screw holes, especially if you’re matching decals on both sides.
Keep the surface clean and untouched after degreasing, so your dry fit reflects exactly where the decal will finally sit.
Mix a Soapy Water Solution for Easy Decal Positioning
Grab a spray bottle and mix about 95% water with just a couple of drops of mild dish soap—that’s your secret sauce for slick decal positioning.
Spray both the bike’s surface and the decal generously. This way, you’ll have the freedom to slide and adjust without any stress.
This soapy water trick doesn’t just help you push out air bubbles; it also gives you a good 5 to 15 minutes to get everything perfectly aligned before it sticks for good. Pretty handy, right?
Soap-To-Water Ratio
Mixing the right soapy water solution is key to getting your decal to slide into place without losing its stick. You want about 95% water to 5% soap. Think of a spray bottle filled with water plus 2–3 drops of dishwashing liquid per 500–700 mL. This wet application lets the decal glide smoothly while the soap reduces surface tension just enough.
Here’s the ratio magic:
- Use clean tap or distilled water. No solvents or harsh chemicals.
- Add just a few drops of mild, non-sudsing soap. Too much makes it slippery.
- Spray both the panel and decal’s adhesive side liberally for easy positioning.
This balance gives you about 5–15 minutes to tweak your decal before the adhesive grabs tight.
Solution Application Tips
When you spray your soapy water solution generously on both the motorcycle surface and the decal’s adhesive side, you give yourself the perfect slick layer to slide the vinyl into just the right spot.
Using the Wet Method means mixing about 95% clean water with 5% soapy water, just 2–3 drops of mild dish soap per 500 ml, to avoid residue that wrecks adhesion.
This slick layer lets you reposition the decal easily, reducing trapped water and air.
Once aligned, quickly squeegee out the water from the center outward to push out water and air pockets.
Then blot excess moisture with a microfiber cloth to speed tack-up.
Benefits Of Lubrication
Getting that perfect decal placement becomes a whole lot easier once you understand how lubrication works. Using a soapy water solution lets your decal slide smoothly across the bike’s surface, giving you precious repositioning time to get it just right.
Wetting both sides drastically cuts trapped air, making bubble-free application a breeze when you squeegee firmly from the center outward. Here’s why lubrication rocks:
- The soapy water reduces tackiness, allowing you to slide and reposition decals easily for up to 10 minutes.
- It lowers surface tension, helping you squeegee out bubbles quickly for a flawless finish.
- Proper blotting after squeegeeing speeds up drying and locks the decal tight without wrinkles.
Avoid over-soaking or harsh chemicals. Just water and a couple of soap drops keep it perfect!
Position the Decal and Slide It Into Place
Start by taping the decal in place using masking tape to create a hinge or frame the exact area where it’ll sit. Step back and check if it’s centered and level before peeling any backing.
If you’re using the wet method, spray the panel and decal’s adhesive with a water-soap mix to let you slide it into perfect position. Then, hinge the decal by holding one edge and gently laying it down, sliding it as needed.
| Step | Action |
|---|---|
| 1 | Tape decal to create hinge |
| 2 | Check alignment & measurements |
| 3 | Spray wet method solution |
| 4 | Peel backing from taped edge |
| 5 | Slide decal and squeegee |
This lets you apply the decal with ease and precision.
Squeegee Out Water and Air Bubbles for a Smooth Finish
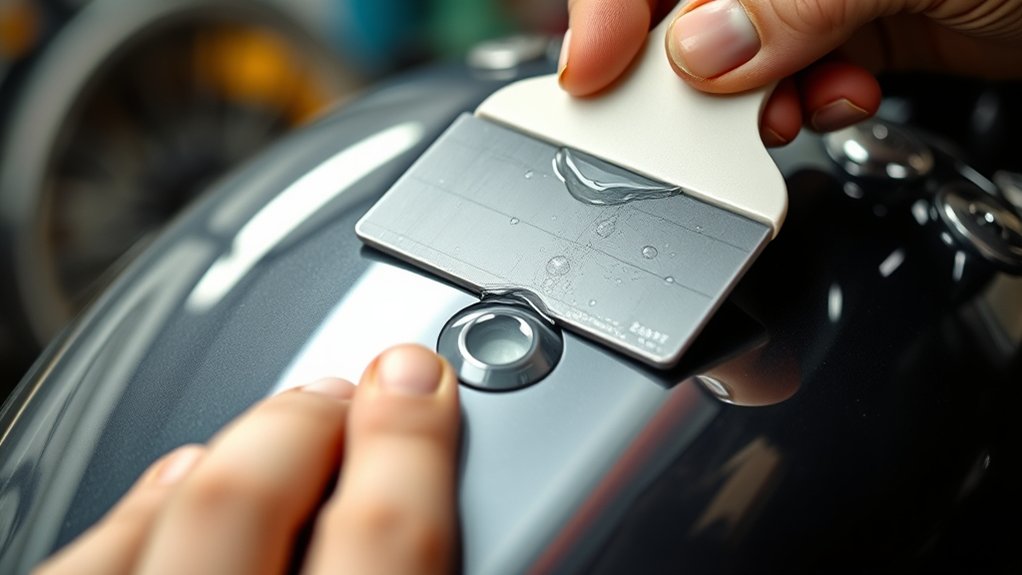
Once you’ve slid the decal into its perfect spot, it’s time to chase out all that water and pesky air trapped underneath.
Grab a soft plastic squeegee wrapped in a microfiber cloth, then press firmly from the center outward in overlapping strokes. This pushes excess water and air bubbles toward the edges for a flawless stick.
Here’s how to nail it:
- Work in 4 to 6 inch passes, keeping pressure steady to avoid stretching the vinyl.
- Blot away excess water with a clean cloth to stop it from sneaking back under the edges.
- For tricky curves, warm the vinyl lightly with a heat gun, then squeegee again to push out trapped air.
Keep an eye out for tiny bubbles. Push them out or make a tiny relief cut to smooth everything perfectly.
Use Heat and Relief Cuts to Manage Curves and Contours
Heat up the vinyl gently with a hair dryer or heat gun set on low to make it soft and flexible. This’ll help you wrap those tricky curves without stress. Keep the heat gun or hair dryer moving to avoid overheating, aiming for about 60–80°C.
Gently warm vinyl with a low heat gun or hair dryer to soften and smoothly wrap tricky curves.
When you hit tight spots, make small relief cuts—tiny slits in hidden edges—to ease tension and stop puckering. Now, stretch warmed vinyl carefully; don’t yank cold stuff!
Work from the center out with a squeegee or gloved finger to press the film into contours and push air out. These steps make your decal hug every curve smoothly.
Always test your heat and relief-cut moves on scrap first. You want perfect results, not warped vinyl or exposed layers!
Fix Bubbles and Wrinkles During Decal Application
Even if you’re careful, bubbles and wrinkles can sneak in during application, but don’t sweat it. You’ve got this.
When you apply stickers, here’s how to tackle those pesky small bubbles and wrinkles:
- While the decal’s still wet, squeegee firmly from the center outward, pushing out air and liquid. Then blot with a microfiber cloth.
- For small bubbles after drying, prick beside them with a tiny scalpel cut. Press the bubble toward the cut and smooth it out to release trapped air.
- For wrinkles on curves, warm the vinyl gently with a heat gun or hair dryer. Lift the wrinkle, stretch it back in place, then squeegee slowly.
Avoid dry repositioning because it risks stretching. If creases persist, it’s better to get a replacement than ruin your decal.
Wait for Proper Curing Before Riding or Waxing
While it’s tempting to hit the road right after slapping on your new decals, you’ve got to give them time to fully cure. You need to allow decals at least 24 to 48 hours at a stable temperature, around 60 to 80°F, for the adhesive to set tight.
Don’t rush it; avoid washing, waxing, or blasting your bike with high-pressure water during this critical cure time. If you used the wet method, you’ve got about 10 minutes to reposition, but that doesn’t cut down the overall wait.
Keep your bike indoors or under cover to dodge UV rays and temperature swings that can mess with the bond. Hold off on any waxing for a week if possible, and never lacquer new vinyl too soon.
Patience here means your decals stick strong and look killer for the long haul.
Frequently Asked Questions
Can I Apply Decals on a Cold or Rainy Day?
You shouldn’t apply decals on a cold or rainy day because temperature considerations and humidity effects seriously mess with adhesive curing.
If it’s below 60°F, the vinyl stiffens, and adhesives take forever to set, increasing your chances of creases or lifting.
Rain or moisture ruins surface cleanliness and traps water under the decal, causing bubbles or failure.
If you must, warm everything up and keep the area dry for at least 24-48 hours after.
How Do I Remove Old Decals Without Damaging Paint?
Think of your old decal like a stubborn sticker on a treasure chest. You want to free it gently without scratching the wood.
Use a heat gun to warm the vinyl and soften the grip.
Slip dental floss behind the edges to gently saw through the adhesive without causing damage. For sticky remains, grab an adhesive remover and a plastic scraper.
Work patiently and don’t rush. This care keeps your paint flawless and your bike looking sharp!
Are There Specific Decal Materials Better for Motorcycles?
You’ll want cast vinyl for your bike since it’s stretchable and heatshrinks perfectly around curves.
Vinyl vs. laminates? Laminates add killer UV and abrasion protection, so use them on painted fairings.
Reflective decals boost visibility, but matte gives a sleek, subtle look. Choose based on style. Don’t forget adhesive strength testing to make sure your decals stick through rain and rides.
Pick materials that handle the ride, not just look good!
Can Decals Be Reused if I Make a Mistake?
Imagine peeling back a decal like lifting a fragile butterfly’s wing. If it’s got repositionable adhesive or is made of temporary vinyl, you might carefully lift and reposition it a few times.
Using heat reactivation can help soften the glue, but don’t expect miracles.
Edge reinforcement helps prevent tears, but once the adhesive weakens, reuse gets tricky. If you want a clean, lasting finish, replacing damaged decals is usually your best bet.
How Long Do Motorcycle Decals Typically Last Outdoors?
You can expect your motorcycle decals to last about 5 to 7 years outdoors if they’re made from high-quality, UV resistant vinyl and you nail proper edge sealing.
Adhesive longevity really depends on climate factors.
Harsh sun or frequent rain can speed up fading and peeling.
To keep them looking fresh, prep the surface well and avoid harsh chemicals.
Trust me, good care seriously extends their life!
Conclusion
Applying motorcycle decals might seem tricky, but with the right steps, you’ll nail it every time. Did you know that 85% of decal failures come from poor surface prep or rushed application?
Taking your time to clean, position, and smooth out bubbles isn’t just picky. It’s what makes your bike look sharp and keeps decals sticking strong.
So, trust the process, enjoy the ride, and show off that custom style with pride!