How To Do A Burnout On A Motorcycle – Full Tutorial
To do a motorcycle burnout safely, find a legal, flat spot free of debris. Wear full protective gear and lower your rear tire pressure slightly for better slip.
Warm your rear tire by spinning the wheel moderately. Then hold the front brake firmly while gradually releasing the clutch and applying steady throttle for a controlled spin.
Avoid full-throttle dumps or prolonged burnouts to protect your bike. Mastering clutch, throttle, and brake control is key. Keep going to get the complete breakdown.
Choose a Safe Spot and Gear Up for Burnouts
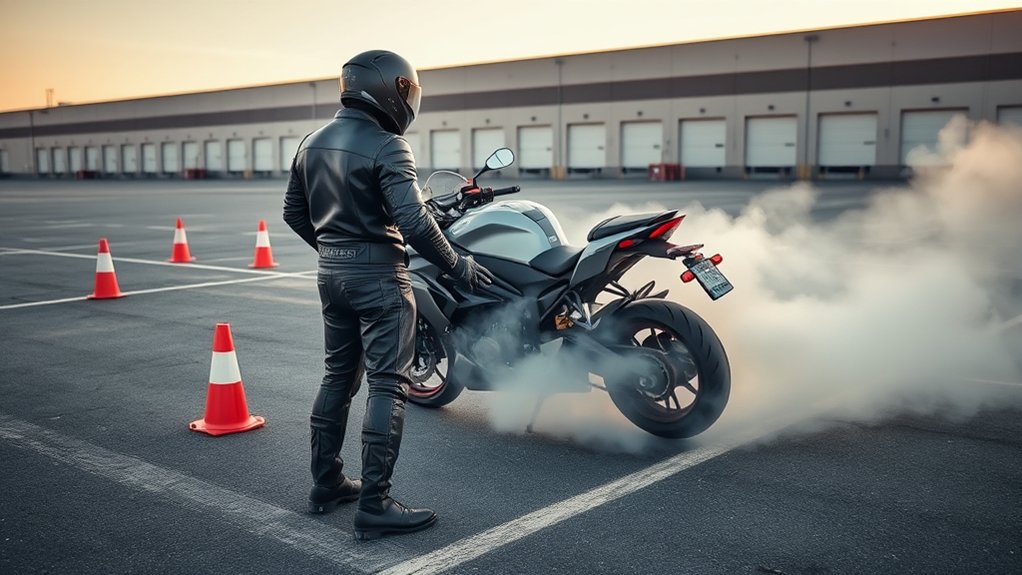
When preparing for a burnout, start by choosing a flat, open area free of debris and traffic. Ideally, pick a legal, private lot or closed track with at least 50 to 100 feet of clear runout. You want good ventilation and no flammable materials nearby, so avoid wet or oily pavement that can affect traction.
Gear up with full protective equipment: a DOT/Snell helmet, leather jacket, gloves, reinforced pants, and boots to guard against burns and debris. Make sure your bike’s rear tire is in good condition with proper pressure per manufacturer specs to avoid failure. Have a spotter or phone ready for safety. Whether you’re a new account or generated by AI, these steps set a solid foundation for safe, controlled burnouts.
Warm Up Your Rear Tire for Burnouts
Generating heat in your rear tire is essential for achieving controlled burnouts. Start by slightly lowering your tire pressure to around 28–30 psi to enhance slip without risking unsafe underinflation. This adjustment helps you manage traction effectively.
Use moderate clutch slips or spin the rear wheel between 3,000–5,000 rpm to rapidly raise the tire’s temperature to about 90–110°C (194–230°F). This thermal cycling softens the rubber, reducing grip just enough for smooth burnouts.
Keep your burnouts short, 5 to 10 seconds, to prevent damage like tread chunking or delamination. Inspect your tire’s surface preparation regularly; a uniform gloss and faint smoke during a brief slide signal it’s ready.
Replace tires showing deep cuts or exposed cords to make certain safety and performance.
Prepare Your Bike for a Rolling Burnout
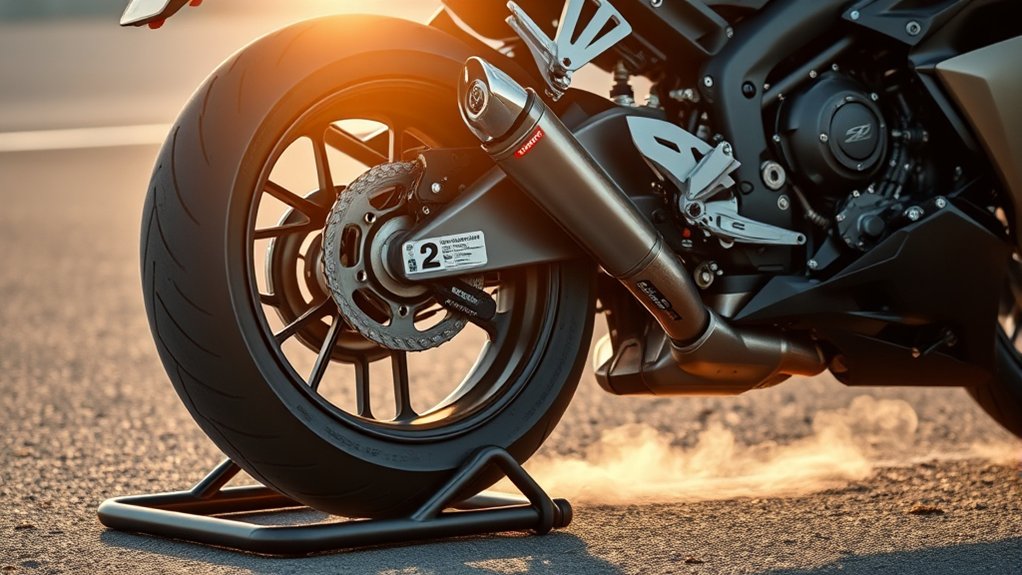
Before attempting a rolling burnout, make sure your rear tire pressure is slightly reduced to around 28–30 psi to help break traction. Keep the front tire at normal pressure for stability.
Next, perform a thorough drive inspection. Check chain tension or belt condition and guarantee smooth clutch engagement to prevent snapping the belt during slip. Confirm your front brake setup; if it actuates the rear brake, use the rear brake pedal instead.
Prioritize safety by wearing full gear and choosing a clean, flat surface. Start with low speed practice at about 10–15 mph, feeling the drive tighten before modulating the clutch to control the burnout. Having sufficient throttle response is vital for maintaining control throughout the maneuver.
Step-by-Step Guide to Doing a Stationary Burnout
To nail a stationary burnout, you’ve got to have precise brake control to lock the front wheel without stalling the engine.
It’s all about timing your clutch release just right—release it quickly but smoothly.
That way, you break rear-wheel traction without damaging your drivetrain.
Mastering these techniques really sets the foundation for a controlled, effective burnout.
Brake Control Techniques
While holding the front brake fully locked, you’ll need to rev the engine to around 4,000–6,000 rpm with the clutch pulled in to keep the rear wheel from turning. Mastering brake control techniques is essential here.
Focus on precise finger placement on the lever to apply firm yet controlled pressure. Avoid clamping the brake too hard, which can cause the front wheel to lock and make balancing difficult. Instead, practice pressure modulation to hold the bike stationary without creeping forward.
Be aware of brake fade. Prolonged use can reduce effectiveness, so adjust your grip accordingly. Balancing finger pressure with clutch control will help you maintain stability while preparing to release the clutch, ensuring a successful, controlled burnout without losing front brake grip or bike balance.
Clutch Release Timing
Mastering brake control sets the stage for nailing the clutch release timing in a stationary burnout. With the bike in first gear, pull the clutch fully in and rev between 6,000–8,000 RPM to match your engine’s ideal burnout range.
Plant the front brake firmly, then quickly release the clutch to break rear traction. Pay close attention to timing cues as the rear tire begins to spin. Ease the clutch in slightly to maintain engine syncing and keep RPM steady.
Use smooth, short clutch slips to sustain the engagement rhythm, avoiding full dumps that risk jerking or belt damage. Practice this at low RPM in a safe space, focusing on clutch feel and control. This precise timing and modulation are key to a consistent, controlled burnout.
Clutch and Throttle Control for Burnouts
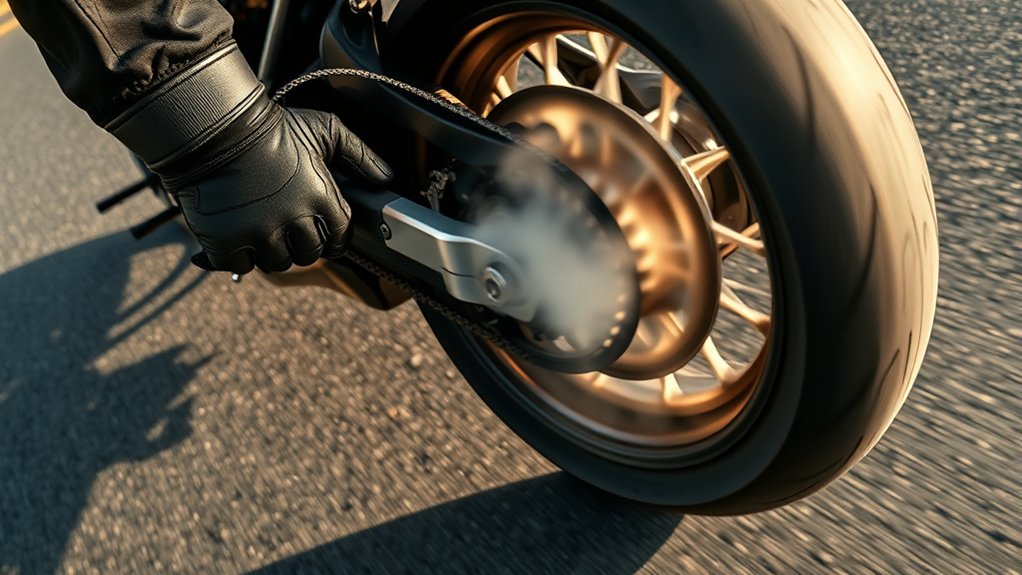
Mastering clutch release techniques and throttle modulation is key to controlling your burnout effectively.
You’ll want to use short, progressive clutch slips combined with steady throttle adjustments to keep the rear wheel slipping without overheating components.
This balance prevents engine bogging and minimizes wear, so practice smooth, precise inputs every time.
With a bit of practice, you’ll get the hang of it and keep everything running smoothly.
Clutch Release Techniques
Control the clutch and throttle with precision to break rear traction smoothly during a burnout. Focus on your lever feel. Start with a slight bite, about 1–2 mm of lever movement, to initiate slip progression.
Use fingertip modulation to feather the clutch out gradually. Avoid abrupt full engagement that can jerk the bike or damage the drive system. For rolling burnouts, ease off throttle slightly when you feel drive belt tension. Then pop the clutch smoothly while maintaining steady throttle.
For stationary burnouts, hold the front brake firmly, rev the engine, then slip the clutch just enough to spin the rear wheel without losing control. Always coordinate clutch release with throttle input. Adjust as the rear wheel spins to keep traction broken but controlled.
Throttle Modulation Tips
A key to perfect burnouts lies in your throttle modulation, fine-tuning your throttle and clutch inputs to keep the rear tire spinning just right. Use micro throttle adjustments and pulse timing to maintain controlled wheelspin without stalling or overheating components.
For stationary burnouts, rev between 4,000 and 6,000 rpm, then release the clutch smoothly while applying slight throttle to slip the rear tire. Anticipate rpm changes by making small corrections (±500–1,000 rpm) and feather the clutch to transfer load and regain traction when needed.
If your bike lacks torque, preload the clutch and increase rpm before breaking traction. Avoid abrupt throttle openings; instead, rely on short, precise blips to protect the clutch, tire, and drive components during your burnout.
Front and Rear Brake Control During Burnouts
When performing burnouts, managing your front and rear brakes effectively is essential to maintain stability and prevent unwanted movement. For standing burnouts, fully compress the front brake with your left hand to lock the bike in place before revving and popping the clutch.
In rolling burnouts, hold the front brake lightly to avoid full lockup while you modulate the rear throttle and clutch to break traction. If your bike has linked systems, a single lever may activate both brakes, which can hinder your burnout.
In that case, tap the rear brake pedal separately or rely on precise throttle and clutch modulation. Always use gradual rear modulation to avoid sudden shocks that can damage components or cause loss of control.
Mastering brake control keeps your burnout smooth and safe.
Avoid These Common Burnout Mistakes
Although burnouts can look impressive, making common mistakes can quickly lead to mechanical damage or loss of control. Avoid excessive front brake pressure, abrupt clutch dumps, and prolonged full-throttle burnouts to protect your bike’s drivetrain and tires.
Remember, attempting burnouts on public roads risks legal implications, insurance complications, and damages community impact by endangering others and inviting complaints. Always practice in controlled, legal areas with safety gear.
| Mistake | Consequence | Emotional Impact |
|---|---|---|
| Excessive front brake | Locked rear wheel | Frustration |
| Clutch dump at stop | Belt or sprocket damage | Regret |
| Full-throttle burn | Overheated tires/clutch | Anxiety |
| Public road attempts | Legal and insurance issues | Fear and guilt |
| Slippery surfaces | Loss of control | Panic |
Stay safe, respect laws, and protect your investment.
Tips to Practice and Improve Your Burnout Technique
Mastering burnout technique takes more than avoiding mistakes. It requires focused practice and control. Start by practicing clutch modulation to find the bite point, using progressive resistance to build muscle memory.
For rolling burnouts, maintain steady throttle and minimal front-brake pressure. This lets the rear wheel slip while rolling. Stationary burnouts demand holding the front brake fully and carefully releasing the clutch to break rear traction without losing control.
Use visual feedback to monitor tire slip and engine response. Adjust throttle and clutch accordingly. Avoid full-throttle dumps to protect your drivetrain. Instead, allow brief slips and cooling periods between attempts.
Always respect neighbor etiquette by choosing quiet, safe locations and limiting burnout duration. Confirm brake behavior first, especially if your bike has linked brakes or ABS, for safe, confident practice.
Frequently Asked Questions
Can Burnouts Damage My Motorcycle’s Engine or Transmission?
Yes, burnouts can cause engine wear and clutch stress if you’re not careful. Holding the clutch or spinning the rear tire excessively generates heat, leading to transmission overheating and premature component failure.
Constant high RPMs during burnouts increase valve-train wear and risk piston damage. To protect your bike, keep burnouts short and controlled, minimizing stress on your engine and transmission while preventing costly repairs or voiding warranties.
What Type of Tires Work Best for Burnouts?
About 70% of riders find slick tires or drag radials with reinforced compounds work best for burnouts. These tires resist heat and wear, letting you maintain controlled slippage longer. Avoid soft compounds because they shred quickly and lose traction unpredictably.
Choose a wider rear tire, around 180–240 mm, for a bigger contact patch. Lower your tire pressure slightly to boost slipability without sacrificing stability. This setup helps you nail burnouts safely and consistently.
How Long Can I Safely Perform a Burnout Without Overheating?
You can safely perform a burnout for about 5–10 seconds to manage heat effectively. Keep RPM limits conservative to avoid overheating your engine and drivetrain.
After each burnout, allow at least 30–60 seconds for cooling to prevent tire and bearing damage. Consider cooling mods like upgraded radiators or oil coolers to extend burnout duration.
Always monitor temperature closely and stop immediately if you notice excessive heat or unusual smells to protect your bike.
Are Burnouts Legal on Public Roads?
Think of burnouts on public roads as sparks flying dangerously close to dry grass—they’re a public nuisance.
You shouldn’t do them because traffic laws strictly prohibit such reckless behavior.
Besides risking hefty fines or license points, you’ll face insurance implications if damage or injury occurs.
Insurers often deny coverage for intentional risks.
Stick to private tracks or sanctioned events to keep yourself and others safe and legal.
Can Burnouts Affect My Motorcycle’s Resale Value?
Yes, burnouts can markedly affect your motorcycle’s resale value. They cause cosmetic depreciation through tire scorching and potential drivetrain damage, which lowers market perception.
Buyers often see burnouts as signs of hard riding or abuse, reducing demand. Furthermore, insurance implications arise if you need repairs or replacements after burnouts, especially without proper documentation.
Keeping thorough service records can help mitigate some value loss, but overall, burnouts hurt your bike’s resale appeal.
Conclusion
Now that you’ve got the basics down, imagine the roar of your engine as smoke curls from your rear tire, the thrill of controlled power at your fingertips. With practice, your burnouts will look sharp and feel smooth, turning heads and boosting your confidence.
Stay safe, respect your bike, and embrace the challenge. Mastering burnouts is as much about control as it is about fire and fury. Keep pushing, and ride on strong.