How To Stop On A Motorcycle – Full Tutorial
To stop a motorcycle safely, roll off the throttle early. Let engine braking help, and then downshift smoothly as you slow.
Squeeze the front and rear brakes together. Use most pressure on the front, then build pressure progressively so the tires keep traction.
Stay upright and brake before turns. Slow earlier on wet or slippery roads.
At a stop, put your left foot down and keep the bike in first. There’s more to master next.
How to Stop a Motorcycle
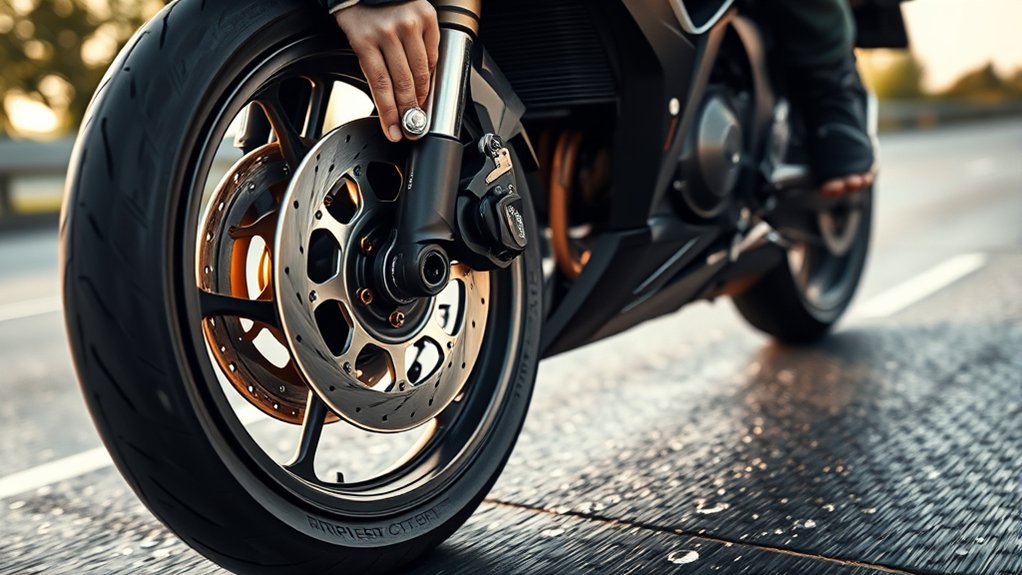
To stop a motorcycle safely, ease off the throttle first so engine braking helps slow you down. Then apply both brakes together smoothly and firmly.
Remember that your average reaction time means you should begin braking well before your target point. Use the front brake for most of the force and the rear brake for stability.
Keep the bike upright for best traction, especially in an emergency. On wet or slippery roads, brake earlier and allow extra distance because stopping takes longer.
If you have ABS, squeeze progressively instead of grabbing. As you come to a complete stop, keep the clutch in, hold the brakes if needed, and place your left foot down first.
This Motorcycle Safety habit helps prevent rolling and keeps control.
Ease Off the Throttle and Downshift
Ease off the throttle early so the bike slows naturally. Let engine braking help before you touch the brakes.
Roll off smoothly, then stay relaxed and ready to shift. Let the motorcycle decelerate as you prepare.
When speed drops, pull in the clutch only when you’re slow enough to change gears. Downshift one gear at a time to match the revs.
This reduces transmission stress and helps preserve stability. Don’t skip gears, and use engine braking from lower gears to control speed.
Ease off the throttle well before your stop. You’ll be able to select first gear before you come to rest.
On hills, hold the clutch as needed. Stay in first gear and keep the bike steady so it won’t roll.
Use the Front and Rear Brakes Together
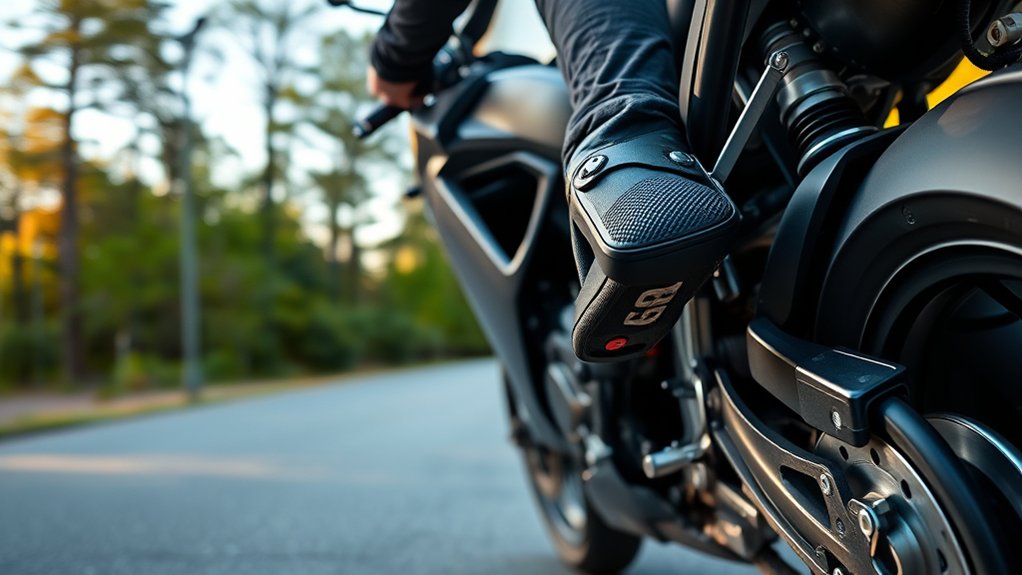
Squeeze the front brake and press the rear brake at the same time for a controlled stop. Use both brakes every time you ride to get the shortest safe stop without upsetting the bike.
Front brake: Apply about 75% of your stopping power with two fingers on the lever.
Rear brake: Press the pedal gently with your right toe to help balance and stability.
Emergency stops: Use both brakes firmly and smoothly. Don’t grab just the front lever.
Wet roads: Brake earlier and more gently, and give yourself much time to stop.
If the front tire starts to lock, briefly release the lever and reapply it while keeping the rear brake working. With practice, this becomes automatic and keeps you in control.
Brake Progressively Without Locking the Wheels
Ease off the throttle first, and then squeeze both brakes progressively. Aim for about 75% front and 25% rear pressure so the bike settles smoothly without pitching forward.
Keep two fingers on the front lever, and build pressure gradually rather than grabbing it. That way, you stay in control and reduce the chance of locking the wheel.
If the front starts to skid, briefly release the lever and reapply with firmer, controlled pressure—especially on wet or slippery pavement.
Progressive Brake Pressure
Build brake pressure progressively so your tires keep traction and the bike stays stable.
When you’re going faster, the first squeeze matters.
Apply the front lever and rear pedal smoothly, not suddenly.
Aim for about 75% front and 25% rear, and build force over 1–2 seconds.
Start with moderate pressure, then increase it evenly.
Keep both brakes working together for balanced deceleration.
In an emergency, squeeze firmly, but keep it progressive.
On wet pavement, add pressure more slowly and allow extra stopping distance.
If the front starts to chatter, ease slightly and reapply with less force.
Practice in a traffic-free area until your hands and feet learn the exact input for controlled stops.
Wheel Lock Prevention
To keep that smooth stop from turning into a skid, apply both brakes progressively so the tires stay hooked up.
Squeeze the front lever and press the rear pedal smoothly over about half to one second.
Use roughly two fingers on the lever so you can modulate pressure instead of grabbing too hard.
Aim for about 75% front and 25% rear brake force.
That balance gives you most of the stopping power while keeping the bike stable.
If a wheel starts to lock, ease that brake briefly, then reapply firmly to regain traction.
On ABS bikes, the system will pulse for you, but you still need gentle input.
On wet or loose pavement, brake even softer and give yourself extra distance.
Put Your Left Foot Down at a Stop
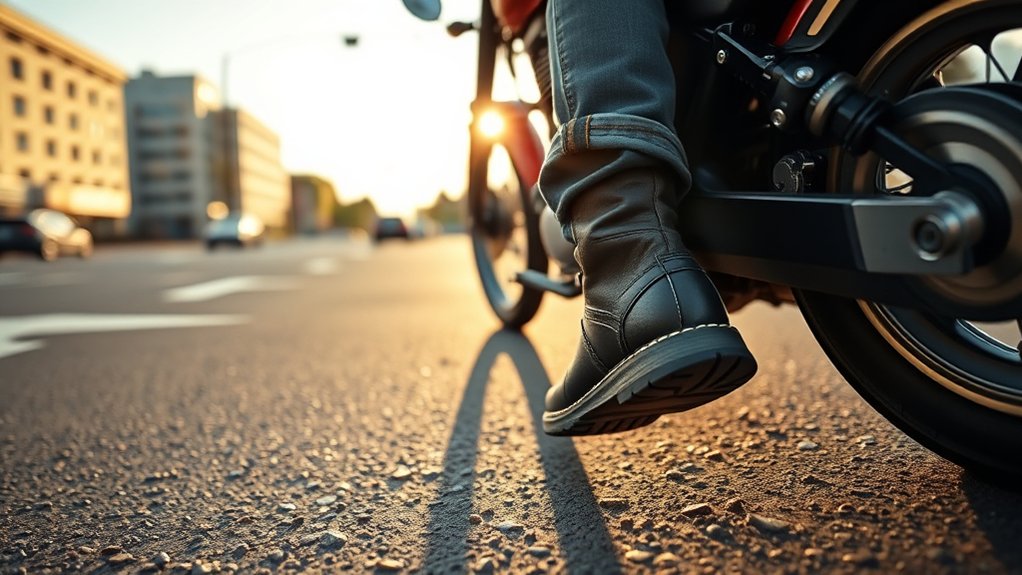
As you come to a complete stop, shift into first gear. Keep the clutch pulled in so you’re ready to move again smoothly.
Once the bike is stable, put your left foot down to support it. This helps keep the machine from tipping.
Use these steps:
- Keep the bike as upright as you can, especially if you stop quickly.
- Plant your left foot firmly on level ground.
- Keep your right foot on the rear brake if you’re on an incline.
- Hold both brakes on hills and point the bike straight up the slope.
When you’re balanced, crack the throttle and release the clutch smoothly. Then lift your left foot back to the peg. This keeps your restart controlled and steady.
Brake Before You Enter a Turn
Ease off the throttle and brake before you enter the turn, so you’re already at a safe speed when you arrive. Use controlled braking and downshift as needed, and try to get most of your braking done while the bike is still upright.
Also, avoid braking hard mid-turn. If you do, it can upset traction and make you run wide—or worse, lose the front end.
Slow Before Turning
Slowing before the turn gives you far more control than trying to scrub off speed mid-corner. Ease off the throttle early and let engine braking help you settle the bike before you tip in.
- Reduce speed while the bike’s upright, where braking is safest and most effective.
- Use both brakes smoothly if you need more slowdown; the front does most of the work.
For a small adjustment, a light rear-brake tap can warn traffic without unsettling the chassis.
Enter at a speed you can hold, then roll on the throttle cleanly as you exit.
Don’t grab the brakes once you’re leaned over. That can upset traction and push you wide.
Instead, stay smooth, keep the bike balanced, and use controlled acceleration to finish the corner with stability and confidence.
Brake Ahead, Not Mid-Turn
Brake before you enter the turn so you’re already at a safe, controllable speed when you tip in.
Ease off the throttle, complete your downshifts, and get to your intended corner-entry speed while the bike is still upright.
If you need real deceleration, use both brakes together. The front does most of the work, but the rear helps stabilize the motorcycle.
Keep the braking smooth and finish it before you lean. If you only need a slight speed check, a light rear-brake tap can signal traffic behind you without upsetting balance.
Don’t grab the front brake hard mid-turn, because that can lock the front tire or cause a skid. If it does lock, release it, then reapply smoothly.
Slow Down Early on Wet or Slippery Roads
When the road is wet or slick, start stopping much earlier than you’d on dry pavement. Plan on nearly twice the normal stopping distance and increase your following distance accordingly.
On slippery surfaces, brake sooner and more gently to avoid locking a wheel or losing traction. Ease off the throttle first, let engine braking help, then squeeze both brakes progressively.
Use about 75% front brake and 25% rear brake.
Apply pressure smoothly; don’t grab the levers.
Stay in tire tracks when you can.
Avoid sudden inputs over manhole covers, paint, or other slick hazards.
Handle Hill Stops Safely
On a hill, aim to stop with the bike pointed straight up the slope as possible. Then hold both the front and rear brakes so you don’t roll backward.
Once you’re fully stopped, plant your left foot for balance. Keep both brakes engaged until you feel stable.
Put the bike in first gear. Hold the clutch lever with your left hand so you’re ready to move without drifting back.
If you prefer both feet down, you can rely on the front brake alone. Stay cautious on steep grades because front-wheel traction can fade.
When you’re ready to go again, add a little throttle. Ease out the clutch and release the brakes together so the motorcycle moves forward smoothly without rollback.
Practice Emergency Braking
Practice emergency braking in a traffic-free area so you can learn how your motorcycle responds under real pressure. Start at a moderate speed. Roll off the throttle, then squeeze both brakes together, favoring about 75% front and 25% rear.
Practice emergency braking in a traffic-free area, starting moderate and using both brakes with a 75/25 front-rear balance.
Mark a start point. Remember your 0.62-second reaction delay before braking.
Keep the bike upright, and use two fingers on the front lever to modulate pressure.
If the front wheel locks, release it. Then reapply firmly.
Repeat at different speeds, and try wet or gravel surfaces too. Expect wet stopping distances to nearly double.
After each stop, downshift into first. Hold the clutch, plant your left foot, and restart smoothly.
This drill builds real control.
Frequently Asked Questions
How Do I Know When My Brake Pads Need Replacing?
You’ll know your brake pads need replacing when the friction material wears down to about 1.5–2 mm in front or 2–3 mm in rear.
Listen for squealing or scraping, and watch for longer stops or a spongy lever.
Inspect through the caliper for cracks, uneven wear, or contamination.
If you keep topping up fluid or bleeding often, check the pads soon.
What Should I Do if My Bike Stalls While Stopping?
If your bike stalls while stopping, keep both brakes applied so you don’t roll. Pull in the clutch right away.
Shift to neutral or first gear, especially if you’re on a slope. Put your left foot down to steady the bike.
Restart only when it’s safe. Release the clutch slightly, use a little throttle, and start the engine.
If traffic is heavy or you can’t restart, stay put and get help.
How Can I Stop Smoothly With a Passenger Onboard?
You can stop smoothly with a passenger by braking earlier and more progressively. Added weight can increase your stopping distance by around 20% or more.
Tell your passenger to sit still, keep their feet on the pegs, and hold on. Use both brakes, with most pressure on the front.
Downshift first, then ease the clutch near the end. Keep the bike upright, then plant your left foot when you’re fully stopped.
Should I Use Engine Braking on Every Stop?
No, you shouldn’t use engine braking for every stop, but you should use it often.
Ease off the throttle first so the engine can slow you down, then downshift smoothly.
Finish with the front and rear brakes.
You’ll reduce brake wear and keep better control.
On wet roads, use it gently and earlier.
Practice combining engine braking with braking so you know exactly how your bike responds.
How Often Should I Inspect My Motorcycle Brakes?
You should inspect your motorcycle brakes before every ride for feel, leaks, and free play. Then do a deeper check every month.
Check the brake fluid monthly and replace it every 1–2 years. Inspect pads every 500–1,000 miles.
Look over lines, calipers, and rotors whenever you wash or fuel up. If braking feels weaker, don’t wait. Inspect them right away and fix any problems quickly.
Conclusion
Stopping your motorcycle smoothly comes down to timing, control, and practice.
Ease off the throttle and downshift as needed.
Use both brakes together with steady pressure.
Brake before turns, so you can slow earlier.
Slow more on wet roads.
Stay ready for hill stops or sudden hazards.
Isn’t it better to build these habits now instead of panicking later?
Keep practicing emergency stops for more confidence, safety, and control every time.