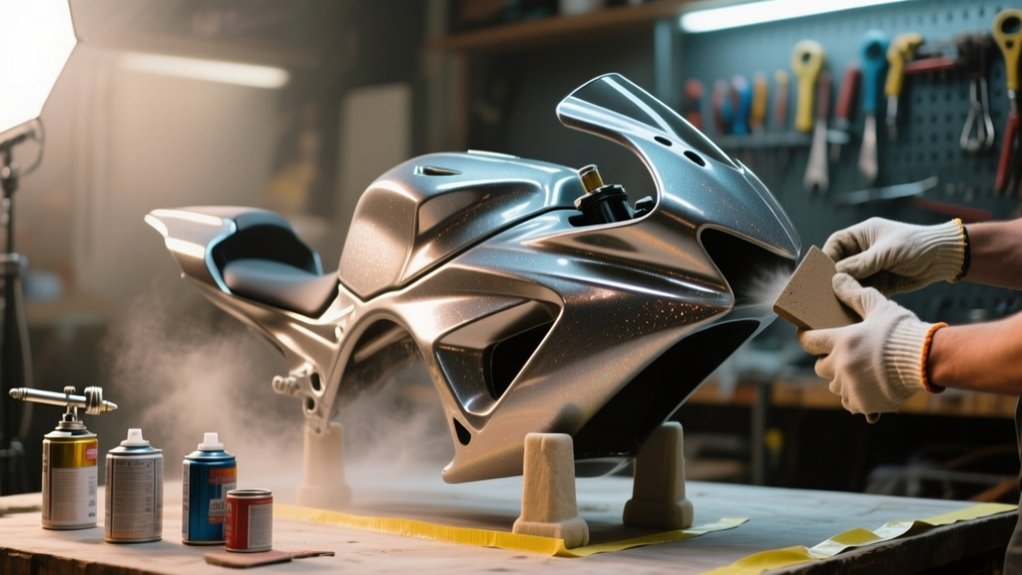
How To Paint Motorcycle Fairings – Smart Tips
You can paint motorcycle fairings yourself if the panels are sound and you’re willing to prep carefully. DIY often costs $30–$150, while a shop can run $300–$1,200+.
Remove and label every fastener, then wash and degrease the plastic. Sand to a uniform dull finish with 400–1000 grit so the paint sticks well.
Use ABS-compatible primer, then apply thin color coats. For the finish, use a 2K clear in a ventilated area with proper PPE.
Keep going and you’ll pick up the details that make the finish last.
Is DIY Motorcycle Fairing Painting Worth It?
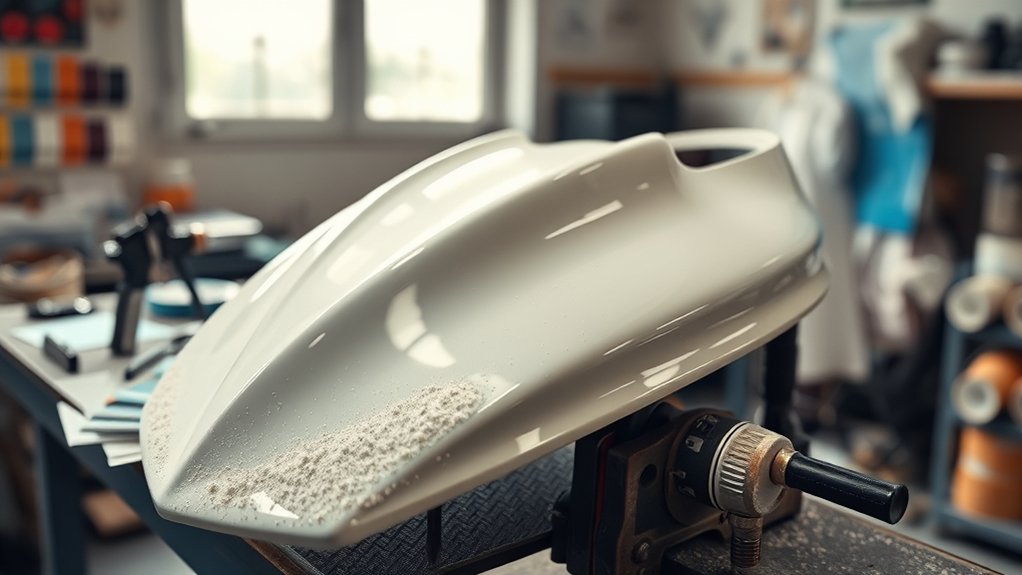
DIY motorcycle fairing painting can be worth it if you’re trying to save money and your panels are in good shape. Materials for a rattle-can or home-spray job usually run about $30–$150, while a professional shop often charges $300–$1,200+.
DIY fairing painting can save money, with materials often costing just $30–$150.
You can get acceptable results, but you’ll trade off some durability and finish quality. If your ABS fairings are sound, you can handle the job.
If you have cracked panels, broken mounts, or catalyzed systems, it’s better to leave it to a pro. In practice, about 90% of a good result comes from cleaning, sanding to 800–2000 grit, and priming correctly before you apply paint.
A compatible spray gun system, plus proper coating and cure time, gives you the best home balance.
Gather Motorcycle Fairing Tools and PPE
Before you start spraying, gather the right tools and PPE so you can work safely and keep the finish clean.
Wear a NIOSH-rated half-mask with P100 and OV cartridges.
Use supplied air for 2K clears.
Add safety glasses and chemical-resistant nitrile gloves.
For each fairing, set up an orbital sander with 320–400 grit for scuffing and 800–1500 grit for finish work.
Use a sanding block for edges.
Stock wax-and-grease remover, tack cloths, lint-free microfiber cloths, and compressed air.
Mix compatible primer, color, and 2K clear to TDS ratios.
Use calibrated cups, stir sticks, hardener, and reducer.
Keep masking tape, paper, and labeled hardware bags ready.
Check temperature and humidity with a thermometer and hygrometer before you spray.
Remove and Label the Fairing Parts
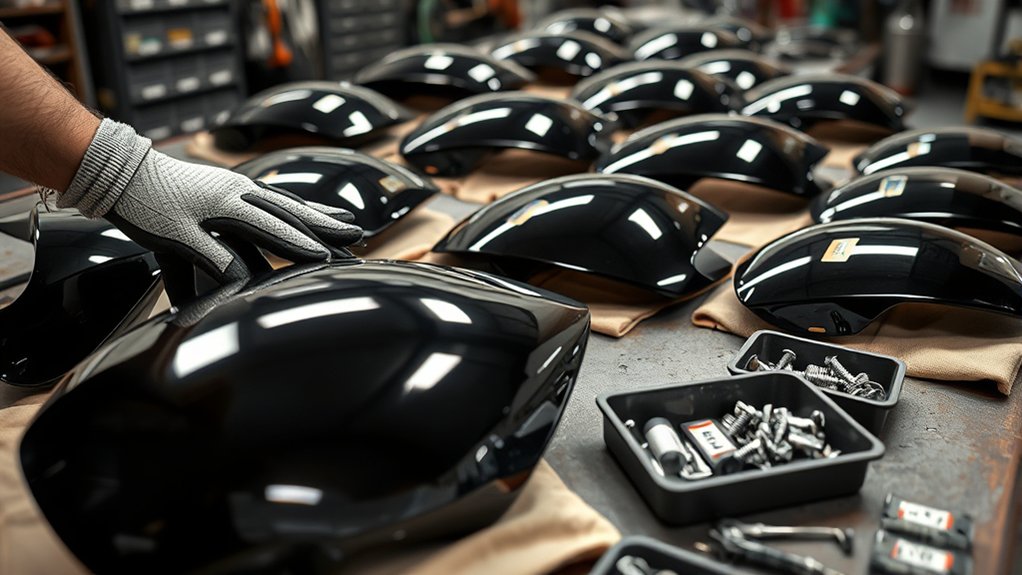
Before you remove any hardware, take clear photos of each fairing panel and its mounting points. That way, you can put everything back in the exact same layout later.
Use the correct tool for each fastener, and support the panel as you back out the bolts. As you go, bag each screw, clip, spacer, and washer by location. Label every hardware set clearly too—include any torque specifications or Loctite notes—so reassembly stays accurate after painting.
Remove Mounting Hardware
Start by photographing each fairing panel in place. Then remove the mounting hardware one section at a time. This helps you track exactly where every bolt, spacer, clip, and washer belongs.
Use the correct Allen wrench, Torx bit, or socket. Support the panel with one hand as you loosen fasteners. Bag and label every bolt by location, then set each sealed bag against its photo for fast reassembly.
Store windshield rubbers and trim separately. Keep small parts in a compartmented tray. Inspect tabs and mounting holes for cracks.
Mark damaged points for repair before painting. Work methodically, and don’t force any fastener. If a tab flexes or a hole feels stretched, stop and note it immediately.
This keeps fragile plastic intact. It also prevents fitment problems later.
Label Fasteners And Clips
With the panels identified and the hardware coming off, label each fastener set as you remove it. This way, nothing gets mixed up during reassembly.
Use masking tape and a marker to mark separate bags for each panel. Sort bolts, nuts, washers, and plastic clips into the correct bag immediately.
Keep spacers, rubber grommets, and keyed fasteners in their own labeled compartments. They control fit and often differ by location.
Write the panel name and mounting point on each bag, such as “LH mid fairing under seat bolts.” Note any torque or Loctite requirement too.
Remove hardware in order, and keep the bags grouped by removal sequence. Maintain a simple assembly map so you can reinstall every part in reverse order without guessing or missing pieces later.
Photograph Panel Layouts
Capture the bike in high-resolution photos from both sides.
Then shoot each fairing joint from multiple angles so you can reference wiring runs, spacer positions, and fastener locations during reassembly.
As you remove each Motorcycle Fairing panel, photograph the panel layouts on a clean floor.
Keep the same order and orientation they sat on the bike.
Put each panel’s hardware in a labeled, sealed bag.
Tape the bag to the matching printed photo.
Photograph the backside.
Use a ruler or coin to show tab damage.
Number every panel with a removable sticker that matches your photos and bags.
This method keeps seams, edges, and repaired areas organized.
That way, you can test-fit parts accurately and avoid mixing up clips, spacers, or cracked tabs later.
Clean, Degrease, and Inspect the Panels
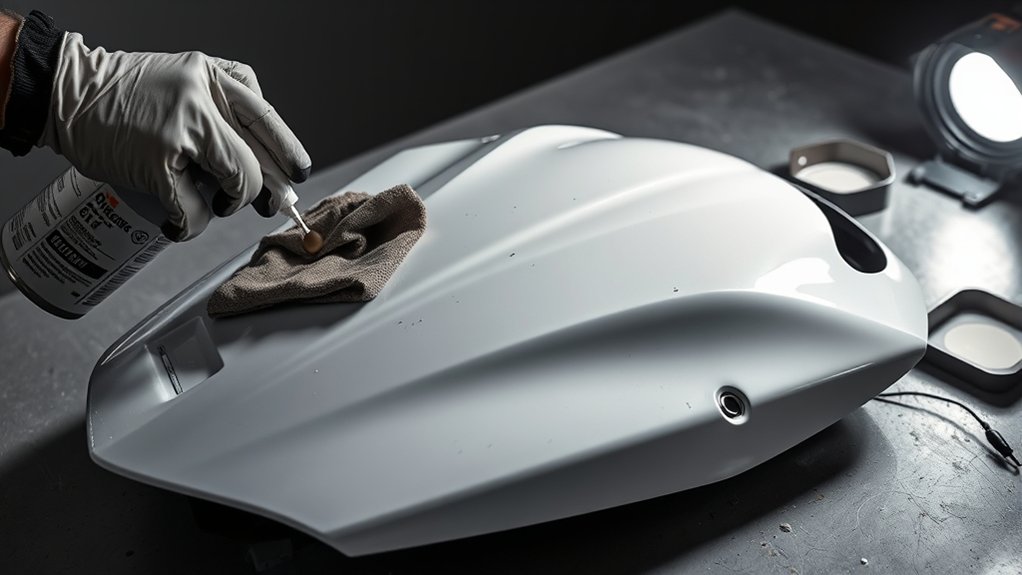
Remove all hardware first, so you can lay each fairing panel flat and inspect it properly.
Keep all fasteners labeled to make reassembly straightforward.
Next, wash every surface with an approved degreaser or wax-and-grease remover, and then dry it completely.
This step helps eliminate oils, silicone, and any road film.
After that, check both faces and every mounting point for cracks, distortion, or signs of old repairs.
If you find any structural damage, fix it before you move on.
Remove Hardware First
Start by photographing each fastener location. Label and bag the bolts, clips, and spacers so you can reinstall everything correctly later.
Use the correct Allen wrench or driver to unfasten mounting bolts. Support the fairing as you work so you don’t snap tabs or stress the panel.
Remove the windshield, vents, trim, and any fairing bag.
Check molded markings to identify the panel material.
Inspect both faces and mounting points for cracks or prior repairs.
Test-fit any replacement pieces before surface prep.
With the hardware off, you’ll expose every edge for sanding and primer. You’ll also avoid masking lines around accessories.
Handle each panel carefully, keep parts organized, and note any material-specific cleaning or adhesion-promoter requirements before you move on.
Degrease Every Surface
Wash each fairing panel with a dedicated wax-and-grease remover or car degreaser.
This strips away road film, oil, and any silicone residue before you sand.
Remove the fairings from the bike.
Then degrease every surface, including edges, recesses, and the back side of Motorcycle Plastics.
Wipe the panels with clean, lint-free microfiber cloths.
Follow with 70–90% isopropyl alcohol to lift any remaining contaminants.
Use compressed air or a blower to clear dust.
Then let the parts air-dry completely.
Before you sand or mask, test a small hidden area with your cleaner and any adhesion promoter.
This confirms compatibility with ABS or other substrate materials.
Keep the surface chemically clean so primer bonds properly.
Inspect For Hidden Damage
Once the fairings are off, photograph and label each panel.
Then inspect both sides for cracks, broken mounting tabs, previous repairs, warping, and stress marks that could affect fit or paint adhesion.
Clean the panels with wax-and-grease remover, then dry them fully.
This clears road grime, oils, silicone, and residue so nothing interferes with prep.
Wipe seams and fastener points with isopropyl alcohol using a lint-free microfiber cloth.
That helps ensure contaminants don’t hide in crevices.
Test-fit repaired pieces on the bike.
Correct any misalignment before primer.
Identify whether the finish is factory clear, rattle-can, or uncured enamel.
Then decide whether to scuff, sand to bare, or strip.
Choose primers that match the fairings’ plastic, especially ABS.
Only move on when the surface is sound and fully clean and ready.
Sand Motorcycle Fairings to a Dull Finish
Sanding away the factory gloss is the first step in preparing motorcycle fairings for paint. Use 400–320 grit dry sandpaper or an orbital sander to bring the entire surface to a uniform dull finish.
Sand the old finish evenly, keeping your block or pad flat. Apply light, consistent pressure in overlapping passes, and check edges, corners, and recessed areas where coating often lifts.
Don’t dig in. Once the gloss is gone, progress to 800–1000 grit over the whole panel for a fine, consistent scratch pattern.
If you’ve already made repairs, feather them with 400–800 grit so the surface blends smoothly. Avoid thinning bosses or weak spots.
Then blow off dust and wipe with microfiber and wax-and-grease remover before priming.
Repair Cracks, Tabs, and Imperfections
Inspect all cracks, tabs, and mounting holes under bright light, and then do a quick test-fit of the fairings. This helps you catch stress points or any misalignment before you start painting.
If you find broken ABS tabs or cracked panels, sand the repair area first. After that, bond it using a plastic-compatible epoxy or a welding adhesive, and reinforce it from the back once it cures.
Once the structure is solid again, fill any gouges and scratches with plastic-rated filler. Sand everything smooth, and then prep the surrounding area for primer.
Inspect Cracks First
Before you touch primer, closely inspect every fairing—front, side, belly pan, and inner panel. Look for hairline cracks, repaired seams, bent or missing mounting tabs, and old filler.
Mark each problem area and photograph it for reference. Run your fingers along edges and around fasteners to catch fractures you can’t see.
Test-fit each panel on the bike. Check for hidden stress points and misaligned tabs before paint.
For ABS and similar plastics, use repair kits or plastic-specific epoxy only after scuffing the damaged area.
Check the crack length and direction. Note filler, sanding marks, and soft spots.
Verify hole alignment and panel shape. Confirm the surface feels uniform.
Wait until repairs cure, then sand them flush. If the panel still won’t sit correctly, repeat structural repairs or replace it.
Restore Broken Tabs
Once you’ve identified cracks and failed mounting points, fix the tabs and small imperfections with a repair method that matches the fairing material.
Check the molded stamp or test-fit the panel so you use ABS, polypropylene, or fiberglass-compatible products.
Clean and sand cracked tabs, then reinforce the back side with a 2–3 mm patch of matching plastic.
Use epoxy or fiberglass cloth that extends 25–30 mm beyond the break.
Bond it with a plastic welding gun or a two-part structural adhesive, and clamp the tab in exact alignment.
Keep it there until it cures.
When you need to repair tabs that are missing or shredded, install a thin backing plate inside the fairing.
Bond it to the outer skin for load distribution.
Finish by sanding to shape and test-fitting the panel.
Fill Surface Imperfections
Mark every defect before you start filling. Hidden cracks, damaged mounting tabs, and stress lines often show up only after you remove the panel and test-fit it.
Use a compatible ABS repair kit or two-part plastic welding adhesive on cracked areas. Don’t rely on generic fillers for structural repairs.
Reinforce the backside with a fiberglass patch or welding rod. Keep a 10–15 mm overlap on sound plastic.
Apply flexible spot putty or body filler in pea-sized amounts.
Let it cure fully, then wet sand with 400–800 grit.
Feather the edges so the repair blends cleanly into the panel.
Degrease, scuff with 800–1000 grit, and inspect before primer or spray cans.
Prime the Fairings for Better Adhesion
Choose a primer labeled for your fairing’s substrate, such as an ABS/plastic primer.
Then verify it matches your basecoat and clearcoat by checking each product’s TDS.
You’ll get better bond strength when you use the correct primer for the panel material.
Apply one light coat, then 2–3 build coats.
Keep the gun or can 6–10 inches away.
Also respect flash times between coats.
If you’ve filled dents or scratches already, let the primer level the surface.
Just don’t bury the defects.
After it cures, sand with 400–800 grit per the product sheet.
Then wipe with a lint-free cloth and solvent.
Follow mixing, induction, pot-life, and temperature limits exactly.
Finally, recoat only inside the stated window to avoid adhesion failures.
Spray the Color Coat in Thin Layers
Now spray the color coat in thin, even layers.
Hold the spray paint for the motorcycle 6–10 inches from the fairing and use 50% overlapping sweeps.
Keep each pass moving.
Start or stop off the panel edge to avoid heavy spots and sagging.
Apply 3–4 light coats instead of one wet coat.
Respect flash time between passes so each layer sets before the next one lands.
Shake the can several minutes for a consistent pattern.
Warm it in warm water for 30–60 minutes.
Check for dry-to-touch, not tacky, before recoating.
Stop when coverage looks uniform and detail stays crisp.
Apply a Gas-Resistant Clear Coat
Finish with a gas-resistant clear coat to lock in the color and protect the fairings from fuel and solvent damage.
Use a 2K clear coat formulated for plastics with gasoline resistance. Mix it exactly to the manufacturer’s ratio.
Respect the pot life so the chemistry stays active. Spray 2–3 medium-wet coats, holding the gun or can 6–10 inches away.
Allow 5–15 minutes flash time between coats, or follow the TDS.
Make sure the base color is fully cured and within the clear recoat window. Otherwise, you can get lifting or wrinkling.
Wear proper isocyanate-rated respiratory protection and ventilate the area.
Never spray catalyzed clear in an enclosed space.
Let it cure at the specified temperature and time.
Wet Sand, Polish, and Reassemble
Once the clear coat has fully cured, level the surface by wet sanding with 2000-grit waterproof paper. Use plenty of clean water to knock down orange peel and tiny defects without cutting through to the color.
Once the clear coat has fully cured, wet sand lightly with 2000-grit paper to remove orange peel and fine defects.
Use a foam block and apply light, even pressure. Keep the panel rinsed so you don’t trap slurry or create scratches.
Dry the panel fully after wet sanding. Wipe it with a lint-free microfiber cloth and isopropyl alcohol.
Apply a paint-defect removing polish per the label. Buff with a dual-action or rotary polisher, using a finishing pad and fine compound.
Work at moderate speed with overlapping passes until gloss returns. Inspect the edges by hand.
Reinstall the fairings only after handling hardness, torque fasteners to spec, and using Loctite where the manual recommends.
Frequently Asked Questions
How Long Should Fairings Cure Before Riding Again?
You should wait at least 24 hours before refitting fairings.
But you shouldn’t ride until the paint fully cures, usually about 7 days at 20°C.
You can handle the panels sooner, but the coating stays vulnerable.
Fuel, abrasion, and fastener marks can still damage it.
If temperatures are lower, extend the cure time.
Always check the product’s technical data sheet, since catalyzed systems and forced-bake finishes can vary.
Can I Paint Fairings Without a Spray Gun?
Yes, you can paint fairings without a spray gun. Rattle cans can work well if you prep properly.
You’ll get a decent finish if you clean, scuff to 400–800 grit, and use plastic primer. Then spray flexible paint in 4+ light coats.
Hold the can 6–10 inches away and overlap each pass. Let the paint flash for 5–15 minutes between coats.
Expect a little texture at first. After the paint cures, wet-sand and polish for a smoother gloss.
What Temperature Is Best for Spraying Fairings?
You’ll get the best results spraying fairings at 60–75°F (15–24°C).
In that range, you can expect proper solvent flash, even film build, and fewer runs, orange peel, or blushing.
Don’t spray below 50°F, where drying slows and adhesion drops.
Above 85°F, you’ll fight dry spray and solvent pop.
Keep humidity under 65%, and always check the paint’s TDS for its exact window.
How Do I Fix Orange Peel After Clear Coat?
Let the clear cure fully.
Wait 24 to 72 hours, or up to a week if it’s cool, before you tackle orange peel.
Wet sand with 1500 to 2000 grit on a soft foam block.
Use lots of water to level the texture without cutting through.
Refine the surface with 3000 to 5000 grit.
Then clean it well, and polish with compound and a fine polish.
If the clear is too thin, don’t sand deeper.
Recoat instead.
Will Paint Chip From Regular Gas Spills?
Yes—regular gas can chip or damage paint, especially if you let it sit.
Fresh 2K clear usually shrugs off a quick spill, but repeated contact can soften, dull, or lift weak coatings.
Wipe it off immediately with water and an approved cleaner, then dry the area.
If the spill reached edges or seams, inspect for damage and do a spot repair before recoating.
Better safe than sorry.
Conclusion
You’ve now got the core process for painting motorcycle fairings. If you follow it carefully, you can turn tired plastic into a finish that looks showroom-level insane.
Prep, sand, prime, spray, and clear coat each panel with patience. Otherwise, the paint will punish you with chips, runs, and peeling.
Reassemble only after everything cures fully. Do it right, and your fairings won’t just look better—they’ll practically scream speed, precision, and pro-level craftsmanship.