How To Test Motorcycle Starter – Simple Steps
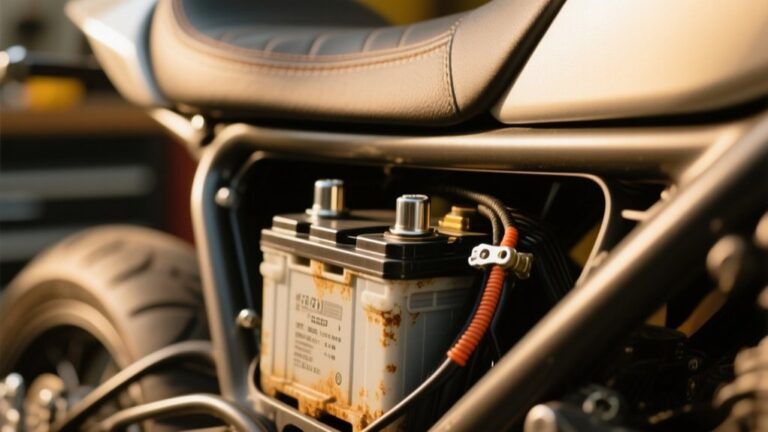
Start by checking the battery voltage at the terminals.
You want about 12.6–12.8 V at rest and it shouldn’t drop below 10.5 V while cranking.
Next, press the starter and listen for a relay click.
Then inspect the starter button, relay, and fuses.
Clean and tighten all grounds and heavy cables.
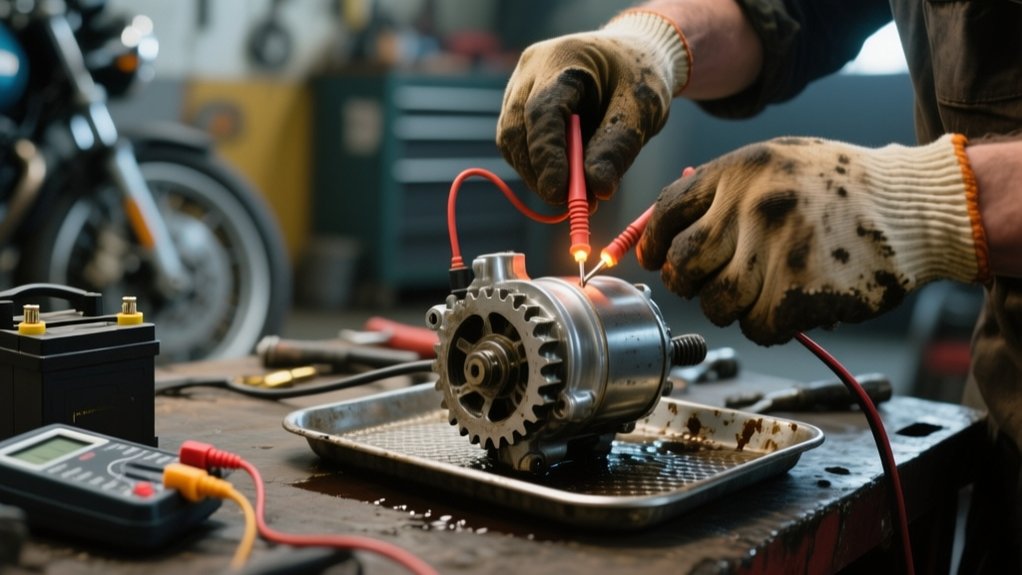
If needed, briefly hot-wire the starter or bench-test it to see whether the motor spins.
That helps pinpoint the real fault.
Check Motorcycle Battery Voltage and Cables

Start by checking the battery voltage at the terminals with a multimeter.
Check the battery voltage at the terminals with a multimeter before testing anything else.
A healthy 12V motorcycle battery should read about 12.6 to 12.8 V at rest and stay above 12.0 V under load.
Turn the key on, illuminate the lights, and measure at the starter positive terminal while you press the start button.
If the voltage drops below about 10.5 V, you likely have excessive cable resistance or a weak battery.
Next, check continuity from battery positive to the starter relay and starter motor terminal.
You want less than 0.1 to 0.2 ohms.
Clean, tighten, and inspect every connection for corrosion, melted insulation, or hidden buildup under dust covers.
Then verify the ground between battery negative and the engine or frame.
It should be near 0 ohms.
Test the Starter Button and Relay
If the battery voltage and cables check out, move on to the starter button and relay.
Turn the ignition on and press the starter button; you should hear a clear relay click.
No click means the low-current circuit may be open.
Back-probe the button output terminal and press it; you should see battery voltage, about 12.6 V or higher, only while pressed.
If the relay clicks but the starter won’t turn, jump 12 V to the relay’s small coil terminal or the starter’s solenoid trigger.
This helps isolate the button and wiring.
To test the starter, bypass the relay with a fused jumper from battery positive to the relay input.
Then bridge the output briefly.
If no voltage reaches the relay input, inspect switch contacts, fuses, and interlock wiring.
New account: record every reading.
Inspect Grounds and Heavy Power Cables
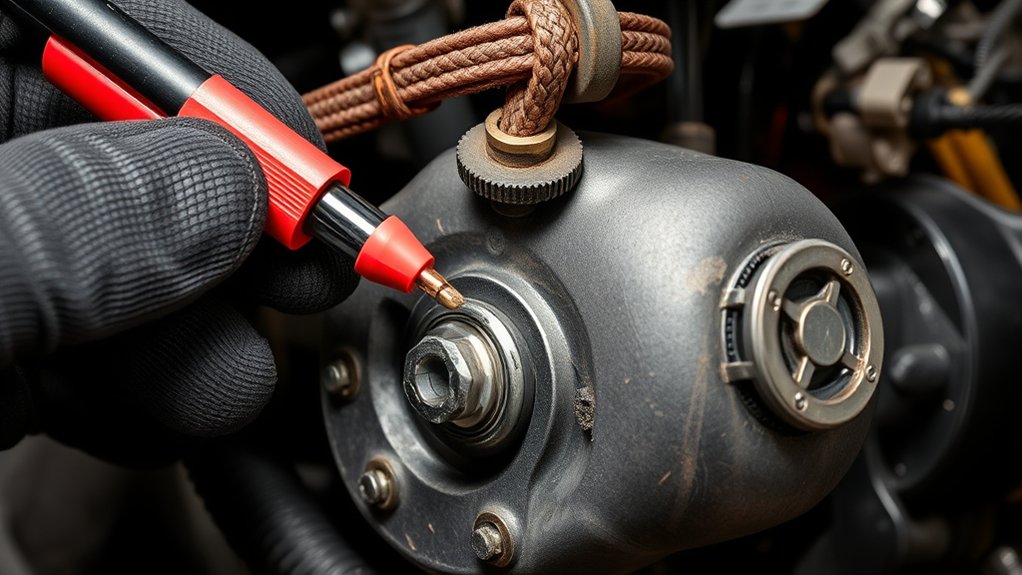
Start with the battery negative strap and make sure it’s tight on clean, unpainted frame and engine metal. You’re aiming for very low resistance—ideally under 0.05 Ω to the engine block.
Next, inspect the heavy positive starter cable closely for corrosion, crusting, split insulation, or green/black copper. If the conductor is badly thinned, replace the cable. Then clean and retighten the large lug connections.
After that, keep an eye out for dim lights or a voltage drop when you crank the engine. Those symptoms usually point to a bad cable or a weak ground.
Battery Ground Strap
Inspect the battery ground strap and all heavy power cables first.
A weak or corroded ground can mimic a bad starter.
Check the battery-to-frame strap for loose terminals and frayed wire.
Look for any green or white oxidation on both ends.
Make sure both ends are tight and clean.
Then inspect the frame-to-engine ground straps at every bolted joint.
Remove each strap, clean the mating surfaces, and retorque the fasteners.
Use a wire brush or sandpaper to restore a low-resistance path.
Use a multimeter to measure continuity from battery negative to the engine case.
You should see nearly 0 ohms, usually under 0.2 Ω.
If the starter still turns slowly, add a temporary direct ground strap.
Crank again and see whether the speed improves.
Heavy Cable Corrosion
Corrosion in a heavy starter cable can turn a strong battery into a weak crank. Check the large positive lead from the battery to the starter for frayed insulation, crusty green or white deposits, and loose or overheated terminals at both ends.
Then verify the ground path and voltage drop:
- Crank the engine and measure voltage at the starter positive terminal. You want no more than 0.5 V drop.
- If you see more than 1 V, replace the 6–8 AWG cable, not just the ends.
- Inspect the starter’s terminal under the dust cover, plus the frame and engine grounds, for tight, clean connections.
If the copper’s oxidized or the boot’s split, clean it or fit a new cable assembly.
Jump the Motorcycle Starter Motor Safely
Before you jump the starter, double-check a few basics first: the battery should read at least 12.6 V, the bike should be in neutral or park, and the ignition must be off so it doesn’t move unexpectedly.
Next, use a fused remote starter switch (or an insulated heavy-gauge lead) to connect the starter terminal to battery positive. At the same time, ground the starter body to battery negative, and make sure the high-current feed stays disconnected anywhere you’re not actively connecting it.
Then, evaluate what happens. A strong spin usually points to a wiring or ground problem elsewhere, while slow rotation or no rotation often suggests an issue with the battery, brushes, oil intrusion, or the starter itself.
Safety Precautions
To jump the motorcycle starter motor safely, wear insulated gloves and eye protection.
Remove jewelry, and keep the bike solidly on its stand with the transmission in neutral so it can’t lurch unexpectedly.
Disconnect the starter relay plug or pull the starter fuse so you control the circuit.
Verify the battery reads 12.6 volts or higher, and confirm the terminals are clean and tight.
Follow these checks:
- Stand to the side, not over the starter.
- Keep bystanders clear.
- Use a heavy-gauge jumper lead or an insulated screwdriver only briefly.
Touch the battery positive to the starter’s large terminal for 1–2 seconds, then stop immediately if you hear grinding, see smoke, or the motor doesn’t spin freely.
Direct Jump Test
With the bike secured in neutral, kill switch off, and the battery fully charged at about 12.6–12.8 V, you can do a direct jump test to isolate the starter motor itself.
Disconnect the starter’s high-current cable. Then use an insulated jumper lead or a heavy-gauge short to briefly apply battery positive to the starter terminal.
Ground the starter body to battery negative. The motor should spin briskly.
You can also bypass the solenoid by bridging its two large terminals with a heavily insulated screwdriver.
| Test point | Action | Purpose |
|---|---|---|
| Starter terminal | Jump to battery + | Confirm motor rotation |
| Solenoid terminals | Bridge briefly | Bypass relay circuit |
| Starter body | Ground to battery – | Complete current path |
If it only clicks or turns slowly, suspect wiring, contacts, or the battery under load.
Read Test Results
If the starter spins briskly when you jump it directly to battery positive, the motor is good. The fault is in the low-current circuit, typically the starter switch, safety interlocks, relay, or wiring. Use that result to narrow your diagnosis fast.
- Brisk spin means the starter passes. Inspect the control circuit.
- Click, no spin means you should check battery positive, the starter cable, and the terminal under the dust cover. Then measure cranking voltage.
- Slow or labored spin means oil contamination or internal wear is likely. Rebuild or replace the starter.
Keep the bike in neutral and secured. Use a fully charged battery at 12.6–12.8 V.
Bypass only the motor, not the relay coil. Wear eye protection and use insulated tools. Remove jewelry to avoid sparks or shorts.
Bench-Test the Starter Motor
Remove the starter motor from the bike and bench-test it on its own.
This lets you confirm the motor spins cleanly before you chase wiring or relay issues.
Secure the starter in a vice or on a bench.
Keep the output shaft clear and easy to watch.
Run a heavy cable from battery positive to the starter’s large terminal.
Ground the starter body to battery negative.
If you can access the terminal, briefly bridge it to battery positive.
Watch for immediate cranking.
A healthy unit spins fast and smoothly.
It shouldn’t grind, freewheel, drag heavily, or whine then die quickly.
If possible, put an ammeter in series.
At 12 V, 100–300 A no-load draw is typical.
Also check for oil intrusion, corroded terminals, cracked brushes, or a seized shaft.
Any of these can explain slow or abnormal operation.
Replace or Rebuild the Starter
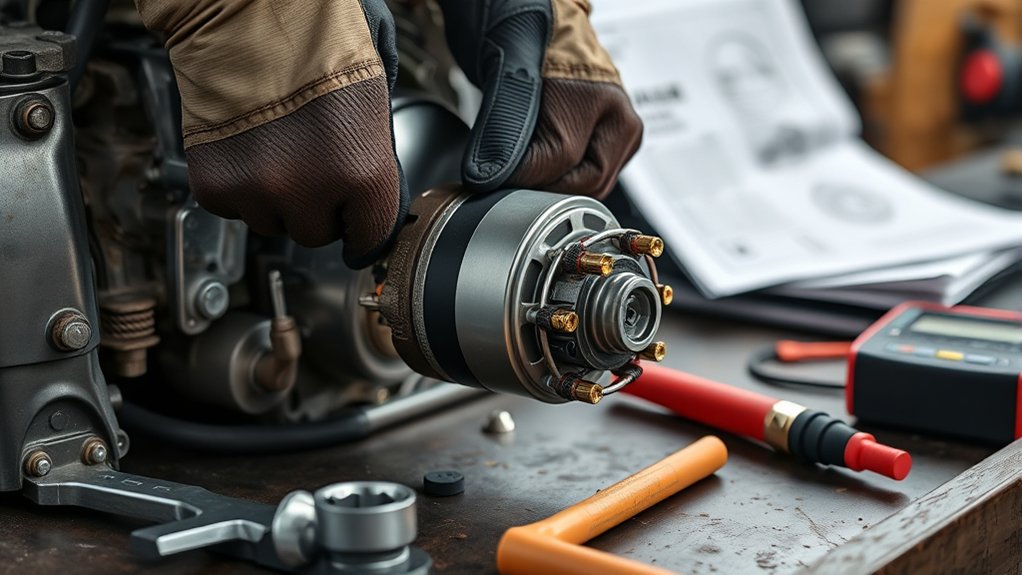
When a starter fails a direct hot-wire bench test and won’t spin with 12 V applied to the terminal and the case grounded, you usually need to replace it.
If the armature and field coils pass continuity and short-to-ground checks, and the housing isn’t badly damaged, you can rebuild the unit instead.
Use a model-specific kit with new brushes.
Use a model-specific kit with new brushes for the best rebuild results.
Clean the commutator surfaces, fit fresh bushings or bearings, and install new seals to stop oil intrusion.
Before you decide, compare costs and availability.
Rebuild labor can be close to the price of a new aftermarket starter.
- Match the part number exactly.
- Verify gear tooth count and mounting bolt pattern.
- Confirm terminal location and orientation.
Any mismatch can cause fitment or engagement problems.
Frequently Asked Questions
Why Does the Starter Click but Not Crank?
You’re hearing the starter click because the solenoid works.
But the motor isn’t getting enough current to spin.
This is often caused by a weak battery, corroded battery cables, or loose connections.
A bad ground can also do it.
If the lights dim hard when you press the button, you likely have high resistance in the heavy cable circuit.
If a hot-wire test still won’t spin the engine, the starter is probably failing.
Can a Weak Battery Mimic a Bad Starter?
Yes, a weak battery can absolutely mimic a bad starter.
You may see lights come on, but the engine won’t crank because voltage sags under load.
A healthy 12V battery should stay above about 10.5V while cranking.
If it drops near 9V, you’ve likely found the problem.
Check the battery voltage, terminals, and cables first.
Then hot-wire the starter to confirm whether the starter itself is faulty.
How Do I Know if the Starter Relay Is Failing?
You’ll know the starter relay is failing if you hear a click but the starter won’t spin.
It may also fail if the relay output doesn’t show battery voltage when you press the button.
Test continuity across the large terminals.
It should read near 0 ohms when the relay is energized.
Bench-test it with 12 V to the coil.
Also check for heat damage, corrosion, or weak, intermittent contact.
Bypass testing can confirm the fault quickly.
Is It Safe to Bypass the Starter Solenoid Briefly?
Yes, you can bypass the starter solenoid briefly, but only with care.
Make sure the bike is secured, the transmission is in neutral, and the wheels are blocked.
Use a heavy insulated jumper or a rated screwdriver for a quick touch.
Keep your hands clear, and don’t hold contact too long since it can overheat the starter or weld the terminals.
Disconnect the control wire so it can’t crank unexpectedly.
If you’re unsure, remove the starter and bench-test it instead.
What Voltage Should the Starter Motor Receive While Cranking?
You should see about 10–11 V at the starter motor while cranking.
Battery voltage should stay above roughly 9.6–10.5 V under load.
If you read close to 12.6 V at the starter, you’ve got minimal drop in the cables and connections.
If voltage falls much lower, check the battery, terminals, grounds, and wiring for excess resistance.
Use a digital multimeter and test at the starter terminal while cranking.
Conclusion
By checking voltage, testing the button and relay, and inspecting grounds and power cables, you narrow the fault like a flashlight cutting through a dark garage.
If the starter responds to a safe jump or bench test, you know where the problem lives.
When the motor still won’t turn, rebuild or replace it.
Follow each step carefully, diagnose the system with precision, avoid guesswork, and get your motorcycle ready to fire again.