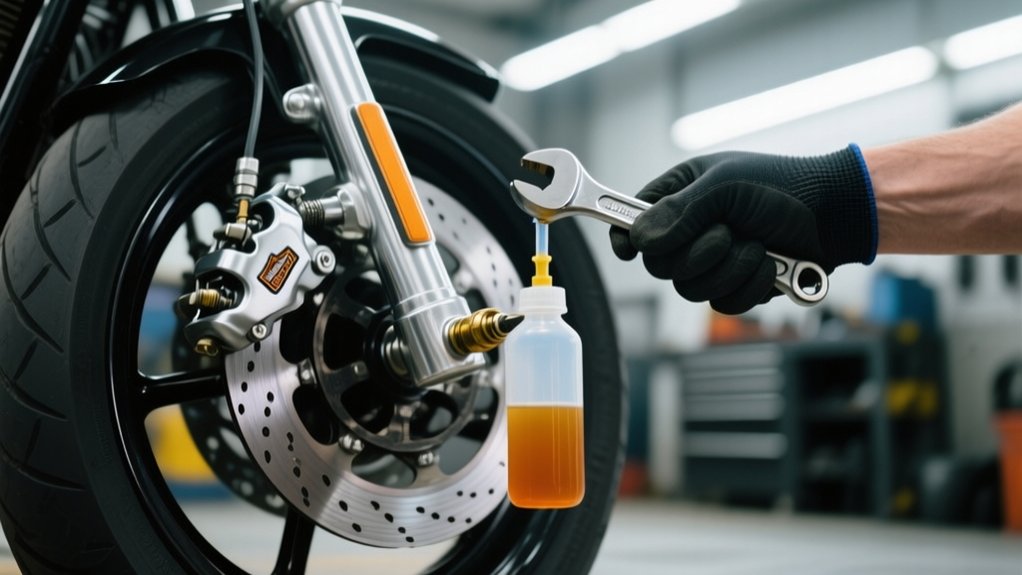
How To Bleed Harley Front Brakes – Complete Guide
To bleed your Harley front brakes, first remove the reservoir cap and check the diaphragm for any damage. Pump the brake lever a few times to build up pressure. Then, slightly loosen the bleeder screw to release fluid and air while making sure to keep the reservoir topped with DOT fluid.
Tighten the screw before letting go of the brake lever. Repeat this process until the brake lever feels firm and the fluid runs clear. Don’t forget to check all fittings and washers for leaks to ensure the system is properly sealed.
Following these steps will help guarantee reliable brake performance and safety. You can find more detailed techniques ahead if you want to dig deeper.
Remove Reservoir Cap and Inspect Diaphragm
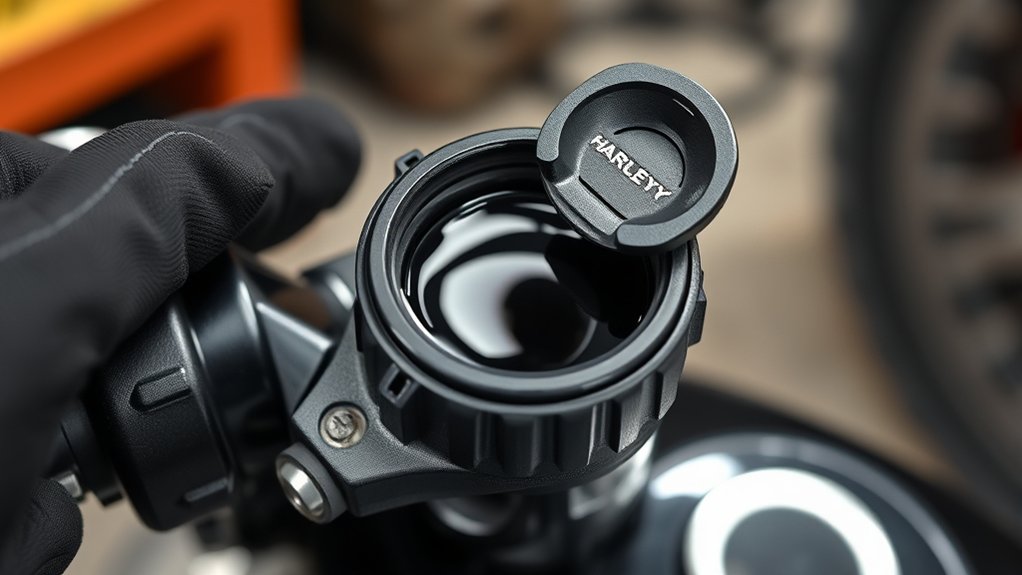
Before you begin bleeding the front brakes, carefully remove the reservoir cap and diaphragm to access the brake fluid chamber. Use a clean rag to wipe the reservoir cap, diaphragm, and surrounding area, preventing contamination of the brake fluid.
Turn the handlebar to level the fluid in the reservoir for an accurate diaphragm inspection. Take a close look at the diaphragm for any signs of wear, cracks, or tears.
If you spot any damage, it’s important to replace the diaphragm right away because a damaged one can compromise the brake system.
After removal, place the reservoir cap and diaphragm on a clean towel to keep them free from dirt and debris. Keeping everything clean during this step helps make sure the brake fluid stays uncontaminated.
This way, the system’s integrity and performance remain solid before you move on to bleeding the front brakes.
Pressurize Brake System and Open Bleeder Screw
Start by pumping the brake lever several times to build up pressure in the system.
Then, while keeping firm pressure on the lever, go ahead and slightly loosen the bleeder screw. This lets fluid and air escape.
Just make sure to tighten the screw back up before you release the lever, so no air sneaks back in.
Applying Pressure To Lever
Once you’ve pumped the brake lever several times to build initial pressure, hold it firmly while you slightly loosen the bleeder screw.
Maintaining pressure on the brake lever ensures the master cylinder pushes brake fluid through the system, forcing air bubbles out via the bleeder.
Keep the brake lever pulled in throughout this process to prevent air from re-entering the system.
As fluid and trapped air escape, monitor the flow until bubbles cease.
Before releasing the brake lever, re-tighten the bleeder screw to trap fluid within the caliper and maintain system integrity.
Repeat this cycle by applying pressure to the brake lever, loosening, and tightening the bleeder screw until the brake lever feels firm.
This confirms the master cylinder has effectively pressurized the system and expelled air for efficient brake performance.
Loosening Bleeder Screw
As you pump the brake lever several times to build pressure, keep a firm grip on it while you carefully loosen the bleeder screw. Holding the lever ensures no new air enters the system as fluid and trapped air escape through the screw. Watch for a steady, bubble-free fluid flow before tightening the screw again. Make sure to maintain lever pressure throughout.
Repeat this cycle to eliminate all air pockets and achieve a firm brake lever feel.
| Action | Purpose |
|---|---|
| Pump brake lever | Build initial pressure |
| Loosen bleeder screw | Release air and fluid |
| Tighten bleeder screw | Seal system, maintain pressure |
This methodical approach guarantees effective bleeding and ideal brake performance.
Managing Fluid Escape
Before opening the bleeder screw, you’ll pump the brake lever several times to pressurize the system. This makes sure fluid and air are ready to escape.
Next, slightly loosen the bleeder screw while keeping steady pressure on the lever. This lets brake fluid and trapped air exit through the clear hose attached to the screw. Watch for bubbles to confirm air is escaping.
Follow these steps precisely:
- Maintain firm lever pressure as you open the bleeder screw.
- Observe fluid flow and air bubbles through the hose.
- Close the bleeder screw securely before releasing the lever to prevent air ingress.
This method ensures effective removal of air and keeps the system intact during bleeding.
Just take it step by step, and you’ll be good to go.
Keep Fluid Levels Up and Repeat Bleeding
Make sure to keep a close eye on the brake fluid level in the reservoir while you’re bleeding the brakes. This helps prevent air from getting into the system.
Whenever you finish bleeding a caliper or line, top off the fluid as needed. Then, keep pumping the brake lever and opening the bleeder valve until the fluid that comes out is clear and free of bubbles.
Just keep repeating this until you get a smooth, bubble-free flow.
Maintain Reservoir Fluid Level
While bleeding your Harley’s front brakes, you must continuously monitor the brake fluid reservoir and add fresh fluid whenever the level drops below the recommended mark. Maintaining the correct fluid level prevents air from entering the system, ensuring effective bleeding.
Follow these key steps:
- Replenish the reservoir with manufacturer-recommended DOT brake fluid as soon as the level falls below the minimum indicator.
- Securely replace the reservoir cap and diaphragm after topping up to prevent contamination and fluid evaporation.
- Regularly inspect the fluid level throughout the process to keep the system sealed and free of air pockets.
Never allow the reservoir to run dry, as this introduces air and compromises brake performance.
Consistent fluid level management is critical for a successful brake bleed procedure.
Just keep an eye on that fluid level, and you’ll avoid any problems with air in the system. It really makes the whole bleeding process go smoothly.
Repeat Bleeding Process
Although it requires patience, you’ll need to perform the bleeding process multiple times to fully clear air from the brake lines.
Continuously monitor the brake fluid reservoir and top it off as needed to prevent air from re-entering the system during each cycle.
Use effective bleeding methods, such as gravity or vacuum bleeding, to remove trapped air thoroughly.
After each iteration, inspect the fluid for clarity and absence of air bubbles.
Confirm all fittings and connections remain tight throughout to avoid new leaks.
Repeat this methodical procedure until the brake fluid runs clear and brake pressure feels firm.
Maintaining consistent fluid levels and securing connections are critical to restoring proper brake function and safety.
Just take your time and keep an eye on everything, and you’ll get the job done right.
Try Vacuum or Gravity Bleeding Methods
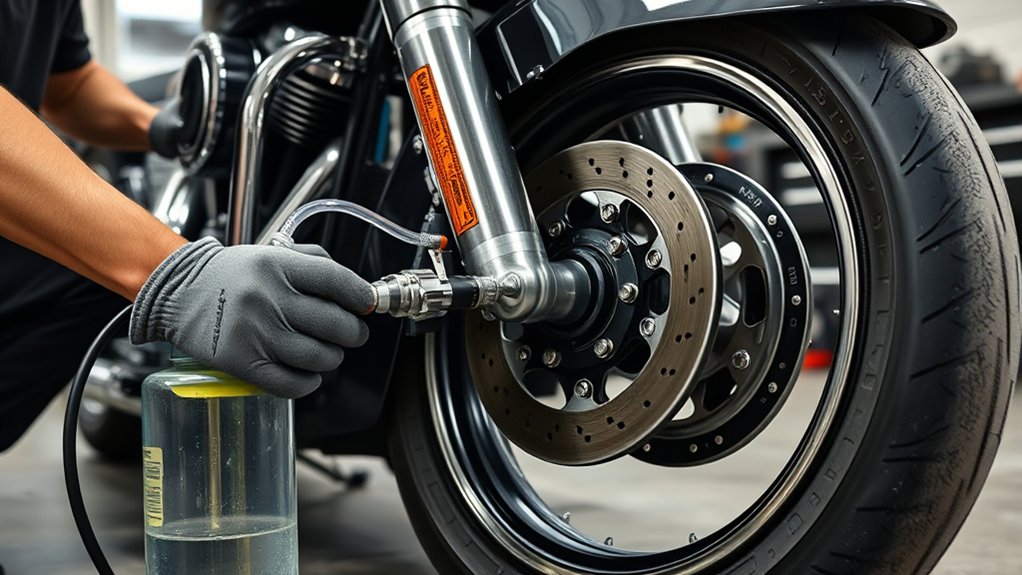
If you want to reduce manual effort and improve the efficiency of bleeding your Harley’s front brakes, consider using vacuum or gravity bleeding methods. Both techniques do a better job of removing trapped air compared to the usual pump-and-release way. This means you’ll get a firmer brake lever feel.
To do these methods right, start by positioning the motorcycle with the handlebar level. This helps keep the fluid flow consistent.
For vacuum bleeding, attach a vacuum pump to the bleeder screw. Then, draw fluid and air out steadily.
If you’re going with gravity bleeding, keep the bleeder screw open while topping up the reservoir. This lets fluid flow downward naturally.
Make sure all fittings are airtight so no new air sneaks into the system. These controlled setups make air evacuation easier and cut down on the effort needed during bleeding.
Inspect Brake Banjo Fittings and Washers for Leaks
After completing vacuum or gravity bleeding, inspect the brake banjo fittings and washers for any signs of leaks.
First, verify that the banjo fittings are tightened securely to maintain system pressure and prevent fluid loss. Use a torque wrench to tighten banjo bolts to the manufacturer’s specifications, avoiding under- or over-tightening.
Next, examine the sealing washers closely. Replace any that are cracked, deformed, or show improper crush to ensure an effective seal. Also, check for fluid seepage or corrosion around the fittings because that can indicate potential leaks or washer deterioration.
Finally, make sure all fittings are clean and free from dirt or debris that could compromise the seal or allow air to get in.
This inspection is really important for keeping the brake system working properly and delivering maximum performance.
Test Brake Lever Feel and Confirm No Leaks
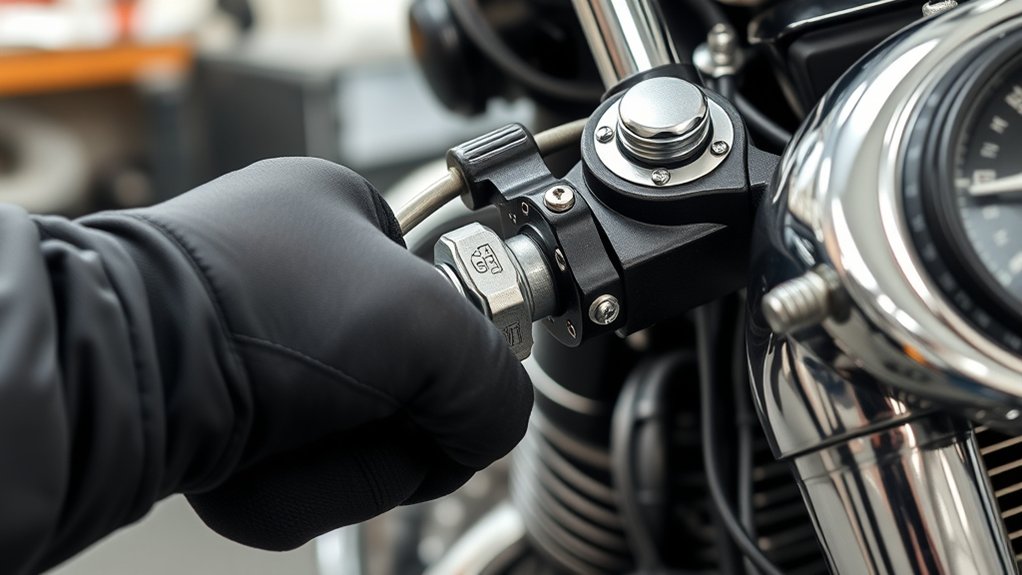
When you squeeze the brake lever firmly and hold it, you can assess whether the system maintains proper pressure or contains air by noting the lever’s feel. A firm, resistant lever confirms effective bleeding, while a soft or sinking lever suggests air or leaks remain.
After releasing the lever, inspect all fittings and calipers carefully. Follow these steps:
- Verify the brake lever offers firm resistance and doesn’t sink when held.
- Check around all brake line fittings and calipers for any fluid seepage or leaks.
- Make certain the brake fluid reservoir cap and diaphragm are securely installed to prevent contamination or fluid loss.
Performing this methodical check guarantees your Harley’s front brake system is sealed and functions reliably before riding.
Frequently asked questions
What Type of Brake Fluid Is Best for Harley Front Brakes?
You should use DOT 4 brake fluid for Harley front brakes because it offers a high boiling point and works well with ABS systems.
Avoid DOT 3 fluid since it boils at a lower temperature, increasing brake fade risk. Some Harley models may require synthetic brake fluid for enhanced performance.
Always check your owner’s manual for the exact specifications. Using the recommended fluid guarantees consistent braking and prevents moisture-related issues.
It’s really about keeping your brakes reliable and safe every time you hit the road.
How Often Should I Bleed My Harley’s Front Brakes?
You should bleed your Harley’s front brakes every 1 to 2 years, or whenever you notice sponginess or decreased braking efficiency.
After any brake system repairs or component replacements, always bleed the brakes before riding.
Brake fluid absorbs moisture over time, which reduces performance and causes corrosion. So, regular bleeding helps keep your brakes working at their best.
It’s a good idea to check your owner’s manual for model-specific intervals and procedures. That way, you can ensure your bike stays safe and reliable on the road.
Can I Bleed Brakes Without Removing the Wheel?
You don’t always need to remove the wheel to bleed your Harley’s front brakes. If the caliper and bleeder valve are accessible, you can bleed the brakes using vacuum or gravity methods. Just make sure the bleeder screw isn’t obstructed and the brake system is depressurized safely.
However, if access is limited or tools don’t fit properly, removing the wheel guarantees thorough and effective bleeding. It’s often easier and gives you better control over the process.
What Tools Are Needed for Bleeding Harley Front Brakes?
You’ll need a clear collection jar to catch fluid and spot air bubbles.
Plus, a set of Allen or socket wrenches to loosen and tighten the bleeder screws.
Use a vacuum pump or syringe to draw air from the lines efficiently.
Fresh DOT brake fluid in a nozzle-equipped bottle guarantees precise pouring.
Don’t forget protective gloves and rags to handle spills safely and keep your work area clean throughout the process.
It makes everything a lot easier and less messy!
How Do Temperature Changes Affect Brake Fluid Performance?
Did you know brake fluid boiling points can drop by up to 50% when contaminated? Temperature changes directly impact brake fluid performance.
Heat causes expansion and pressure spikes, which reduce braking efficiency.
When it gets cold, the fluid thickens. This makes brakes feel spongy and less responsive.
You really need to keep an eye on the fluid’s condition because moisture absorption lowers boiling points, increasing the risk of vapor lock.
Regular bleeding helps maintain ideal fluid integrity despite temperature fluctuations. It’s a simple step that keeps your brakes working safely and smoothly no matter the weather.
Final Thought
By following these precise steps, you guarantee your Harley’s front brake system is free of air and functions reliably. Removing the reservoir cap and inspecting the diaphragm prevents contamination. Pressurizing the system and carefully opening the bleeder screw expels trapped air.
Maintaining fluid levels and repeating the process ensures thorough bleeding. Checking banjo fittings and washers confirms there are no leaks. Finally, testing the brake lever feel validates system integrity.
This gives you confidence in safe, responsive braking every time you hit the road.