How To Check Motorcycle Stator – Quick Tips
Start by confirming the charging system is weak, not just the battery.
Check battery voltage with the engine off; aim for about 12.6 to 12.8 V.
Run the bike and test at the battery.
You should see roughly 13.8 to 14.5 V, even near 3,000 rpm with the lights on.
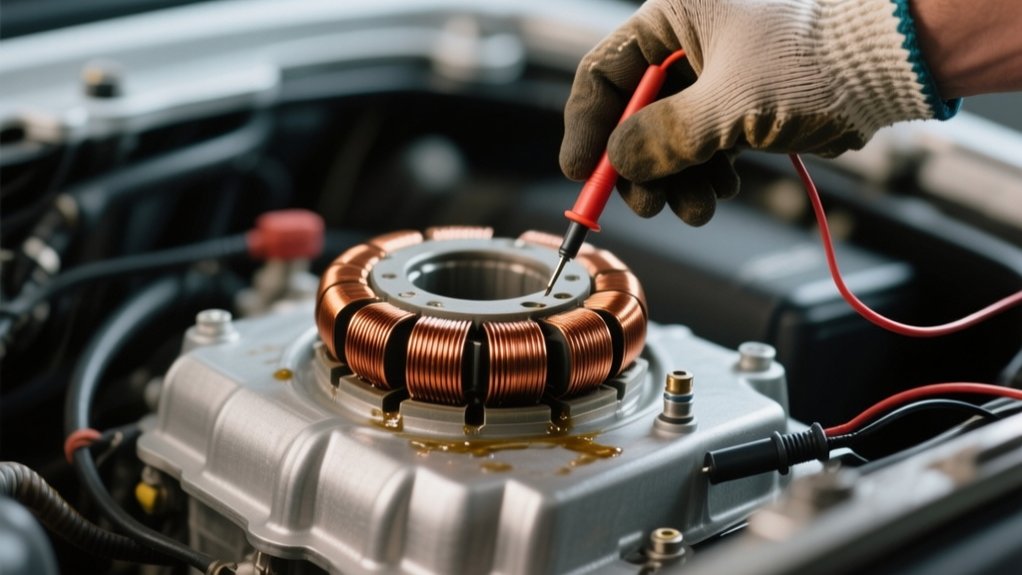
Next, back-probe the stator plug for equal AC output between phases.
Also check resistance and ground, then inspect the wiring and the flywheel.
If any values are off, focus on the stator and related connections first.
Confirm the Charging Problem First
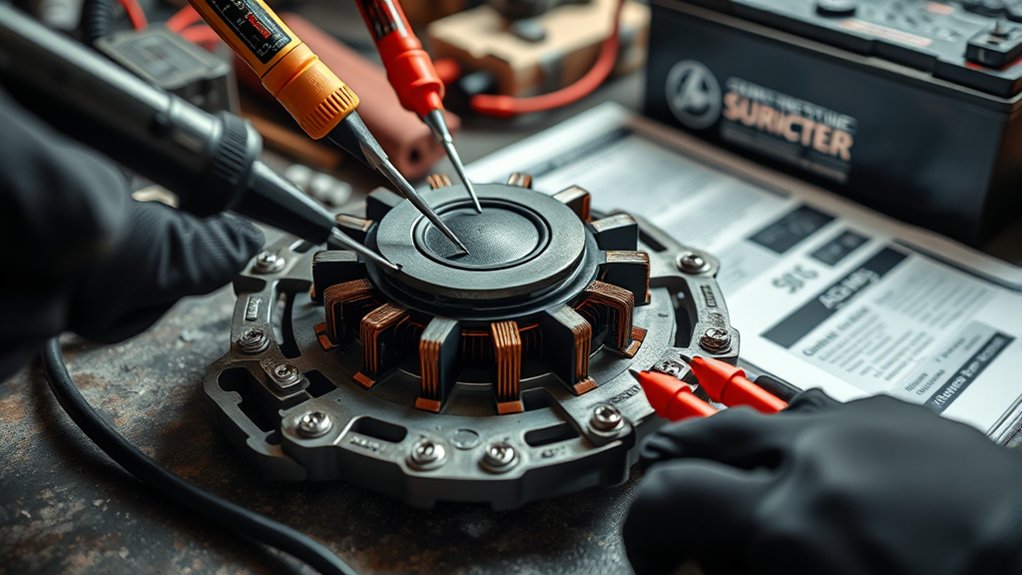
Before you pull the stator, first confirm the charging system is actually at fault.
Check battery voltage with the engine off. A fully charged battery should read about 12.6–12.8 V.
Check battery voltage with the engine off. A healthy battery should read about 12.6–12.8 V.
If it’s weak, charge or replace it before you test anything else.
Start the engine and measure across the battery terminals.
At idle and moderate RPM, you should read roughly 13.8–14.5 V.
Turn on the headlights and raise engine speed to around 3,000 rpm.
Voltage should stay in that range and never dip below about 13 V.
If it climbs past 15 V, suspect the regulator/rectifier.
If it stays low, the stator may be failing.
Dimming lights, a dying battery, or a burning smell strengthen your diagnosis.
Check Battery Voltage While Running
With the engine running at about 3,000 rpm, you should see 13.5–14.8 volts across the battery terminals.
Measure directly at the battery with your meter leads secure and the engine held at a steady rpm.
First, note resting battery voltage.
A charged battery usually reads about 12.4–12.8 volts before startup.
After you start the bike, the reading should climb toward 14 volts.
If it stays at or below 12.6 volts, your charging system isn’t doing its job, and the stator, rectifier/regulator, or wiring may be faulty.
Turn on the headlights and recheck at 3,000 rpm.
If voltage drops below about 13 volts under load, the system can’t support demand, and you’ve got a charging issue to chase.
Test Stator AC Output at the Plug
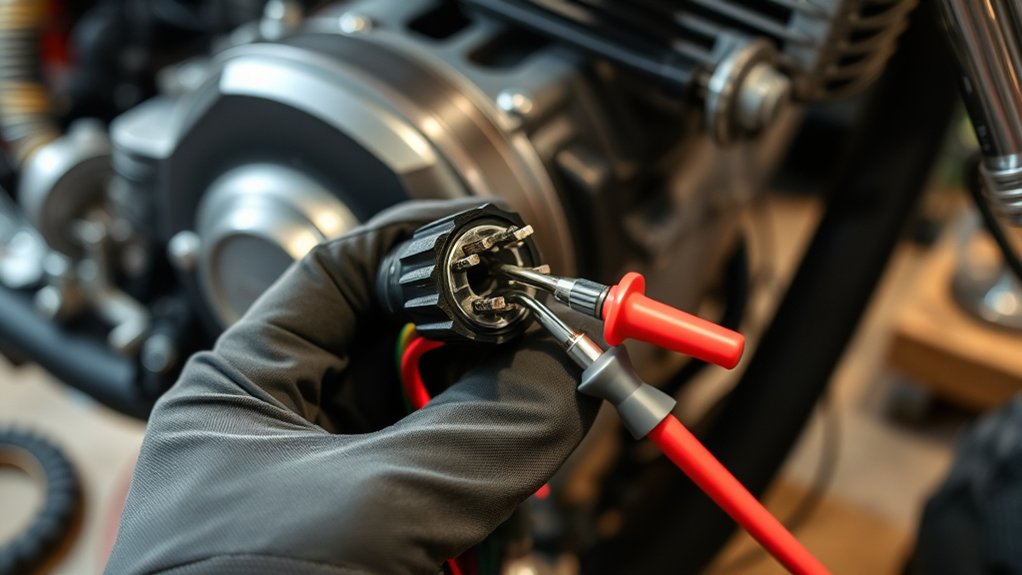
Locate the stator output plug—usually the 3-pin yellow connector between the engine and the regulator/rectifier. Now back-probe the three AC wires.
Set your multimeter to AC volts, then measure each pair while the engine is cranking or running. Ideally, you’ll see similar readings on all three pairs. If one pair shows a low reading or zero, that usually means you’ve got a bad stator winding or an open circuit.
Locate Test Harness Plug
Find the Yamaha test harness plug near the coil, rectifier, or under the seat.
This lets you tap into the stator AC leads without cutting the wiring.
With the ignition off, trace the multi-pin connector between the stator and the rectifier or ECU.
Identify the three AC leads, often yellow or yellow/white.
Then back-probe the terminals or unplug the connector for direct meter access.
Use the manufacturer’s test harness plug when it’s available.
A black-box connector can skew readings if it routes through other circuits.
Make sure the plug isolates the stator only.
This setup helps you check the stator safely and keep the harness intact.
It also prepares you for accurate AC output testing.
Keep the connector clean, seated, and free of corrosion before you continue.
Measure AC Voltage Output
Start the engine and hold it around 3,000 RPM.
Then set your multimeter to AC volts and back-probe each pair of the three stator output wires at the plug.
Measure between all three phase pairs, usually the three yellow wires.
You should see roughly 40–80 VAC RMS, depending on the bike and engine speed.
Keep the stator connected to the regulator while you test.
Use the engine-side connector or a Yamaha test harness.
Compare all three readings.
They should be close, within about 10–20% of each other.
If one pair reads much lower or zero, you likely have an open or shorted winding.
If AC output is normal but battery charging stays low, suspect the rectifier or regulator instead of the stator.
Check While Cranking
With the engine cranking, back-probe the stator output connector, usually the 3-pin yellow plug.
Set your multimeter to AC volts and check the three phase pairs, A-B, B-C, and A-C.
On a healthy three-phase stator, you should see about 20 to 50 VAC at cranking speed.
Each reading should stay close, usually within 10 to 20 percent of the others.
Near-zero on one pair points to an open or shorted coil.
A big mismatch means one phase is weak.
Do not test AC to ground.
Phase-to-phase is the right method.
If the plug is buried, test at the harness or use the Yamaha test plug to isolate the stator.
Use a fully charged battery, because slower cranking skews the voltage.
Inspect the Wiring and Flywheel
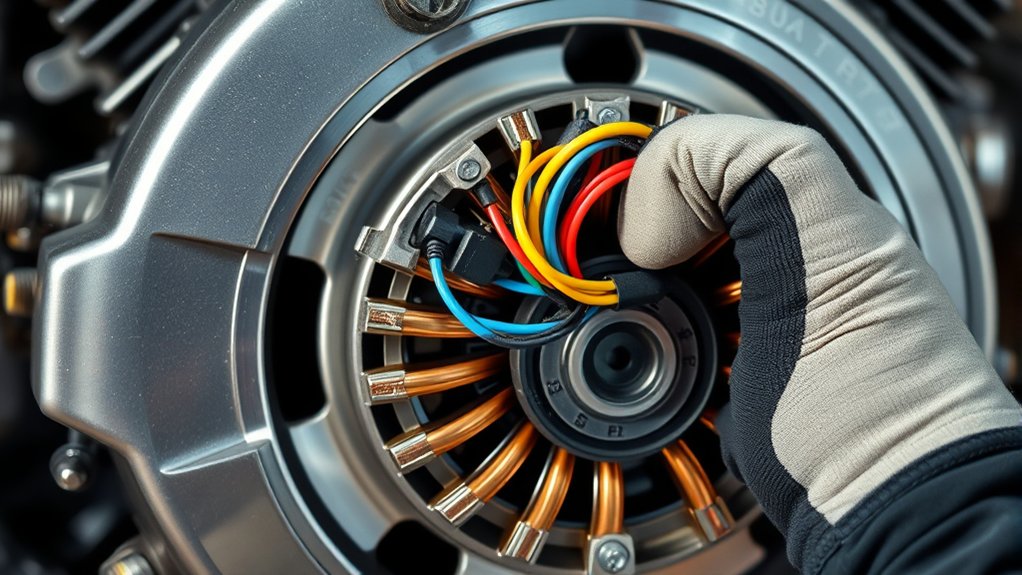
Before you chase the stator itself, work through the wiring and flywheel first. A bad connection or mismatched rotor can cause the same symptoms.
Inspect the stator leads for cracked insulation, corrosion, or melted connectors. Pay close attention to the three-phase yellow and white wires, plus any ground or shield wires near the case.
Trace each lead to the engine-bay or black-box connector. Make sure every pin seats fully, because a loose plug can mimic a failed stator.
Then verify the flywheel matches your bike’s model. The wrong rotor can change pole spacing and magnet strength.
Check the magnet surface for chips, cracks, or rust. Confirm the flywheel sits flush on the taper with the key installed and bolts torqued.
Finally, measure the air gap and adjust it per the manual.
Check Stator Resistance and Ground
Set your multimeter to the low-ohms range.
With the stator disconnected, measure resistance between each pair of yellow phase wires: A-B, B-C, and A-C.
You should see low, similar readings, often about 0.2–1.0 ohm.
Always follow your service manual for the expected values.
Clean the connector pins before you test.
Take readings at room temperature.
Compare all three values.
They should match closely.
Next, check each phase wire to engine ground.
You want open or infinite resistance, with no continuity.
If you get a low reading, the stator may be shorted to ground.
If you have a megger, use it too since higher-voltage insulation tests catch breakdowns better than a simple ohmmeter.
Look for Common Bad Stator Signs
After checking resistance and ground, look at the symptoms that show up on the bike. If your running voltage stays below about 12.5 V instead of climbing into the 13.5 to 14.5 V range, the stator isn’t charging properly.
Watch for dim headlights at idle, flickering gauges, or lighting that cuts in and out. These signs usually mean weak AC output at low rpm.
Check the stator for a burnt smell, oil-soaked windings, or scorched, discolored, or scored plates. If the engine stalls or runs rough when you switch on lights, indicators, or the fan, suspect a weak or shorted stator.
Repeated regulator or rectifier failures, or blown fuses after installing a new regulator, often point back to the stator, not the regulator.
Frequently Asked Questions
Can a Bad Stator Still Charge at Higher RPMS?
Yes, a bad stator can still charge at higher RPMs.
You may see normal voltage above 4,000 RPM while it barely charges at idle or low revs.
That can happen when a winding is weak, partially shorted, or heat-sensitive.
Test the AC output at idle and cruising RPM, then check battery voltage while running.
You want about 13.8–14.6 V with the engine running.
If voltage drops as it warms, the stator is failing.
How Often Should Motorcycle Stators Be Tested?
You should test your stator regularly, even when it seems perfectly fine, because electrical failures can show up out of nowhere.
Check it once a year, or every 6,000–8,000 miles if you ride often.
Test it after battery, regulator, crash, or water issues.
Test it immediately if lights dim or charging drops.
On older bikes or high-mileage machines, inspect it each season.
This helps you catch winding wear before it leaves you stranded.
Does a Stator Failure Damage the Battery?
Yes, a stator failure can damage your battery.
If your stator undercharges, you’ll run low voltage and repeatedly drain the battery, which shortens its life.
If the stator shorts or sends AC ripple, it can overheat the battery or stress the rectifier/regulator.
Overcharging can boil electrolyte and warp plates.
Check charging voltage at 3,000–4,000 rpm.
You want about 13.5–14.8 V to protect the battery.
Can Oil Leaks Cause Stator Problems?
Yes, oil leaks can cause stator trouble.
You may see slippery seepage that soaks the windings, softens insulation, and shorts coils.
That can drop AC output or even kill the stator.
Oil can also trap dirt and moisture, creating conductive paths and corrosion.
Fix the gasket leak, then clean and dry the cover.
Test stator AC volts and insulation resistance next.
If the readings stay low, you’ve likely got damage that won’t clear up.
Can I Ride With a Failing Stator?
Yes, you can sometimes ride with a failing stator, but only for a short trip.
You need your battery to stay charged.
If voltage drops below about 13.5 V at cruise, you’ll drain the battery fast.
Then you risk dim lights, weak spark, ECU shutoff, and a stall.
Stop riding if charging becomes erratic or falls.
Replace the stator before any long ride.
Don’t gamble on touring.
Conclusion
If your bike still dies after a full charge, don’t blame the battery first. I once saw a rider replace two batteries before finding a stator putting out only 12 volts AC at idle—far below spec.
That kind of weak output is like a heart pumping in slow motion. Everything else struggles.
Check voltage, AC output, wiring, resistance, and ground, and you’ll catch the fault fast. A healthy stator keeps your charging system alive.