
How To Clean A Motorcycle Gas Tank – Easy Guide
Drain the tank, shut off the petcock, and remove it.
This lets you empty every drop of fuel and inspect the screen.
Shake out loose rust and debris.
Then use roofing nails or abrasive media to scrub the inside.
Flush the tank with fresh fuel or solvent until it runs clear.
Finally, dry it completely.
For stubborn rust, use a diluted muriatic acid wash.
Then neutralize, rinse, and coat the tank with a fuel-safe liner if needed.
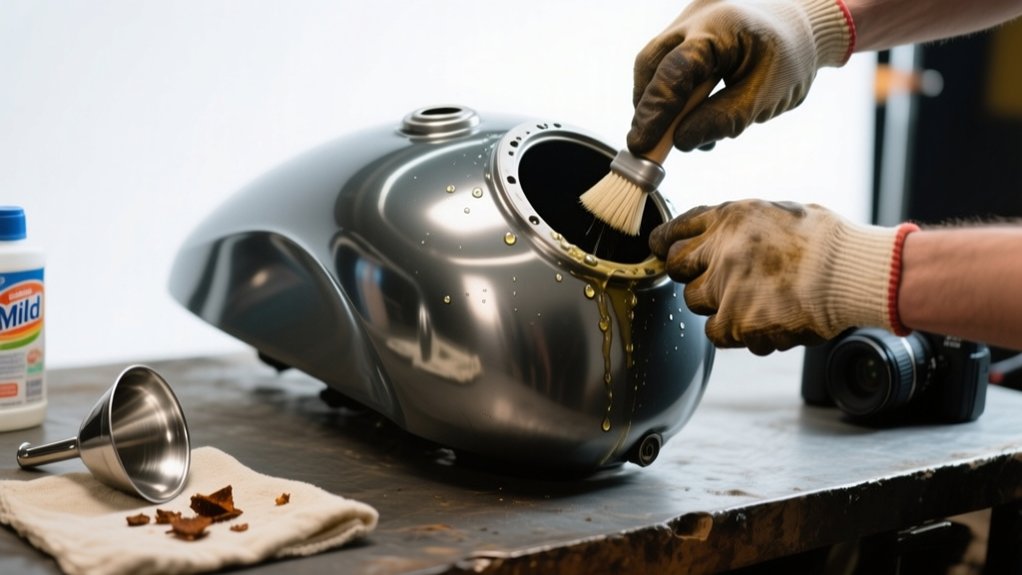
Drain the Tank and Remove the Petcock

Start by turning off the fuel petcock. Drain the tank into an approved container. If needed, tip the bike or tank until the fuel stops flowing.
Turn off the fuel petcock, drain the tank into an approved container, and tip it until the fuel stops flowing.
Next, unthread the petcock assembly and disconnect any attached fuel lines. This lets you open the tank interior. It also helps you avoid hidden contaminant traps during cleaning.
Set the removed parts aside for inspection. Check the petcock screen and bowl for varnish, rust, or sludge. Clean or replace them if they’re clogged, since a dirty petcock can reintroduce debris after you finish.
Once the tank is empty, plug or tape the opening. This lets you move or roll the tank without spilling residue. It also helps keep abrasive media from escaping during later mechanical cleaning steps.
Shake Out Loose Debris
With the petcock and gas cap removed, shake the tank vigorously. Listen for loose debris rattling inside so you can gauge how much contamination remains.
If you hear a heavy scatter, plan on more cleaning later. To improve the shake, add about 3 pounds of roofing nails or another hard abrasive media.
Then roll and tip the tank so the media reaches the top, bottom, and seam areas. Work it for 15–20 minutes, changing angle often to break loose rust and scale.
Afterward, drain the residue. Use an extended magnet to pull out any stubborn ferrous pieces.
Check the debris you collected. If you still see significant grit, repeat the shake with fresh media before moving on to flushing or chemical cleaning.
Scrub Rust With Roofing Nails
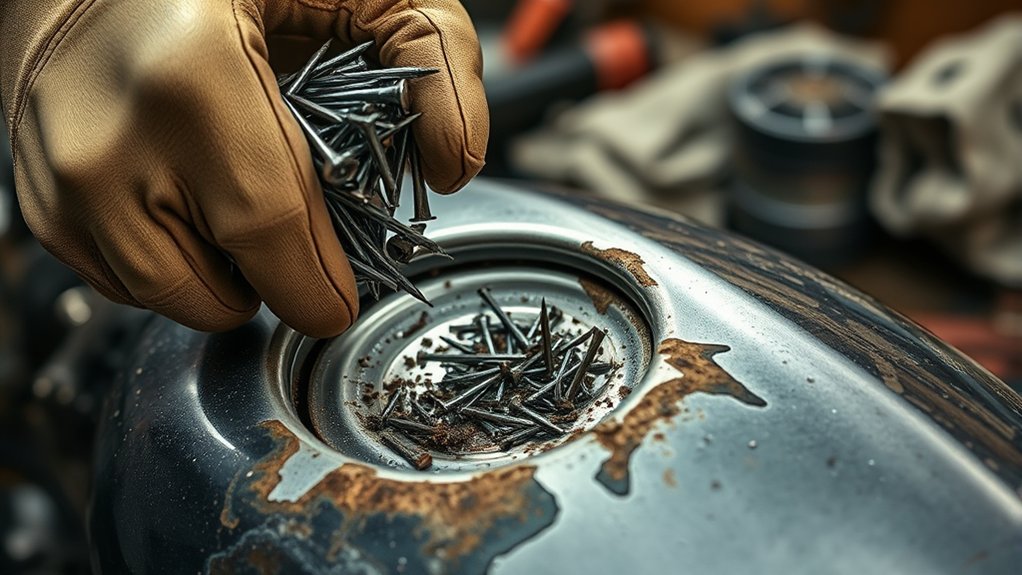
Drop 2–4 pounds of roofing nails into the empty tank after removing the petcock and fuel cap.
Then seal the openings with duct tape or covers.
Roll and shake the tank hard for 15–30 minutes.
This scours rust from every interior surface and helps break loose scale without damaging the tank walls.
Work in short intervals to control fatigue.
Keep the tank moving in all directions.
Check for rattling changes that suggest remaining rust.
Reopen and inspect before continuing.
After shaking, pass an extended magnet around the openings and inside cavities to recover the nails and stray metal.
If any remain trapped in seams, repeat the magnet pass.
Then tilt the tank and rinse out loosened debris.
Flush the Motorcycle Gas Tank
Pour fresh gasoline into the tank. Slowly roll it around to flush out loosened rust and grit from the bottom and upper surfaces.
Drain the tank into a fuel-safe container. Inspect the liquid for sediment.
Repeat partial fills and slow rotations until the outflow stays clear. Keep the tank moving gently to limit splashing and protect paint.
Empty all cleaning fluids before your final gasoline flushes.
| Step | Action |
|---|---|
| 1 | Partially fill with fresh gasoline |
| 2 | Rotate the tank slowly |
| 3 | Drain into a safe container |
| 4 | Check for dirt or particles |
| 5 | Repeat until clear |
Finish with a final slow drain. Let the tank dry completely before coating or reinstalling.
Rinse Every Surface Thoroughly
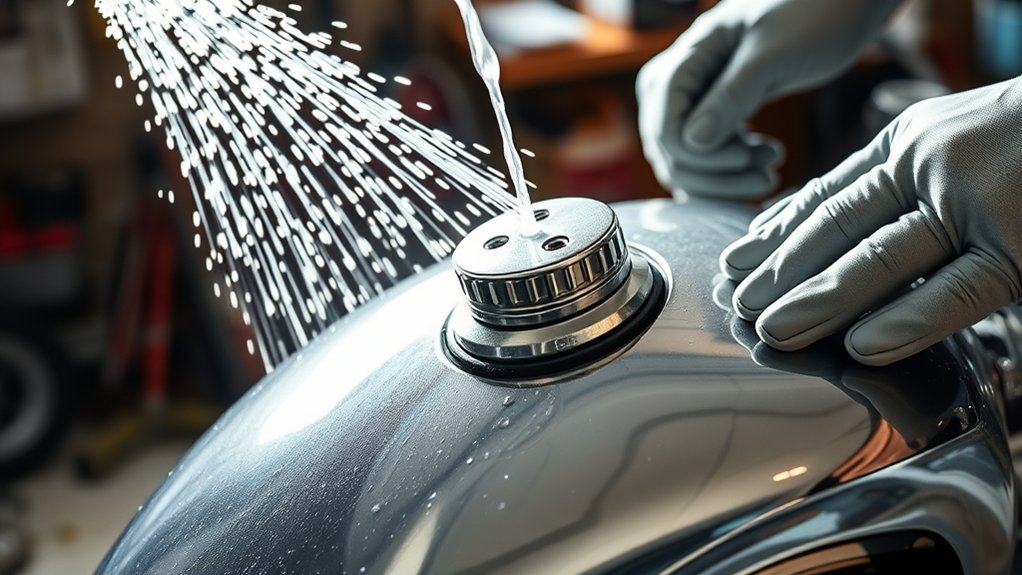
Once the tank is free of loose rust and media, flush it several times with fresh gasoline.
Rotate it slowly each time so the fuel reaches the bottom, top, and seams without splashing the paint.
Drain every cleaning fluid first, then add fuel and swirl it through all internal surfaces.
Use a flexible funnel or small-diameter tubing at the petcock and cap openings to reach trapped spots.
- Pour out the rinse until it runs clear.
- Check for discoloration or grit in each drain.
- Inspect shaded areas with a flashlight.
Repeat until no debris remains.
Let the tank drain fully and air-dry completely.
Don’t reinstall or coat it until every trace of moisture is gone.
Use Muriatic Acid for Stubborn Rust
Mix muriatic acid with hot water at about a 3:1 ratio, and don’t fill the tank more than halfway.
Then seal the petcock and cap openings with duct tape, and rotate the tank slowly so the solution wets every rusty surface without splashing.
Wear rubber gloves and safety glasses, and keep a close eye on any vigorous bubbling.
Also wipe any drips immediately to help protect the paint.
Acid-Water Mix Ratio
For stubborn rust, add muriatic acid to hot water in a 3:1 water-to-acid ratio.
Never fill the tank more than halfway with the solution.
Pour the acid into the water slowly.
This helps the mix react cleanly and start dissolving rust.
Let it sit until bubbling slows.
Then rotate the tank gently so every surface gets contacted.
Avoid sloshing the solution onto paint.
Use hot water first, and add acid not water.
Keep the level low.
Watch for fading bubbles.
Seal the petcock and cap with tape.
Leave a small vent for offgassing.
A damp rag helps catch drips.
It also protects finished surfaces.
When the reaction ends, drain and neutralize the tank.
Do this before any gasoline flushes.
Safety And Application
When stubborn rust remains, you can use muriatic acid safely by wearing chemical-resistant rubber gloves and safety glasses.
Mix the acid into hot water at about a 3:1 water-to-acid ratio.
Add acid to water slowly, and never fill the tank more than half full.
Seal the petcock and gas cap openings with duct tape, and leave a small vent if you want offgassing.
Keep a damp rag nearby to wipe any splashes immediately from skin or paint.
Rotate the tank very slowly so the solution contacts all rusty surfaces without sloshing.
You’ll see bubbling as the acid works.
Let it continue until bubbling stops, then drain, neutralize, and flush the tank thoroughly before final gasoline rinses.
Afterward, coat the inside to prevent future rust.
Use an extended magnet to remove any remaining debris.
Mix and Handle Acid Safely
Carefully combine muriatic acid and hot water to start the cleaning process. Use about a 3:1 water-to-acid ratio, and add the acid to the water slowly to avoid a violent reaction.
Carefully mix muriatic acid with hot water, adding acid to water slowly to avoid a violent reaction.
Fill the tank no more than halfway. Tape over a small vented opening so gas can escape without leaking.
Wear chemical-resistant rubber gloves.
Put on safety glasses.
Keep a damp rag nearby for spills.
Work in a well-ventilated area.
Once the solution is inside, expect bubbling as it cuts rust. Rotate the tank very slowly so you don’t splash acid onto painted surfaces.
If you spot a spill, wipe it immediately. When the treatment ends, neutralize and drain the solution completely before any further flushing.
Rinse, Dry, and Remove Leftover Nails
Flush the tank several times with gasoline after the mechanical scrubbing. Rotate it slowly so each surface gets washed, and drain it completely after every cycle. Keep going until no visible debris comes out.
Then insert an extended magnet through the petcock or filler neck. Sweep the bottom, seams, and corners to pull out any remaining roofing nails or abrasive media. Repeat the pass if you still feel metal.
Finish with a final rinse of fresh gasoline or low-odor solvent. Drain it, and leave every opening uncovered so the tank can air-dry fully. Wipe spilled fluid from the exterior around the openings with a damp rag.
Then shine a flashlight inside to verify the tank’s clean. Before any coating step, confirm it’s bone-dry and recheck with the magnet for missed fragments.
Seal the Tank With an Internal Coating
Choose a commercial tank sealant, and before you start, make sure the tank is fully clean, dry, and completely free of loose debris. Next, pour in the coating, then slowly rotate and tilt the tank so it coats every internal surface. Keep rotating and tilting as needed for even coverage, and drain the excess before you repeat the process.
After that, let the coating cure for the full time specified by the manufacturer. Finally, keep the tank positioned so any excess coating can run out through the petcock and filler neck.
Choose Tank Sealant
After the tank is fully cleaned, rinsed, and dried, seal the interior with a fuel-tank coating such as Red Coat. This helps block future rust and contamination.
Choose a semi-flexible urethane sealant. It stays bonded through heat cycles better than harder products.
Before you mix anything, make sure the tank’s inside is bone-dry. Also confirm it’s free of gasoline or cleaner residue.
Measure the sealant exactly as the label specifies. Then rotate the tank so every surface gets a thin, even film.
Drain any excess before curing begins. After curing, inspect with a light and touch up any bare spots.
If you find loose ferrous debris, remove it with a magnet first. This helps prevent punctures and improves how long the coating lasts.
Apply Internal Coating
With the tank fully rinsed and dry, apply a fuel-tank coating such as Red Coat to seal the metal and block future rust.
Use only a product made for motorcycle fuel tanks. Generic sealers can react badly with gasoline.
Mix the coating exactly as directed, then pour or brush it inside the tank.
Slowly rotate and roll the tank so the urethane film reaches every surface, including seams, corners, and the filler neck.
Keep the coating moving until you’ve covered the entire interior evenly.
Then drain any excess from the opening if the manufacturer specifies it.
Inspect the finish with a light through the filler neck for pinholes or thin spots.
Touch up any bare areas with a second coat.
Let Coating Cure
Let the coating cure fully before you put the tank back in service.
After you’ve cleaned and dried it, keep the tank sealed and rotate it slowly to spread the urethane lining evenly.
Use thin coats only.
Pooling slows cure and weakens the film.
Follow the product’s cure time, usually 24–72 hours.
Keep petcock and gas cap openings sealed during curing.
Remove seals after cure so the tank can vent.
Inspect the interior with a flashlight or camera for misses.
If you spot runs, thin areas, or bare metal, recoat them before refueling.
Proper curing lets the solvent evaporate and forms a durable, non-brittle barrier against rust and debris.
Wait for the full cure, then reinstall the tank.
Add fuel only when the coating is fully hard.
Frequently Asked Questions
How Do I Know if My Tank Needs Cleaning?
You know your tank needs cleaning if you see rust flakes, dirt, or metal grit in the petcock or fuel filter.
Shake the tank. If it rattles like gravel, you’ve got loose debris inside.
If the engine stalls, jets clog often, or fuel smells old and varnished, inspect further.
Use a flashlight through the filler neck to check. If you spot brown rust, scale, or sludge, clean the tank now.
Can I Clean a Tank Without Removing It From the Bike?
Yes, you can clean it on the bike if the rust or debris is minor.
You’ll need to remove the petcock, check the sediment, then use a small amount of abrasive media or flush with fuel while you rotate the bike slowly.
Protect the paint, and wear gloves and eye protection.
Use a magnet to recover any stray metal.
For heavy rust or chemical treatment, you should remove the tank first.
What Tools Do I Need Besides Nails and a Magnet?
You’ll need rubber gloves, safety glasses, duct tape, a damp rag, and a small funnel or pump with a waste container.
Gloves and glasses protect you from gasoline, acid, and debris.
Tape helps seal the petcock and cap, while still leaving a vent for offgassing.
The rag wipes spills quickly and helps guard the paint.
The funnel or pump lets you flush, collect, and dispose of fuel safely and efficiently.
How Long Should the Tank Dry Before Refilling?
You should let the tank dry at least 24 hours before refilling.
If you used muriatic acid or water-based cleaners, wait 48–72 hours.
Make sure every surface feels completely dry.
If you plan to apply an internal coating, follow its instructions.
Keep the tank dry first.
To be safe, blow warm air through it.
Then wait another 12–24 hours.
Don’t refuel until you smell no solvent or dampness.
Will Cleaning Damage the Fuel Sender or Cap?
Yes, it can, if you don’t protect them.
You should remove the fuel petcock and sender before you use acid, solvent, or abrasive media.
These can upset floats, seals, and linkages.
If you leave the cap on, tape it shut during heavy cleaning to stop leaks and fumes.
Afterward, inspect the sender’s seals, float, and connectors.
Replace any worn parts before reinstalling.
Conclusion
Now that you’ve drained, cleaned, and sealed your tank, you’re ready to put it back into service with confidence. Every step you take helps protect your fuel system from rust, debris, and future damage.
Handle the tank like a fortress guarding your engine. It should reward you with cleaner fuel flow and better performance.
Recheck for leaks, reinstall the petcock, and fill up knowing you’ve done the job right.