
How To Ride A Motorcycle – Step-by-Step Guide
Start with full gear: a DOT/ECE helmet, jacket, pants, gloves, and over-ankle boots. Mount from the left, sit upright, and get familiar with the controls.
Turn the key on, check neutral, pull in the clutch, and start the bike. Ease into first gear, use the friction zone, and add gentle throttle.
Shift smoothly, brake with both brakes, and practice turns and balance. Focus on safe road habits, and keep going—you’ll pick up the finer points.
Gear up and Get Familiar With the Bike

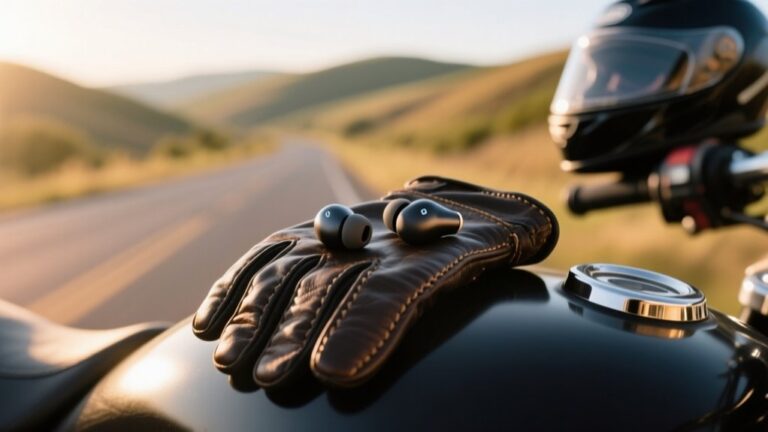
Before you swing a leg over the bike, gear up completely with a DOT/ECE-certified full-face helmet, an abrasion-resistant jacket and pants with armor, over-ankle boots, and full-fingered gloves.
Gear up completely before mounting: helmet, armored jacket and pants, sturdy boots, and full-fingered gloves.
Mount from the left.
Check that the kickstand is up, and you’re seated with both feet flat so you can reach the handlebars and switches easily.
While stationary, do a pre-ride check.
Verify neutral, test the throttle for smooth snap-back, squeeze the front brake, and feel the rear brake with your right foot.
Locate the clutch, gear shifter, starter button, kill switch, turn signals, lights, and horn.
Keep your left foot near the shifter and your right foot on the rear brake.
Don’t start the engine yet.
Focus on learning the controls, and find the friction zone.
Start the Motorcycle and Find Neutral
Turn the key to ON and confirm the dash lights come on.
Then check the kill switch is in RUN and the bike is in neutral by looking for the green “N” light.
Pull the clutch lever in.
Use the gear lever to shift down to first, then lift slightly until neutral appears on the dashboard.
If you’re unsure, ease the shift while holding the clutch in.
Before you press the starter, check these points:
- Kill switch in RUN
- Green neutral light on
- Clutch lever fully pulled in
- Kickstand up if required
- Starter released as soon as the engine catches
When it starts, let the engine idle smoothly.
If it doesn’t want to settle into neutral, roll it a little and try again.
Watch the rpm stay near idle and avoid forcing the shift.
Master the Friction Zone and First Gear

With the engine idling in neutral, click into first gear.
Slowly ease out the clutch until you feel the friction zone, the point where the bike starts to creep forward.
Keep your hand light on the clutch lever and hold that bite point.
This helps you learn the feel of the motorcycle as it begins to move.
At first, leave the throttle closed.
This way, you can sense the bike’s response.
Then add a tiny, steady roll-on as you release the clutch.
Do it to avoid stalling and keep the start smooth.
When the bike moves at walking pace, bring your feet to the foot pegs.
Continue with calm, steady control.
If it bogs, pull the clutch back in.
Add a little throttle and try again.
Practice in a parking lot until it feels natural.
On an incline, use the rear brake as you feed the clutch.
Shift and Stop Smoothly Without Stalling
As you get moving, shift and stop with smooth, deliberate inputs so the engine doesn’t lug or stall.
In first gear, find the friction zone by easing out the clutch lever until the bike begins to pull.
Then add a light throttle.
That same control helps you upshift and downshift cleanly.
- Roll off the throttle before an upshift.
- Pull the clutch lever, select the next gear, then release it smoothly.
- On a downshift, match rpm with a small throttle blip.
- Use feathering the clutch to hold a slow pace without stalling.
When stopping, squeeze the front brake lever and rear brake pedal together.
Then pull the clutch just before crawl speed.
If you stall, stay calm, restart, and practice until the timing feels natural.
Practice Turns, Balance, and Road Safety

In a large empty parking lot, practice slow-speed figure-eights and tight U-turns. Use the friction zone and a light rear brake to keep the bike steady. Aim for a walking pace figure-eight without putting a foot down. Keep your knees on the tank, arms relaxed, and your thumb throttle smooth.
At speeds above about 10 mph, use countersteering. Push right to go right, and push left to go left. Then look through the turn and lean the bike where you want to exit.
Practice progressive braking before corners. Roll off the throttle, brake smoothly, and select the right gear. Then you can roll on power at the apex.
On the road, keep a 2–3 second following distance. Choose a visible lane position and avoid blind spots.
Frequently Asked Questions
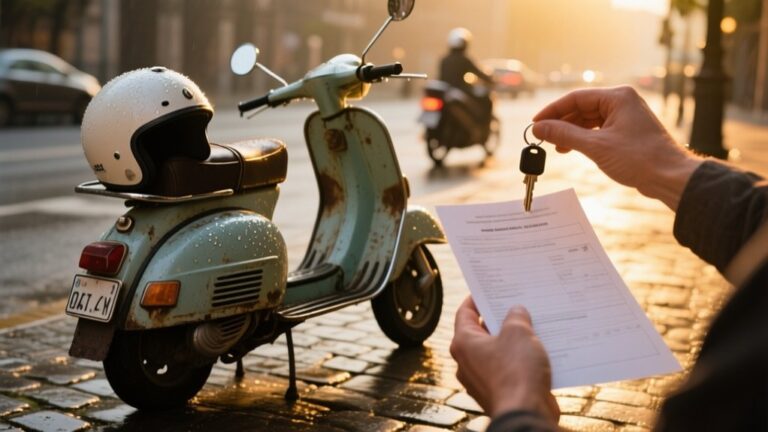
What Motorcycle License Do I Need to Start Riding Legally?
You’ll usually need a motorcycle endorsement, often called M or Class M, on your driver’s license, or a separate motorcycle license.
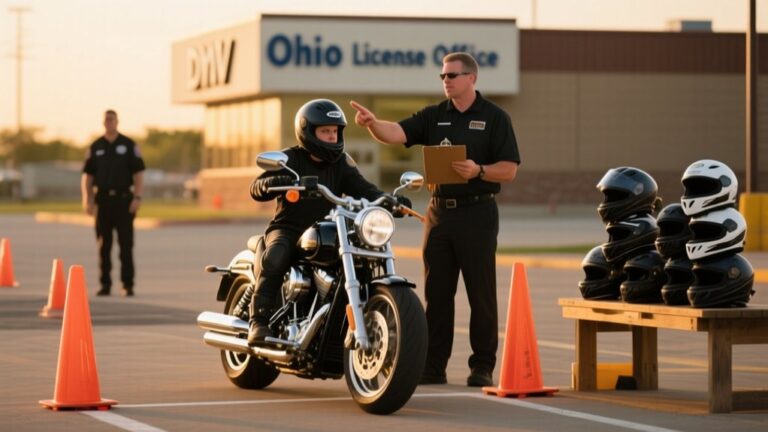
You must pass a written test and either a skills test or an approved rider course.
Many places let you skip the road test after a certified Basic RiderCourse.
Check your local DMV for age, vision, ID, fee, and licensing rules before you ride legally.
How Much Should a Beginner Budget for Motorcycle Gear?
You should budget about $730 to $1,900 for beginner motorcycle gear.
That range covers a DOT- or ECE-certified full-face helmet, jacket, pants, gloves, and boots.
Around 40% of that total often goes to helmet and jacket.
So you shouldn’t skimp there.
Buy the best helmet you can afford.
Then add protective layers.
You can save by shopping used, but inspect everything carefully for damage and fit.
Should I Take a Motorcycle Safety Course Before Riding Alone?
Yes, you should take a motorcycle safety course before riding alone.
You’ll build clutch, throttle, braking, and low-speed control skills in a safe setting with instructor feedback.
You’ll also practice emergency stops, swerving, and traffic scanning before you hit the road.
Many courses can waive the DMV test and lower insurance costs too.
If you can’t enroll right away, book a private lesson.
Then practice in an empty lot first.
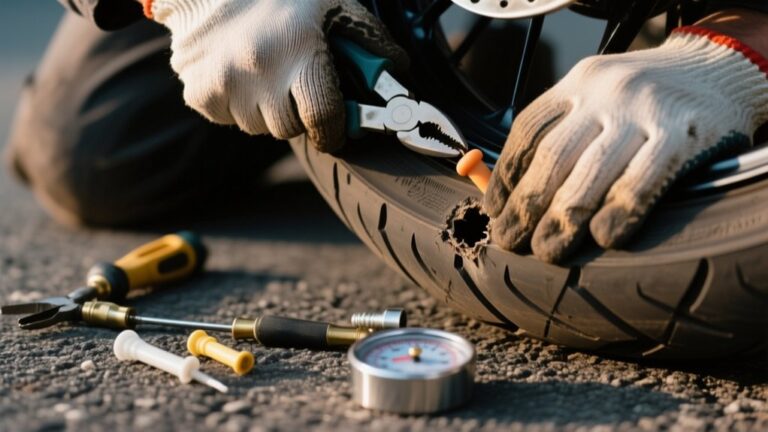
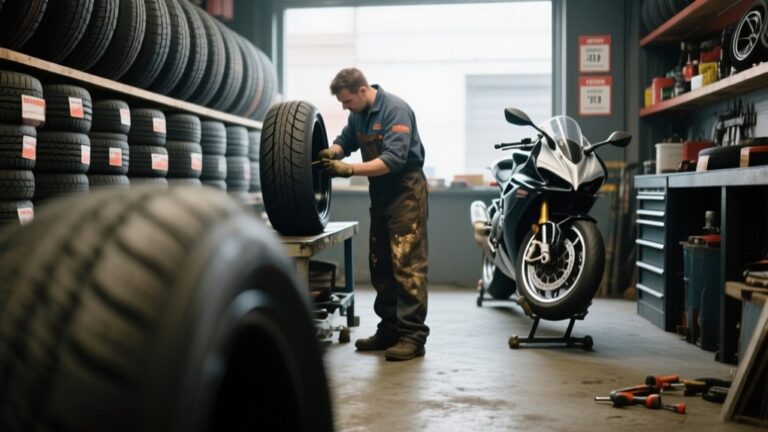
How Often Should Motorcycle Tires Be Replaced?
You should replace motorcycle tires when tread reaches 1/32–2/32 inch on sport tires, or 2/32–3/32 inch on cruisers.
You should also replace them every 5–7 years, even if they look fine, because aging rubber can harden and crack.
Replace tires right away if you spot cuts, bulges, cords, or poor grip.
Watch for vibration or steering changes, too, and use tires matched to your bike and riding style.
What Insurance Coverage Is Recommended for New Riders?
You should carry at least your state or country’s minimum liability coverage. You’ll also want uninsured/underinsured motorist protection.
Add MedPay or PIP if available, so you can handle medical bills fast. If your bike’s new or financed, get full-coverage and collision coverage.
You can also lower costs with rider-course discounts. Compare quotes from several insurers before you buy.
Conclusion
Now that you’ve learned the basics, you’re ready to get out there and practice with confidence.
Keep your gear on, stay alert, and take each step at your own pace.
Smooth starts, steady shifts, and controlled stops will soon feel natural if you keep at it.
Safe riding isn’t something you master overnight, so don’t rush it.
Keep your eyes up and your mind sharp.
Before long, the open road will feel a lot less intimidating.