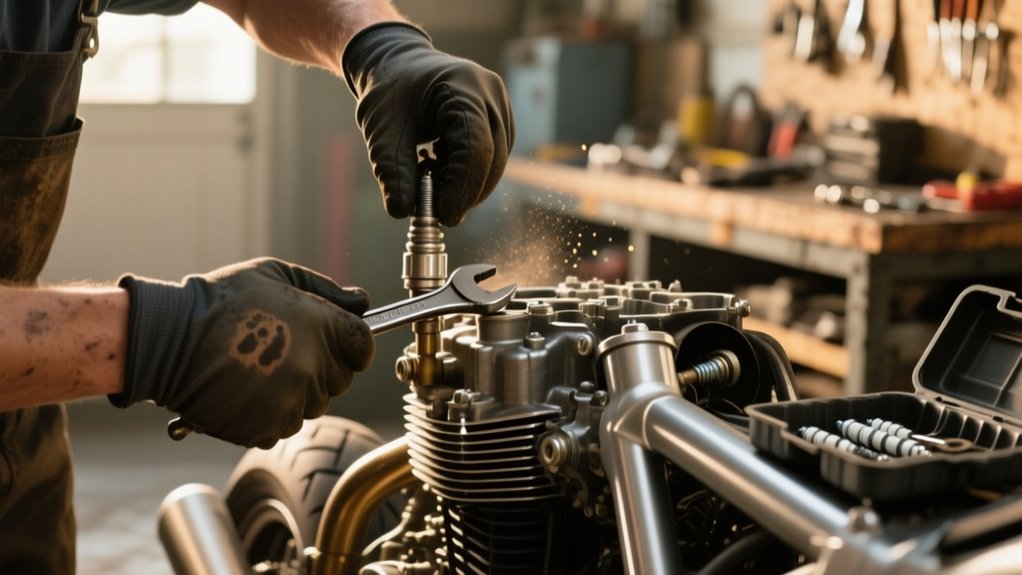
How To Tune A Motorcycle – Full Tutorial
To tune your motorcycle, start by checking compression, ignition, fueling, leaks, and valve timing.
Then choose a flash tune, piggyback, or standalone ECU based on your goals.
Next, set a dyno baseline and adjust fuel and ignition maps across RPM and load.
Watch AFR, torque, and knock as you dial everything in.
After that, refine throttle response, cold start, idle, and road manners.
If you keep going, you’ll learn how to make each change safely and precisely.
What Motorcycle Tuning Changes on Your Bike
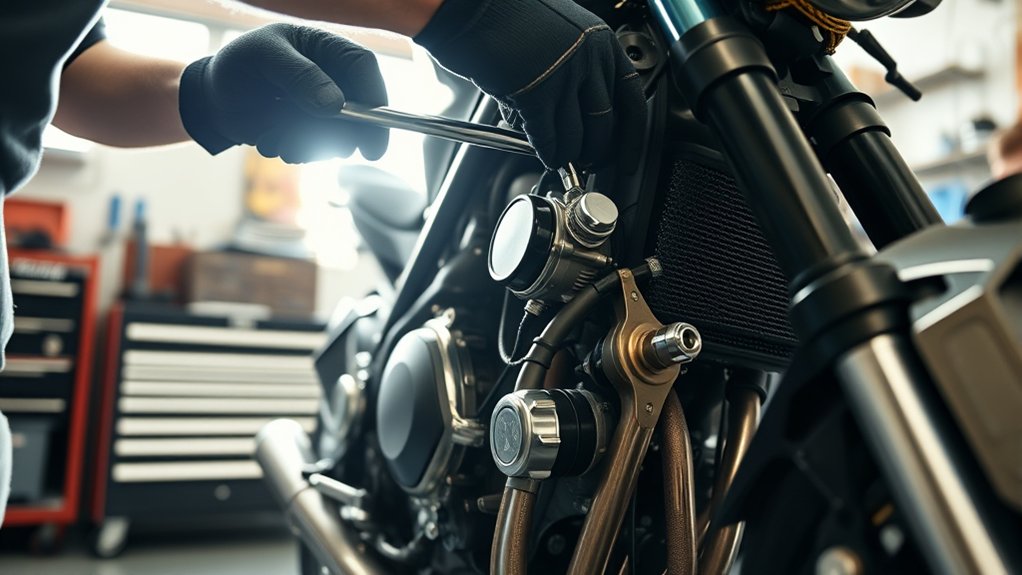
Motorcycle tuning changes how your bike fuels, sparks, and responds. The goal is to make the engine match your goals and your hardware.
Tuning rewrites fuel maps across RPM and load. It shifts air-fuel ratios away from factory lean targets toward safer cruise, cleaner cold-start, or stronger power.
You can advance or retard ignition timing in specific cells. This can add torque, but you must stay within knock limits and account for cylinder heat differences.
Tuning also adjusts throttle-by-wire, rev limits, and gear-based torque cuts. That helps sharpen response or preserve a V-twin’s feel.
It can change closed-loop logic, fan activation, and warm-up enrichment. This matters after intake, exhaust, cam, or bore changes.
Proper calibration replaces one-size-fits-all maps with hardware-specific control. That’s what keeps performance and drivability consistent.
Check the Engine Before You Tune
Before you touch any carburetor or ECU settings, take a moment to confirm the engine’s mechanical health. Compression should be within the factory spec and balanced between cylinders, spark should be strong and timed correctly, and the valvetrain (along with the timing chain) shouldn’t have excess slack.
Next, verify everything is installed and sealed properly. Check the intake boots, clamps, sensors, and general electrical condition, because tuning around a vacuum leak or a false input will only waste your time.
After that, inspect fuel delivery. Make sure the petcock flows correctly, the fuel lines are clear, and your jets or injectors are matched across cylinders.
Engine Condition Check
Start with a solid engine health check. Tuning won’t fix a mechanical problem. First, verify compression and leak-down. Perform a compression test on each cylinder. If readings are low, do a leak-down test to confirm valves, rings, and the head gasket are within spec before any fueling or ignition changes.
Then confirm ignition and spark quality. Inspect plug color, fouling, gap, and timing. Make sure coils and leads fire strongly at cranking and idle. Inspect intake boots, manifolds, and exhaust joints for leaks that can distort AFR.
Next, validate fuel pressure and delivery. Check pump output, petcock or filter flow, and injector or float-bowl delivery. Make sure both cylinders receive consistent fuel.
Finally, scan codes and verify the electrical system. Check sensor readings, battery condition, and charging voltage. Keep ECU data accurate before moving on.
Verify Correct Installation
Verify the engine is assembled and adjusted correctly before you touch the tune. Confirm compression matches the factory range, usually about 120–160 psi on healthy four-strokes.
Next, verify ignition timing against the spec. Check static or dynamic timing as appropriate.
If needed, pull the float bowls and inspect the carburetors closely. Make sure every carb has the same main and idle jets, needle jets, and float valves.
Set float height to the service manual specifications. This consistency matters for proper fueling across all cylinders.
Inspect intake boots and manifolds with a strong light, and use your fingers too. Any crack, hardening, or loose clamp can create an air leak.
Finally, check throttle and choke action. Cables should route smoothly, throttles must snap shut, and chokes should fully release as the engine warms.
Inspect Fuel Delivery
With the engine assembled correctly, move on to fuel delivery. Confirm the bike can feed clean, steady fuel before changing jetting or ECU settings.
Check compression, ignition timing, and valve lash first. A weak engine can hide tuning faults.
Inspect the tank vent, petcock flow, lines, and clamps. Replace any cracked hose or hardened manifold.
Remove the float-bowl plug and verify steady flow. On EFI bikes, test pressure, filter, strainer, and fuel pump output.
Confirm identical jets, clean passages, and correct float height. Watch for leaks during warm-up, especially near the rear tire.
If fuel pools or the pump surges, stop immediately and fix it. Then sync throttles or adjust idle screws.
Choose the Right Tuning Method
Choose the tuning method that fits your bike, your goals, and your level of modification. For most road and fast-road motorcycles, Flash tuning is the best option. It rewrites the factory ECU file while keeping OEM control strategies intact.
With Flash tuning, you can adjust fuel, ignition, throttle maps, and limiters with good precision. If ECU access is restricted, a piggyback module can trim sensor inputs for minor corrections. However, it can’t rewrite deep engine logic or rev and torque limiters.
For forced induction or heavily modified builds, a standalone ECU gives you full control. You can manage fuel, ignition, gear-based strategies, and logging. Match the method to your tuner’s expertise and your platform’s support, because poor maps or the wrong tool can hurt drivability and safety.
Start With a Dyno Baseline
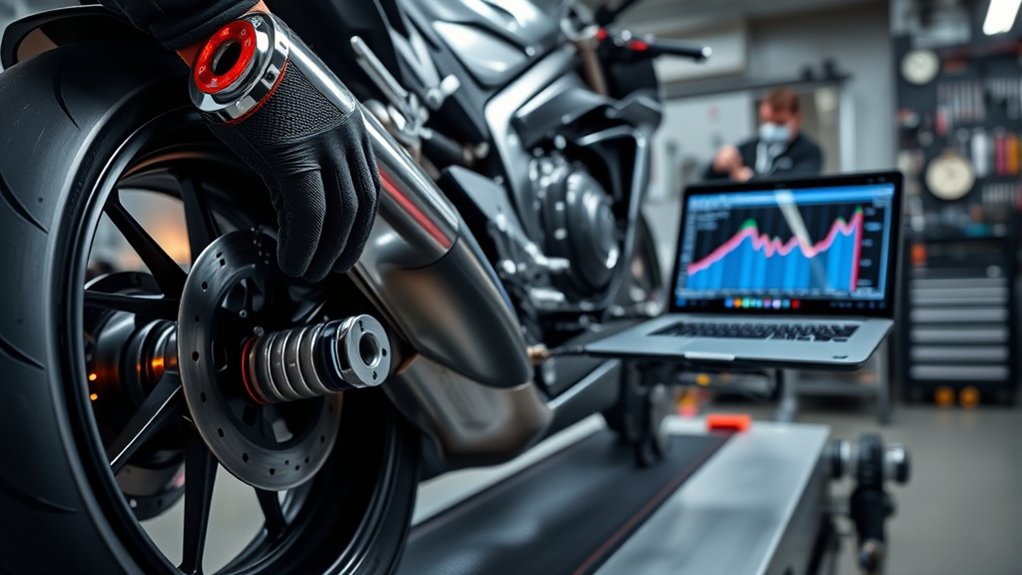
Start with a full dyno baseline pull and record horsepower, torque, and AFR across the entire RPM range, so you can see exactly what the bike is doing before you change anything.
Keep the engine at steady operating temperature and manage heat soak between pulls, because thermal drift can skew your results.
If you’re tuning a V-twin, log each cylinder bank separately too—this helps you catch uneven fueling, timing, or temperature issues early.
Baseline Power Run
Roll the motorcycle onto the dyno and make a full baseline pull. Capture power, torque, and AFR across the entire RPM range. This gives you an unmodified reference for every later change.
In Dyno Tuning, this first run anchors your calibration work. It also shows what the engine does before you touch a map. Record ignition timing, fuel tables, and thermal state.
Then let the bike cool down and repeat the pull 3–5 times. This helps with repeatability and lets you compare results. Note V-Twin cylinder bank asymmetry.
Flag rear-cylinder heat soak effects, too. Compare each run for consistency and track any drift. Print baseline sheets with curves and notes.
AFR and Torque Check
Begin every dyno session with a full baseline pull.
Log torque, horsepower, and AFR across the entire RPM range, then compare every later change to a clean reference.
Check the torque curve for firing-pulse irregularities.
Then inspect the wideband trace for lean spikes, especially in the mid-range and steady cruise cells.
Aim for about 12.5:1 at best power.
Target near 15:1 where economy matters.
If you can, log front and rear cylinder data separately.
V-Twin banks rarely fuel the same.
Note the ignition timing on the stock map.
Conservative advance often leaves measurable torque on the table.
Use this baseline to flag lean cruise, idle stumble, and any corrections that should deliver cleaner throttle response.
Do this before you make tuning changes.
Heat Soak Control
Before you touch the map, run a full dyno baseline.
Record power, torque, AFR, and all key temperatures, including oil, coolant, and intake air.
This helps you tie any heat-related power loss or AFR drift to a specific thermal state.
For heat soak control, let the bike cool between pulls.
Wait until oil temp changes less than 2–3°C over 5 minutes.
This matters especially on a V-Twin with rear/front cylinder asymmetry.
Watch each repeat pull for AFR lean-out and ignition retard.
As intake temps rise, volumetric efficiency shifts.
Use conservative fan, closed-loop, and intake-air enrichment tables to limit detonation without dulling character.
Then verify real-world behavior under traffic.
Test in stop-and-go load conditions too.
- Log every pull
- Stabilize before retesting
- Adjust heat tables
- Confirm real-world behavior
Tune Fueling Across RPM and Load
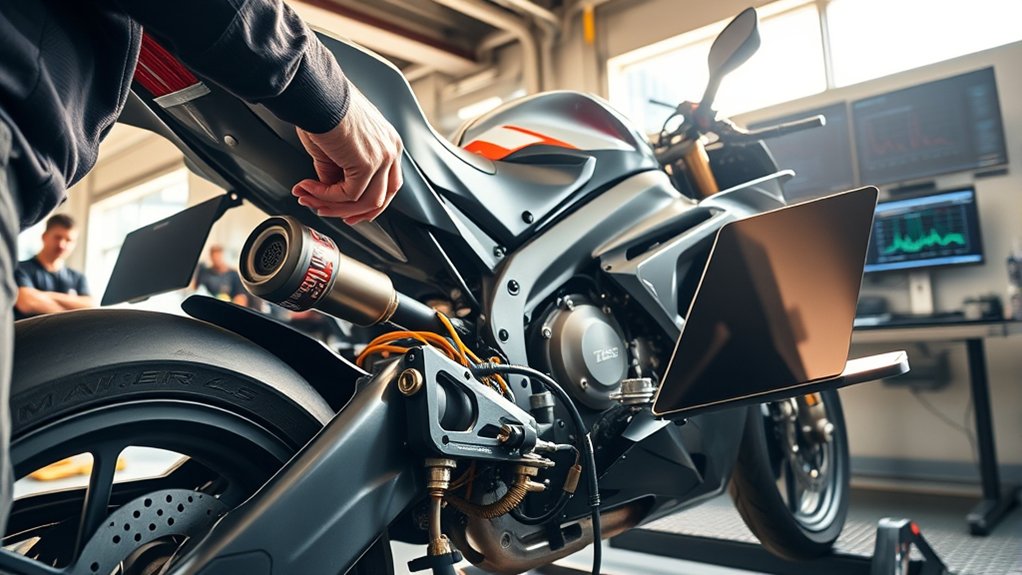
On the dyno, tune fueling by load and RPM on a torque or MAP vs. RPM grid to shape the torque curve.
Start with a conservative pull, then watch for lean spots, transient stumbles, and cruise surge after Stage 1 airflow mods.
Target about 12.5:1 AFR for best power, around 15:1 for steady cruise, and never leaner than roughly 18:1 on spark ignition.
If you’re tuning a V-Twin, adjust each cylinder bank separately, since the hotter rear cylinder usually needs more fuel.
Use mid-range cells or progressive needle circuits to control part-throttle mixture.
Reserve full-throttle enrichment for wide-open demand, and let the engine cool between runs.
Then verify the final calibration on the road through throttle shifts and steady cruise.
Set Ignition Timing for Better Torque
Dial in ignition timing on the dyno by sweeping advance in 1–3° steps.
Watch torque, AFR, knock activity, and exhaust gas temperature.
You can often free up 4–8% more midrange torque with safe ignition timing.
This is especially true where you have some knock margin.
On V-Twins, map each cylinder bank separately.
The rear cylinder runs hotter, so it usually wants a little less advance.
Hold each pull long enough for heat soak to stabilize.
Advance only until torque stops climbing cleanly.
Retard a few degrees where torque falls or AFRs lean out.
Back off immediately if knock or high EGTs appear.
Aim for a smooth torque curve, not the last degree of advance.
Then validate the tune on the road under real-world part-throttle conditions.
Smooth Out Throttle Response
Smooth out throttle response by finding where the bike hesitates, surges, or snaps open too hard. On a V-Twin, tune separate fuel tables for each cylinder bank so uneven firing doesn’t make the roll-on jerky.
Run long dyno sessions with 15–25 steady pulls. Let temperatures stabilize between runs to spot lean surge, mid-range holes, and transient stumble.
Richen the needle area or mid-throttle fuel cells where the hesitation starts. Then verify the main jet and closed-loop targets for part-throttle and wide-open operation.
Refine ignition timing for stronger torque pickup. Watch knock margin and heat, especially if one cylinder runs hotter.
After the dyno, road-test cruise, shifts, and roll-on response. Don’t over-smooth, or you may erase the character you want.
Dial In Cold Start and Idle
When the engine is cold, enrich the mixture heavily with the choke or starting circuit so it can light off before metal surfaces are hot enough to vaporize fuel.
In some cases, you may need a mixture near 1:1 air fuel ratio for a reliable start.
You need to know that idle tuning starts after warm up, not before.
Set the pilot circuit and air screw so the bike idles slightly rich, around 12.5–14.7:1, for clean combustion and crisp pickup.
Watch cold start decay as enrichment tapers.
Tune V twin banks separately on the dyno.
Correct black smoke, fouled plugs, or stalling.
Recheck idle stability after each tune pass.
If it hunts or stumbles, adjust the idle jet, air screw, or target map until it settles cleanly at operating temperature.
Test the Bike on the Road
Choose a repeatable road test route that includes idle, low-speed maneuvers, steady cruising, and a few full-throttle pulls. That way, you can compare what you see in the real world against your dyno results.
As you ride, keep an eye on any rideability changes—especially throttle response, part-throttle smoothness, and what happens after heat soak. Log AFR, RPM, and throttle position throughout, so you can clearly see how the tune behaves under load and in transitions.
Finally, pay close attention to lean surge at 50, 65, and 75 mph. Steady-state cruising is where fueling errors often show up, and it’s exactly the kind of thing the dyno can sometimes miss.
Road Test Route
For a road test, run the bike on the same 5–10 mile loop every time. This way you can compare results accurately.
Use this Tuning Guide to include steady highway cruising, mid-range roll-ons, low-speed sections, and stop-and-go traffic in one circuit. Carry a datalogger and record GPS waypoints, air temperature, and barometric pressure so AFR, ignition advance, and throttle position match across runs.
- 2nd gear, 2,500–4,000 rpm roll-on
- 3rd gear, 4,000–5,500 rpm full-throttle pull
- Idle-to-throttle blip from 800 rpm
- Repeat after 10–15 minutes of cooling
Run the route after any intake, exhaust, cam, or bore change. Log timestamps and watch for rear-cylinder heat differences on V-Twins, then use the data to refine calibration where the bike needs it most.
Check Rideability Changes
After the dyno session, take the bike on a staged road test. The goal is to confirm the tune actually rides well, not just pulls hard on the machine.
Start cold, let it idle, then check steady highway cruise. After that, run repeated roll-ons in each gear.
Look for clean throttle response. Also check smooth delivery through 2,500 to 4,500 rpm.
Watch for any stumble when you roll from closed throttle to 25 to 50% in traffic. Ride 20 to 30 minutes to see how the rear cylinder and exhaust handle heat.
Use a datalogger or phone app to record rpm, gear, throttle position, AFR, ignition advance, and temperatures. If you feel a hiccup, note the exact rpm and load.
After any map change, repeat the same route. Compare both feel and numbers.
Note Lean Surge
Now that you’ve confirmed the bike feels clean under acceleration, hold a steady throttle at cruising RPM and road load to check for lean surge on the street.
Watch for hunting, stumbling, or an RPM drop at highway speed. That’s the classic steady-state symptom.
It often shows up after stage 1 intake and exhaust changes with the stock ECU fueling. It can also change with heat because the rear cylinder runs hotter.
Test it cold, then test again after heat soak. Cruise at the same speed and throttle opening both times.
Note any momentary loss of power during the pull. Record speed, RPM, load, and temperature as you go.
Contact us if you need help correcting the fuel tables. If surge appears, log the exact conditions so you can tune cylinder-specific fuel correctly on the dyno.
Work With a Tuner Who Knows Your ECU
If you want the tune to work the first time, choose a tuner who’s documented experience with your exact ECU model. Ideally, pick one that’s flash-capable for your platform.
Ask them to read the stock file first. Have them inspect fueling, ignition, rev and gear limits, and closed-loop logic before they change anything.
ECU strategies vary, so identical engines can react differently. You need a baseline that reveals hidden restrictions.
On Harley V-Twins, insist on separate cylinder-bank calibration. This helps address rear-cylinder heat and uneven firing intervals.
Verify they use dyno pulls for repeatable load and rpm tuning. Then ask for road testing that checks transient response and part-throttle behavior.
Ask how they’ll do the work: flash, piggyback, or standalone. Request before and after dyno sheets, typical pull counts, and details on any warranty or emissions impact.
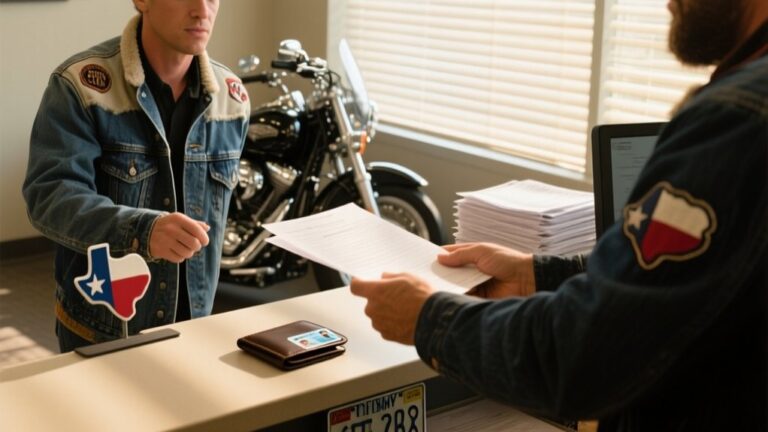
Bring your Drivers License for the paperwork.
Frequently Asked Questions
Can Tuning Void My Motorcycle Warranty?
Yes, tuning can void parts of your motorcycle warranty if the modification causes the failure. You’ll usually keep coverage on unrelated components, but ECU reflashes, piggyback modules, and major engine changes raise denial risk for fuel, ignition, emissions, and internal parts.
Simple bolt-ons may not void everything, yet dealers can still reject related claims. Keep stock files, document dyno runs, and use reversible calibrations to protect yourself.
How Much Horsepower Can Tuning Add?
Tuning can add a mountain of horsepower. On a stock four-stroke, you’ll usually see about 3–8% more peak power.
If you add a free-flowing intake and exhaust, a proper dyno tune can recover losses. It can then add another 5–12%.
Bigger cam, big-bore, or high-compression builds can gain far more. But you’ll need matched fueling, ignition, and airflow parts to realize it.
Do I Need Aftermarket Exhaust for Tuning?
No, you don’t need an aftermarket exhaust to tune your motorcycle.
You can improve fueling, ignition timing, throttle response, and rideability with the stock exhaust still installed.
If you do add a freer exhaust, you should retune the ECU.
Airflow changes can lean the mixture, especially at mid to high RPM.
For best results, use a dyno and calibrate fuel and spark per cylinder for your exact setup.
Will Tuning Affect Fuel Economy?
Yes, tuning can improve fuel economy, but it’s a double-edged sword.
You can correct rich factory fueling, smooth cruise AFR, and reduce over-fueling after intake or exhaust changes.
Often, that’s good for about 5–15% MPG.
If you add too much ignition advance, you may raise knock risk.
Your biggest gains usually come from stable closed-loop mapping, fixing lean surge, and using the stronger midrange.
When you drive it right, you can shift earlier and cruise at lower RPM.
Can I Tune a Motorcycle at Home?
Yes, you can tune a motorcycle at home if you have the right manual, tools, and a safe workspace.
You can check valve lash, set idle speed, adjust air/fuel screws, swap jets, and replace spark plugs.
You can also flash some ECUs with proper software. Just make sure you save the stock map first.
For full mapping, you’ll still need a dyno, a wideband sensor, and stable temperatures.
Conclusion
Tuning your motorcycle should leave you with a bike that runs cleaner, pulls harder, and responds more predictably.
If you follow the process methodically, you’ll reduce guesswork and protect the engine.
Remember, a 10% error in fueling can noticeably affect performance and reliability, so small changes matter.
Verify every adjustment with dyno data and real-world testing, then work with a tuner who understands your ECU.
That’s how you turn precise tuning into consistent results.