How To Measure Motorcycle Handlebars – Quick Guide
To measure your motorcycle handlebars accurately, stabilize your bike upright on level ground or a center stand. Use a straight rod centered on the grips to capture width and hang a weighted string from the rod’s centerline for pullback measurements.
Measure rise by placing the bars against a wall with a carpenter’s square to find vertical height. Loosen clamps and remove risers to avoid skewed data. Proper tools and posture guarantee precise fitment. Explore further to refine your setup and avoid common pitfalls.
Prepare Your Motorcycle for Handlebar Measurement
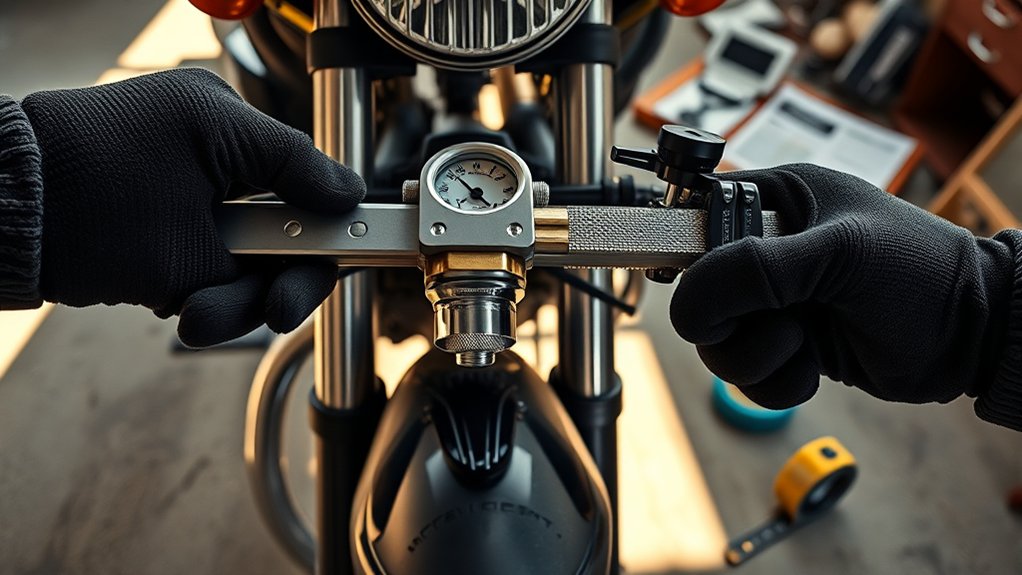
Before you measure your motorcycle’s handlebars, make sure the bike is perfectly vertical by parking it on level ground and having a friend hold it upright or using the center stand. This step guarantees accuracy because any tilt skews your measurements.
Ensure your motorcycle is perfectly vertical before measuring handlebars to avoid skewed results and ensure accuracy.
Next, loosen the stock handlebars in the risers and move the risers aside to avoid interference. Sit on the bike in your normal riding position while your buddy records measurements. This captures realistic height, pullback, and width.
Use a long straight rod across the grips to simulate the bar for width and rise measurements. Check right angles with a carpenter’s square or straight edge. For pullback, hang a weighted string from the rod’s center as a plumb bob and measure from the bar’s center back to the string.
Bottom line: precise setup is essential for reliable handlebar data.
Pick the Right Tools for Accurate Handlebar Measurements
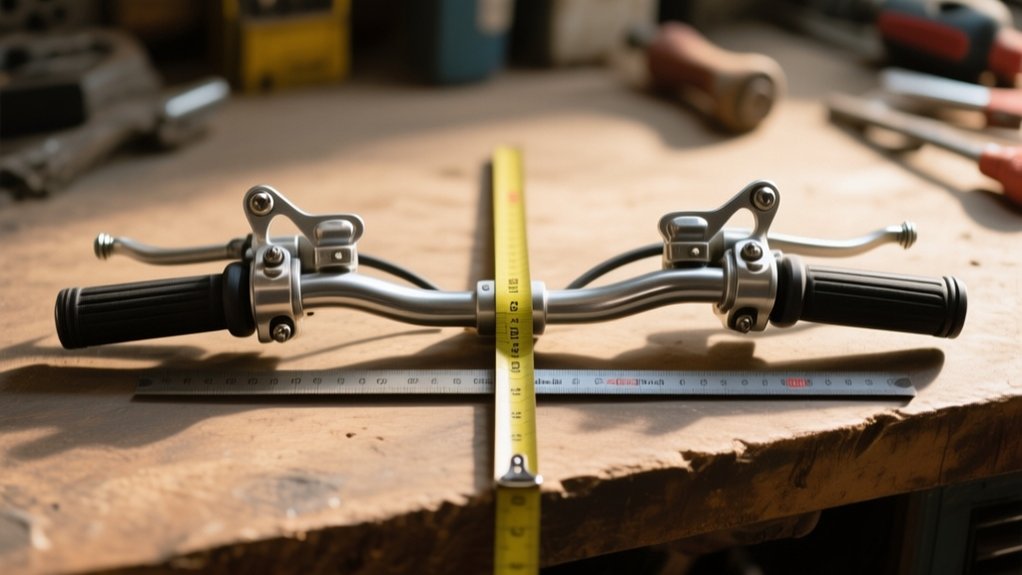
You’ll want a long straight rod, a plumb bob, and a tape measure to get accurate handlebar geometry measurements.
It helps to have a buddy hold the tools or jot down the numbers while you stay in a natural riding position.
Using a straight edge to create right angles and set precise reference points really makes sure your data is reliable.
Essential Measuring Tools
Gathering the right tools guarantees precise handlebar measurements every time. Start with precision calipers to measure tube diameters accurately, ensuring fitment and wiring hole alignment.
Use laser levels paired with magnetic bases to establish true horizontal and vertical reference lines without manual errors. Combine these with a long straight rod or broomstick and a carpenter’s square to verify rise and width dimensions precisely.
Attach a string with a weight to the rod’s center to create a plumb bob, enabling accurate pullback measurements from the bar center to the vertical line. Don’t forget a tape measure marked in both inches and centimeters for recording grip width and pinky-to-pinky distance.
These essential tools eliminate guesswork, letting you capture exact handlebar dimensions for a perfect fit.
Using a Buddy Helper
Team up with a buddy to nail accurate handlebar measurements. Using a long straight rod or broomstick as a stand-in lets your helper mark centerlines and verticals precisely with a plumb bob made from string and a weighted nut or washer.
Before starting, conduct a safety briefing to guarantee the bike is stable and your helper understands their role. Position your helper to hold the broomstick centered across the grips while you sit upright, maintaining your riding posture.
Use clear communication cues like “center,” “hold,” and “mark” to coordinate measurements. Your buddy marks rise by hanging the plumb bob from the broomstick and noting intersections with a level, measures pullback horizontally from the plumb line, and records width from outside grip to grip.
This teamwork guarantees precise, repeatable results.
Accuracy Enhancing Techniques
Accurate handlebar measurements depend heavily on selecting the right tools and methods. To enhance accuracy, focus on these critical techniques:
- Use a long straight rod made from stable material to minimize thermal expansion effects. Pair it with a carpenter’s square or long level to assure true right angles and avoid parallax errors when measuring rise.
- Tie a weighted plumb bob string at the rod’s center to measure pullback consistently from the handlebar centerline.
- Loosen the handlebars in the risers and move risers aside. This prevents clamp interference from skewing center width and rise measurements.
- Measure width from riser centerlines to the outside of grips. Keep in mind that grip texture affects hand placement, so have the rider sitting upright to reflect real riding posture.
This approach, combined with precise material choice, guarantees accurate, repeatable handlebar measurements.
How to Measure Motorcycle Handlebar Width Using a Straight Rod
Start by grabbing a long, straight rod that feels comfortable across your palms when you’re sitting on the bike.
Make sure you’re in your natural riding position so the measurement really matches how you use the handlebars.
Then, have someone measure the distance from the outside edge of one pinky to the other.
This way, you’ll get an accurate handlebar width.
Choosing The Right Rod
Grab a long, straight rod, like a broomstick, and center it across your grips to simulate the handlebar’s position. Choosing the right rod is vital for accurate measurement and reflects factors like material choice, grip compatibility, and weight distribution.
Here’s how to select and use your rod effectively:
- Pick a rigid rod made from a durable material to avoid bending during measurement.
- Make certain the rod’s diameter accommodates your grips without slipping, reflecting grip compatibility.
- Mark the rod’s center clearly to align with riser centerlines for precise width recording.
- Position the rod at riding height and pullback to mimic real hand spacing and maintain proper weight distribution.
Following these steps guarantees your handlebar width measurement replicates actual riding conditions precisely.
Proper Arm Positioning
Sit upright on your motorcycle and hold the straight rod across your palms at the grip position, stretching your arms to a natural width. Focus on maintaining proper elbow alignment by keeping a slight bend, which prevents overextension and enhances control.
Assure shoulder relaxation to avoid tension that can lead to fatigue during long rides. The grip spacing should reflect a comfortable, neutral wrist position to minimize strain.
If you use risers, simulate their height and pullback while positioning the rod to capture your final hand placement accurately. Repeat this while adopting your typical riding posture to confirm ergonomic fit.
Proper arm positioning guarantees the handlebar width you measure supports natural movement, reduces fatigue, and optimizes control for safer, more comfortable riding.
Accurate Width Measurement
With your arms positioned naturally and comfortably on the straight rod at your preferred grip location, have someone measure the distance between the outer edges of your hands, specifically pinky to pinky. This measurement guarantees your handlebar width supports your ideal posture, optimizes grip pressure, and maintains a full motion range.
Follow these steps for accurate width measurement:
- Sit on the bike with a relaxed arm position, holding the rod at your chosen grip points.
- Have a buddy measure pinky to pinky distance across the rod.
- Record this width in inches or centimeters as your target handlebar width.
- Transfer this measurement to your new handlebars, matching grip to grip or end to end as needed.
Using this method guarantees handlebars that enhance control and comfort without compromising leverage or clearance.
How to Measure Motorcycle Handlebar Pullback With a String and Weight
Although measuring handlebar pullback might seem complex, using a simple string and weight setup provides an accurate and straightforward method.
Tie a string with a small weight, like a washer, to the center of a broomstick aligned with your handlebar grip width.
Sit on the bike in your normal riding position, place the broomstick across the grips, and have a friend let the string hang freely, forming a plumb bob. This vertical line acts as a reference for ergonomics testing.
Measure horizontally from the handlebar centerline back to the string’s vertical line to determine pullback. Make sure the motorcycle is upright and stable, and the broomstick is level to avoid skewed results.
Use this precise measurement to evaluate mirror clearance and select handlebars that suit your riding posture.
How to Measure Motorcycle Handlebar Rise Using a Carpenter’s Square
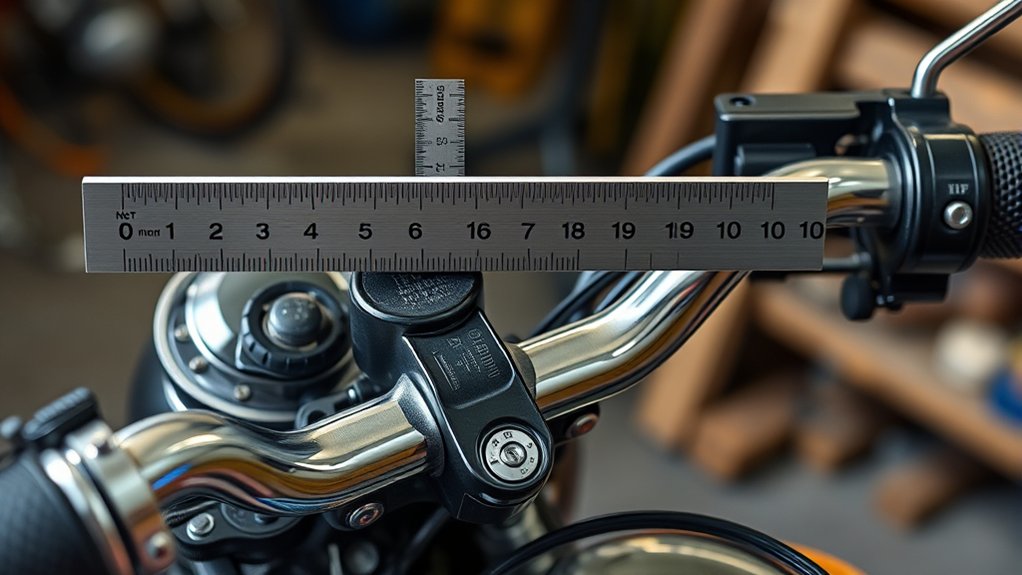
Start by placing your handlebar at the corner where a table meets a wall. Let it pivot forward until it touches the wall.
Next, take your carpenter’s square and position it so the short leg lies flat on the table, while the long leg stands vertical right over the handlebar’s centerline. This setup helps you get a perfect right angle.
Then, mark the highest point on the handlebar in relation to the square.
Finally, measure the vertical distance from the table surface up to that mark. That’s how you get an accurate rise measurement.
Preparing The Handlebar
Position your handlebar on a flat table surface against a wall, aligning the clamp centerline precisely with the table edge. Before measuring, perform essential safety checks to make certain the handlebar is stable and free from damage.
Next, focus on grip preparation; remove or secure grips to avoid interference with measurements. Thorough bar cleaning is vital. Wipe down the handlebar to eliminate dirt and grease that could affect positioning accuracy.
Follow these steps:
- Verify the handlebar is centered and firmly positioned against the wall and table.
- Remove any accessories or risers to get an unobstructed measurement.
- Clean the bar surface with a suitable cleaner for precise contact.
- Confirm grips don’t alter the handlebar’s natural position.
Proper preparation guarantees reliable rise measurements with your carpenter’s square.
Positioning The Carpenter’s Square
To set up your carpenter’s square for measuring handlebar rise, place its inside corner firmly against the tabletop with the long arm standing vertical and the short arm flush along the table edge. This square orientation establishes a reliable baseline for measurement.
Make certain corner alignment by placing the handlebar’s centerline directly over the square’s inside corner where the table meets the wall or the square meets the surface. Rotate the handlebar forward until it contacts the wall, then position the square’s long arm so it rests flush against the handlebar, forming a perfect right angle with the tabletop.
Confirm arm plumbness using a straight edge or level before proceeding. Correct positioning and alignment here are critical for an accurate rise measurement based on a true vertical reference.
Recording Accurate Rise Measurement
Ensuring precise alignment of the handlebar in the corner where the table meets the wall is essential for an accurate rise measurement. This setup guarantees vertical symmetry and consistency in your readings. These factors directly impact rider comfort and ergonomic angles.
Follow these steps to record an accurate rise measurement:
- Rotate the handlebar forward until the frontmost point touches the wall, making sure the centerline aligns with the corner.
- Lay the carpenter’s square across the bar center to establish a true right angle with the vertical edge.
- Use the square’s vertical edge or a plumb line to mark the vertical reference point on the table.
- Measure from the table surface up to the highest point on the handlebar centerline, avoiding grip edges.
This method ensures precise rise data for optimal handlebar setup.
How to Adjust Measurements for Riser Height and Angle
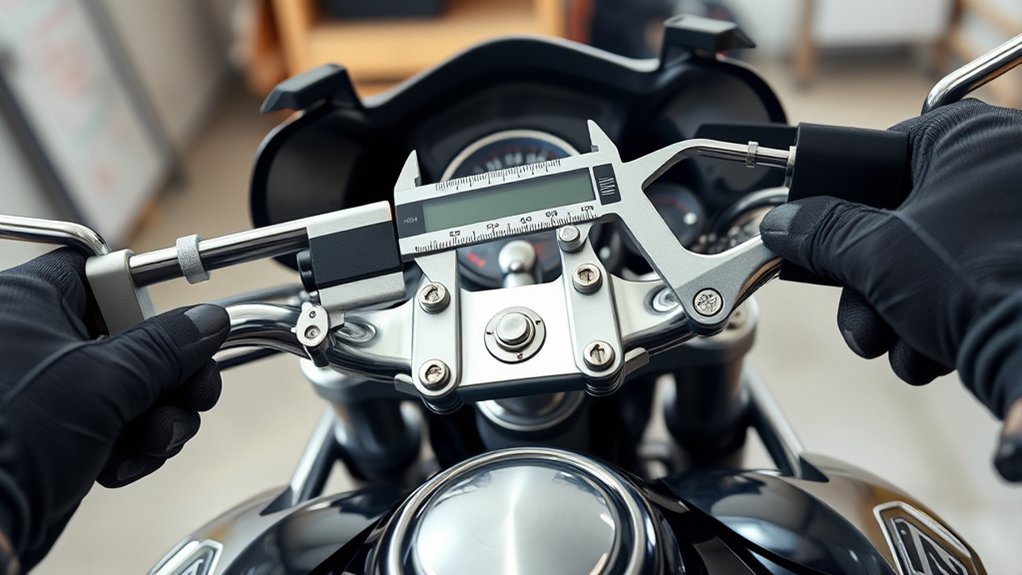
Although handlebars may measure a certain height and angle on their own, you’ll need to add riser height directly to the bar’s rise to get the true effective height. When adjusting for riser geometry, always measure rise and pullback with the risers tightened at your intended clamp torque. Changing the riser angle affects wrist alignment and reach.
If you stack risers, sum their heights and re-measure pullback from the new handlebar centerline. Each inch of riser can shift perceived pullback and wrist position. Also, make sure riser spacing matches your bike’s clamp width to avoid limiting handlebar width.
For internal-wire bars, factor in any loss of riser depth and wiring bends so your measurements reflect the final setup accurately.
Know Your Motorcycle Handlebar Sizes and Fitments
Understand that motorcycle handlebar sizes and fitments vary markedly across brands and models, making accurate measurements essential for a proper fit. You must consult fitment charts but also verify measurements yourself due to manufacturer tolerances and differing standards.
Motorcycle handlebar sizes vary widely; always verify measurements alongside fitment charts for the best fit.
- Check clamp compatibility. Common sizes include 7/8″ for Ducati Monsters and smaller Hondas, or 1″ and 1″ Wide for larger cruisers.
- Note riser spacing. Harley-Davidson models post-1977 mostly use 3.5″ center to center, except Springers at 4″.
- Identify handlebar groups. Pre-1982 bars have switch-housing notches, while 1982 and later versions use underside dimples affecting wiring.
- For unlisted or custom sizes, contact the manufacturer for exact fitment and drilling options.
Accurate measurements make certain your bars fit securely and function as intended.
Measuring Handlebars With Internal Wiring and Drilled Bars
When measuring handlebars with internal wiring and drilled bars, start by confirming your motorcycle’s year group to determine the correct housing style. Pre-1982 models use a switch-housing notch, while 1982 and later models feature an underside dimple.
Verify the bars are drilled for internal wire routing and that drill exits align with controls and master cylinders to avoid pinch points. Mount the bars in risers with the bike upright, then measure rise and pullback precisely.
Next, route a test wire through the drilled bore to guarantee sufficient slack for full lock to lock steering without binding. Confirm housing compatibility and that bar clamp areas match riser spacing, either 3.5″ or 4″, to prevent slippage.
When ordering, specify Plain or Internal, verifying manufacturer drilling and model-year compatibility for accurate fitment.
Best Practices for Measuring Handlebars While Seated on Your Bike
After confirming your bars’ compatibility and routing for internal wiring, you’ll want to verify the handlebar dimensions directly from your riding position. Proper rider posture and wrist alignment are critical to guarantee accurate measurements and comfort.
Use these best practices:
- Sit upright with the bike balanced. Grip a straight rod at your preferred hand position to mimic natural wrist alignment.
- Have a friend measure the outside-to-outside width between your pinkies to capture the desired handlebar width.
- Attach a plumb bob at the rod’s centerline. Measure the pullback by the horizontal distance from the centerline to the string.
- Lay a level across the rod and mark the plumb bob intersection to measure rise vertically, avoiding visual parallax errors.
These steps help you precisely assess handlebar geometry from your seated perspective.
Common Mistakes When Measuring Motorcycle Handlebars
Although measuring handlebars might seem straightforward, overlooking key details can lead to inaccurate rise, pullback, and width values that compromise fit and comfort. One common mistake is failing to loosen the stock handlebar and move risers aside. This skews rise and pullback measurements due to incorrect bar angles.
Accurate handlebar measurements require loosening bars and risers to avoid skewed rise and pullback values.
Always measure with the bike upright and stabilized; leaning introduces errors. Don’t rely solely on overall width from a seated position. Measure from riser centerlines since spacing (e.g., Harley 1977+ at 3.5″) matters.
Verify dimensions yourself because manufacturer specs vary. Consider bar material and ambient temperature, as metals expand slightly, affecting precise readings. Also, specify if internal wiring is needed for post-1982 bars with dimples for routing.
Finally, measure using your dominant hand to guarantee ergonomic accuracy and consistent results.
Frequently Asked Questions
What Handlebar Materials Affect Measurement Accuracy?
You’ll find metal fatigue impacts measurement accuracy, especially with aluminum bars that flex more than steel.
Surface coatings like chrome or powder coat add thin layers, altering how bars fit in risers and shifting dimensions slightly.
Joint tolerances vary by manufacturer, affecting bend locations and overall fit.
How Do Handlebar Shapes Impact Rider Comfort?
Think of handlebar shapes as the blueprint of your riding posture. Bar sweep directly influences grip reach, bringing the controls closer or farther, which changes your wrist angle and forearm position. This affects rider ergonomics by reducing strain or causing fatigue.
A well-chosen sweep aligns with your natural hand position, improving comfort and control. So, paying attention to rise, pullback, and bend location guarantees your handlebars fit you like a tailored glove.
Can Aftermarket Grips Change Handlebar Dimensions?
Yes, aftermarket grips can change your handlebar dimensions. Variations in grip taper and thickness often add 1/8″ to 1/2″ per side, affecting hand positioning and overall width.
Thicker grips may cause mounting interference with switch housings or riser clamps, especially on drilled or notched bars. To avoid fit issues, measure your bars with grips installed, accounting for these thickness variations and potential clearance problems before finalizing your setup.
How to Measure Handlebars on Custom Motorcycles?
Think of measuring custom handlebars like tailoring a suit. It must fit your posture perfectly. To make certain ergonomic mounting, sit upright with a mock bar to find ideal rise and pullback.
Then measure precisely from your custom risers’ centerline. Don’t forget to check the width aligns with your grip stretch for comfort. Accurate throttle calibration depends on these measurements.
What Tools Help Measure Handlebars Without a Buddy?
You’ll need a long straight rod or broomstick to simulate the handlebar, a tape measure for precise reach adjustment and width, and a plumb bob made from string and a small weight to measure pullback accurately.
Use a level or straight edge to check rise, and mark your hand position (pinky-to-pinky) to measure grip thickness and overall width.
A mirror or wall helps keep your bike upright, letting you work solo efficiently.
Conclusion
Measuring your motorcycle handlebars is like tuning a fine instrument. Precision guarantees peak control and comfort. By preparing your bike properly and using the right tools, you’ll get accurate width, pullback, and rise measurements every time.
Remember to account for wiring and your seated position to avoid common errors. With these techniques, you’ll confidently select handlebars that fit perfectly, enhancing both your ride and safety on the road.