
How To Customize Motorcycle Gear – Beginner’s Guide
You can customize your motorcycle gear to blend personal style with safety by starting with snug, moisture-wicking base layers and CE-rated armor properly aligned to your joints. Add reinforced stitching, reflective tape, and weatherproof decals without compromising protection or flexibility.
Personalize helmets with approved paints and removable patches, and install low-profile, weatherproof storage accessories routed away from controls. Always follow manufacturer guidelines and consult experts before structural changes.
Keep exploring for deeper insights into gear customization and maintenance.
Why Customize Your Motorcycle Gear?
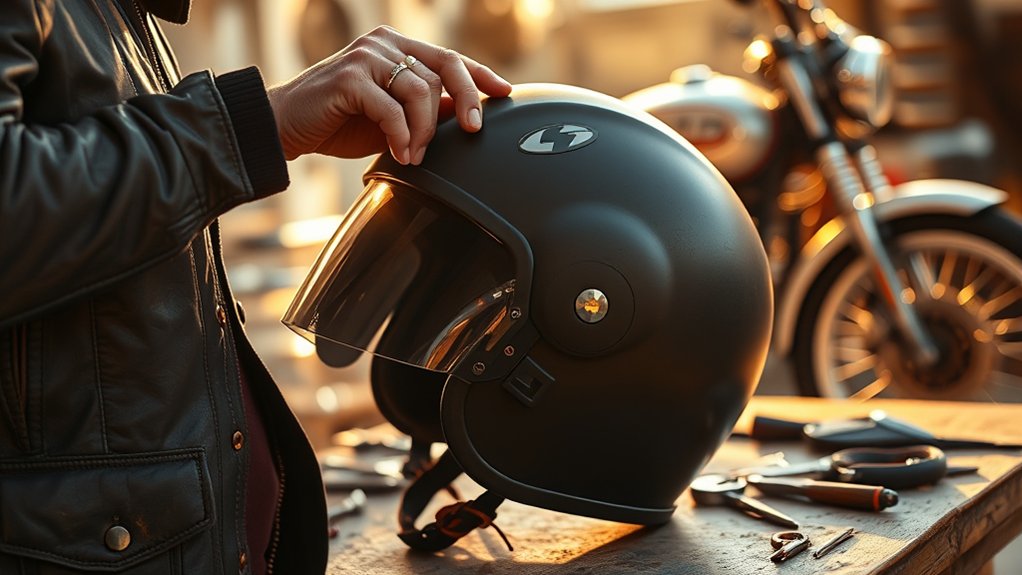
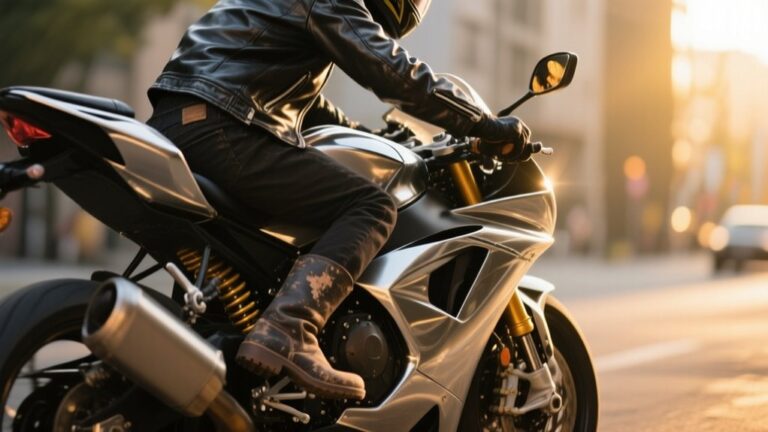
Customizing your motorcycle gear lets you tailor both style and function to your exact needs. By adding patches, removable belts, or unique paint jobs, you transform standard gear into a personal statement without compromising motorcycle safety.
Functional upgrades like CE-rated D3O inserts or reinforced Kevlar panels enhance impact and abrasion protection. This directly improves your riding experience while maintaining mobility.
Weather adaptations such as waterproof liners, ventilation zippers, or moisture-wicking mid-layers make your gear versatile across climates. They reduce discomfort on long rides.
Practical modifications like hidden zip pockets and reinforced stitching boost durability and everyday utility. Plus, eco-conscious materials let you customize with minimal environmental impact, all while preserving top-tier protection.
These thoughtful enhancements guarantee your gear works as hard as you do, keeping you safer and more comfortable on every ride.
Start With the Right Base Gear
You’ll want to start by choosing quality base layers that fit snugly without restricting your movement. This way, you stay comfortable and safe while you’re out there.
Make sure to prioritize gear made from durable, abrasion-resistant materials. Also, look for proper armor placement to protect the critical areas.
With this solid foundation, you can customize confidently without worrying about losing essential protection or a good fit.
Choose Quality Base Layers
Selecting the right base layers sets the foundation for comfort and protection on every ride. You want moisture management fabrics like polyester blends or merino wool that pull sweat away from your skin and dry quickly.
Opt for a snug, athletic fit that moves with you without bulk, preserving your armor’s effectiveness.
Prioritize base layers with flatlock seams and odor control treatments to reduce chafing and keep you fresh over long trips. For temperature regulation, choose mesh ventilation in hot weather or thermal grids for colder rides.
- Quick-dry fabrics with 37–60% polyester content
- Snug fit enabling full mobility without bunching
- Flatlock seams to minimize irritation
- Odor-resistant treatments (silver ion or merino)
- Mesh ventilation or thermal options for climate control
Prioritize Proper Gear Fit
Building on your choice of quality base layers, the next step is to make certain every piece of gear fits properly for maximum protection and comfort. Start with a helmet that fits snugly. Check that the shell size is correct, the helmet sits level, and cheek pads compress about 5–10 mm without pressure points.
Adjustable chinstraps guarantee a secure fit, while thermal liners boost comfort in cooler weather.
For jackets, use movement mapping to confirm sleeves reach the wrist fully extended and armor pockets align with your shoulders, elbows, and back.
Gloves should fit close to fingers without pinching, allowing gauntlets to seal over jacket sleeves without restricting control.
Pants need a hip-to-ankle fit with stretch panels for knee armor, and boots should support ankles while allowing slight toe movement, overlapping pant cuffs to seal out debris.
Select Durable Protective Materials
Focus on durable, protective materials when choosing your motorcycle jackets and pants to guarantee maximum abrasion resistance and impact protection. Starting with high-quality fabrics helps reduce fabric aging and seam fatigue, so your gear lasts longer and performs better. Opt for materials like full-grain leather, Kevlar-reinforced denim, or Cordura (500–1000D) for peak sliding protection.
Incorporate CE-rated armor with D3O inserts for effective impact absorption without sacrificing mobility. Also, consider thermal insulation and weatherproof finishes to stay comfortable across different conditions.
- Use abrasion-resistant fabrics to slow fabric aging
- Choose reinforced stitching to prevent seam fatigue
- Select CE-rated armor compatible with your gear’s pockets
- Prioritize waterproof, breathable membranes for all-weather use
- Consider eco-friendly synthetics with PU coatings for durability and sustainability
Choose Materials and Fit for Style and Safety
Prioritize abrasion-resistant materials like leather, Kevlar, and Cordura when choosing your motorcycle gear to guarantee both style and safety. Kevlar and Cordura offer high tensile strength with better ventilation than thick leather, enhancing comfort without sacrificing protection.
Consider eco-friendly PU/PVC alternatives for unique textile aesthetics and lower VOC emissions. Use thermal mapping to identify high-heat zones and select breathable or perforated textiles to optimize airflow.
Fit plays a pivotal role: go for a close, non-restrictive fit that allows full motion and prevents armor shifting. Oversized shells work only if they secure armor and avoid flapping at speed.
Incorporate tactile trims for grip and enhanced control, and make certain reinforced stitching at abrasion points for durability. This practical balance of materials and fit elevates both your gear’s safety and style.
Add CE-Rated Armor and Reinforced Stitching

Enhance your motorcycle gear’s protective capabilities by integrating CE-rated armor designed to meet specific impact standards (EN 1621-1 for limbs, EN 1621-2 for back, and EN 1621-3 for chest). Choose armor with the appropriate impact level, and use modular pockets to keep inserts snug and prevent migration.
Boost your motorcycle gear’s protection with CE-rated armor meeting EN 1621 standards for limbs, back, and chest.
Reinforce critical seams using heavy-duty stitching with high-tenacity bonded nylon thread, combined with seam sealing for durability and weather resistance. Incorporate EPDM padding beneath armor for added shock absorption and comfort.
Position shoulder pads to fully cover the deltoid without restricting movement. Use bar-tack or triple-stitch construction at high-stress points. Sew low-bulk armor pockets with internal anchors or Velcro tabs.
Inspect armor and reinforced stitching every 6–12 months or after impact. Make certain back protectors span from neck base to just above the tailbone.
Enhance Safety With Reflective Tape and Visibility Features
When you add reflective tape and visibility features to your motorcycle gear, you markedly boost your safety during low-light conditions. Start with CE-rated reflective tape (3M Scotchlite preferred) applied to high-visibility zones like your helmet, shoulders, and upper back. This can increase detection distance by up to 75%.
Use contrast piping in fluorescent lime yellow or orange on your jacket’s chest and sleeves for enhanced daytime visibility. Employ visibility mapping to strategically place retroreflective strips horizontally at waist height on your jacket’s rear and saddlebags. This reflects headlights effectively.
For active visibility, integrate battery-powered LED strips or blinkers into your gear, ensuring waterproofing (IPX4+) for durability. Always apply tape on clean, grease-free surfaces or opt for heat-bonded or sewn-on panels to prevent peeling at highway speeds. These steps greatly improve your conspicuity and safety on the road.
Boost Comfort With Removable Liners and Ventilation

You’ll want gear that has removable liners made from materials like fleece or polyester. These adapt easily to changing temperatures, keeping you comfortable whether it’s warm or below 50°F (10°C).
Look for jackets and pants with zip-out waterproof membranes and adjustable vents on the chest, shoulders, and back. These features help manage airflow and prevent moisture buildup.
Just make sure these components attach securely without messing with the fit of your armor. That way, you stay comfortable and safe on every ride.
Removable Liners Benefits
Frequently, riders underestimate how much removable liners can transform their gear’s versatility and comfort. By adding or removing liners, you gain remarkable temperature flexibility without bulk, adapting to conditions from chilly mornings to warm afternoons.
Removable liners also enhance washable hygiene, letting you machine-wash away sweat and grime that degrade your gear over time. Ensuring armor compatibility is key. Choose liners that attach securely, maintaining proper armor fit and protection.
Here’s why removable liners benefit you:
- Adjust insulation with polyester or Thinsulate liners for varied temperatures
- Swap waterproof liners independently to keep dry and breathable
- Machine-wash liners to extend gear lifespan and freshness
- Preserve armor positioning with secure zipper or snap attachments
- Customize layers for wind protection or cooling without replacing gear
Ventilation System Options
Although removable liners provide essential temperature control, integrating a well-designed ventilation system takes your gear’s comfort to the next level. Focus on airflow zoning by using mesh-lined vents on chest, back, and underarm panels to boost evaporative cooling.
Adjustable intake and exhaust zippers let you fine-tune airflow on the move, balancing ventilation with wind protection. Micro vent ports placed strategically enable targeted air exchange without compromising armor fit.
Combining these with thermal bypass features like roll-away mesh inserts and zip-out linings ensures heat escapes efficiently while maintaining safety. Waterproof breathable membranes paired with removable liners prevent clamminess, letting moisture escape under mixed conditions.
Personalize Your Helmet and Jacket With Paint, Patches, and Stickers
Customize your helmet and jacket with paint, patches, and stickers to reflect your personal style while keeping safety and durability in mind.
Before painting your helmet, follow manufacturer guidelines, remove parts, and use primers and clear coats designed for polycarbonate or ABS shells.
On jackets, choose flame-retardant textile-safe paints and test them on hidden seams first. This helps preserve flexibility and ensures your armor still fits well. Sew-on patches with reinforced stitching guarantee durability without damaging armor or waterproof membranes.
Use weatherproof decals and durable vinyl stickers on clean, dry surfaces. Avoid vents, visor mechanisms, and structural seams to keep your gear intact. Also, consider adding a custom visor and helmet audio without compromising safety.
Use adhesion-promoting primers for helmets. Apply flexible, CE-approved paints on jackets. Prefer sew-on patches with bar-tack corners. Choose solvent-based, outdoor-rated stickers. Avoid altering structural elements of gear.
Add Functional Accessories for Storage and Convenience
When you add functional accessories for storage and convenience, you enhance your ride without compromising balance or safety. Start by choosing a 1–2 L saddlebag or tail bag with MOLLE-compatible straps and quick-release buckles. Make sure saddlebag routing uses a low-profile strap path to avoid rear wheel contact.
For tankbag accessibility, install a magnetic tank bag (3–6 L) with strong neodymium mounts and a clear map pocket. It’s perfect for phone, keys, and documents within easy reach.
Don’t overlook low-profile, weatherproof handlebar pouches (0.5–1 L), rated IPX5 or higher, positioned to avoid throttle or brake interference. Inside your jacket, add zippered utility pockets with reinforced stitching and YKK zippers for secure storage of essentials.
These practical upgrades keep your gear organized and accessible without affecting ride dynamics.
Get Expert Help for Safe Structural Gear Modifications
When you’re modifying your gear’s structure, it’s best to always rely on certified professionals. They know how to integrate armor properly while keeping that CE-rated protection intact.
Using approved materials and techniques really makes a difference—it helps ensure your jacket or helmet stays safe without messing with the fit or durability.
Professional Armor Integration
Make sure you always choose CE-certified armor, EN1621-1 for limb protectors and EN1621-2 for back protectors, and verify both size and certification level before integrating it into your gear. Proper professional armor integration guarantees peak armor ergonomics and maintains protection during impact testing.
Always consult a certified gear technician to avoid compromising structural integrity or armor placement. Align armor centers with joints in a natural riding posture for correct ergonomics.
Use stitch-reinforced, abrasion-resistant fabrics around pockets. Guarantee 2–3 cm overlap with adjacent fabric to prevent extrusion.
Verify compatibility with your garment’s retention systems for secure fit. Perform dynamic fit testing to confirm armor doesn’t shift or restrict movement.
Trust experts for modifications to maximize safety and preserve armor effectiveness.
Certified Gear Modification
Integrating professional armor into your motorcycle gear demands precision, but modifying certified protective equipment calls for even greater caution. Before altering helmets, jackets, gloves, pants, or boots, always start by consulting the manufacturer to make sure you don’t void vital CE, DOT, or ECE certifications.
Structural changes like shell thinning, seam adjustments, or armor pocket relocation can compromise tested impact and abrasion resistance. For armor installation or replacement, rely exclusively on a certified armor fitter or qualified technician to maintain correct fit and shock-absorption ratings.
Avoid unauthorized helmet modifications beyond approved cosmetic changes because they destroy crash-energy management. If tailoring garments, use professional services that preserve reinforcements and certification by employing approved materials and techniques.
This expert approach safeguards your gear’s protective integrity and legal compliance while customizing it effectively.
Maintain and Care for Your Custom Motorcycle Gear
Because your custom motorcycle gear faces constant exposure to harsh conditions, maintaining and caring for it properly guarantees longevity and peak protection. You’ll want to focus on seasonal storage and odor control to keep your gear fresh and functional year-round. Regular stitch reinforcement prevents wear from turning into costly damage.
Clean leather with pH-neutral cleaner and condition it 2–3 times yearly or more if you use it heavily. Wash textiles gently, remove armor before laundering, and air-dry away from heat. Reproof water-resistant fabrics every 6–12 months to maintain breathability.
Inspect seams, reinforced stitching, and armor pockets monthly. Repair or replace parts as needed to keep everything in top shape. Store gear flat or on wide hangers in a cool, dry place to avoid sun damage and odors.
This routine guarantees your custom gear stays protective and durable.
Frequently Asked Questions
How Do I Choose the Right Motorcycle Gear for Different Weather Conditions?
You choose the right motorcycle gear by focusing on layered textiles that suit the weather. Breathable mesh works great for heat, insulated layers keep you warm in the cold, and waterproof shells protect you from rain.
Use ventilation strategies like zip vents and removable liners to adjust airflow and temperature on the go.
Don’t forget weatherproof accessories, including gloves and boots with sealed seams and waterproof membranes. These keep you dry and protected without sacrificing comfort or safety.
What Are the Best Brands for Beginner Motorcycle Gear?
Did you know over 70% of beginner riders prioritize protective gear when starting out? For solid protection, you’ll want Alpinestars Entry level jackets. They offer excellent CE-certified armor and comfort.
REV’IT Protective gear balances safety with style, perfect for new riders seeking durable options. If you’re budget-conscious, Joe Rocket provides affordable textile jackets and reinforced riding jeans without sacrificing safety.
These brands give you practical, reliable choices to build your beginner kit confidently.
Can I Customize Gear on a Budget Without Compromising Safety?
You can customize gear on a budget without compromising safety by focusing on safety first upgrades like CE-rated armor inserts.
Use budget-friendly materials such as Kevlar patches for abrasion resistance and fabric wax for weatherproofing.
Opt for DIY modifications that don’t alter structural components.
Sticklers or snap-on accessories work well.
Always prioritize protection over aesthetics.
Consider buying quality used gear to stretch your budget while maintaining safety and performance.
How Often Should I Replace My Motorcycle Gear?
Think of your motorcycle gear like a trusty steed. It needs regular checkups. You should replace helmets every 5–7 years because the materials degrade over time and always after any impact.
Follow an inspection schedule for other gear: armor every 3–5 years, gloves and boots every 2–5 years, and leather garments after significant wear or damage. Always watch for fit issues and hardware failures.
Staying on top of your gear’s wear lifespan keeps you safe on the road.
Are There Specific Gear Recommendations for Different Types of Motorcycles?
Yes, there are sportbike-specific gear options designed for aerodynamics and high-speed protection, like close-fitting leather suits with CE armor.
For cruiser comfort, you’ll want heavy-grain leather jackets with removable armor to blend classic style and safety.
If you’re into motorcycle touring, choose modular, ventilated textile gear with waterproof membranes and thermal liners for versatility and long-distance comfort.
Tailor your gear to your riding style for maximum protection and performance.
Conclusion
Customizing your motorcycle gear isn’t just a tweak. It’s a game-changer that transforms you from rider to road legend! You’re not just adding style; you’re boosting safety, comfort, and functionality to superhero levels.
With the right materials, armor, and expert touches, your gear becomes an unbeatable fortress on wheels. So jump in, personalize every stitch, and ride knowing your custom gear has your back like a true pro because ordinary just won’t cut it anymore!