How To Wheelie A Motorcycle – Easy Guide
To wheelie a motorcycle safely, pick a lightweight bike with smooth torque and wear full protective gear. Find a clean, legal practice area free of traffic and debris.
Start by mastering balance on a bicycle, then use the clutch to launch the bike at low speed. Shift your weight rearward while keeping your arms relaxed.
Control front-wheel height with gentle throttle and rear brake taps, and keep your bike straight. Master these basics first, then explore advanced control and recovery techniques.
Pick the Right Bike and Gear to Get Started
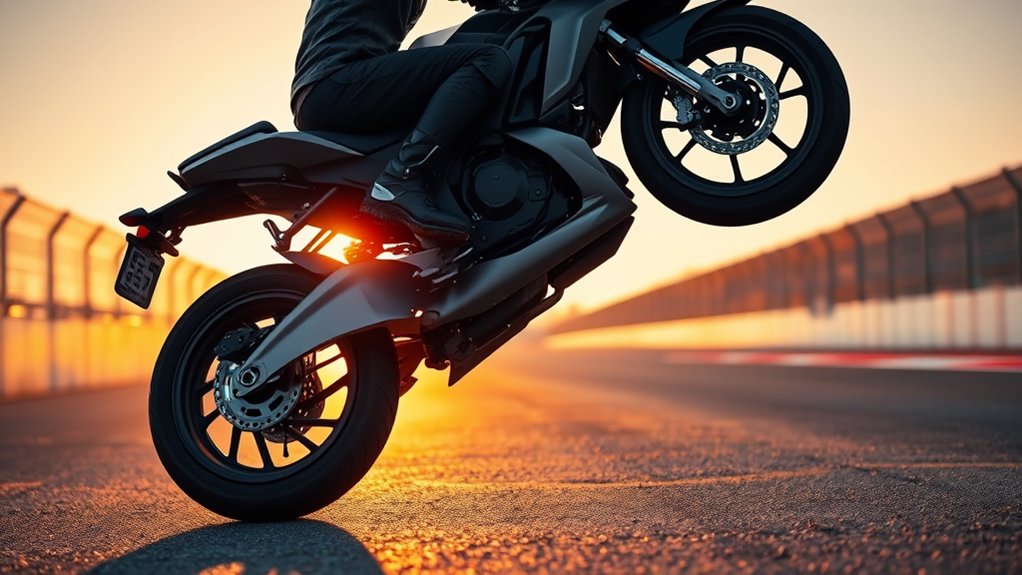
Start by choosing a bike that makes wheelies manageable for beginners. Lightweight dirt bikes between 100 and 150cc or sportbikes around 500cc with short wheelbases and smooth torque curves are ideal. These bikes offer easier pivoting and a wider RPM window, pivotal for maintaining wheelies.
Opt for an upright-bar or bench-seat setup to allow you to shift your weight rearward effortlessly. Also, guarantee the clutch lever is light and well-adjusted if you plan to learn clutch wheelies. You might consider fitting a shorter lever for better control.
Above all, never compromise on your protective gear. Always wear a DOT or Snell-certified helmet, leather jacket and pants, gloves, and boots. This gear is essential to keep you safe while mastering wheelies.
Find a Safe and Legal Area to Practice Wheelies
You need to find a secluded, legal spot to practice wheelies. Never use public roads because it’s both illegal and dangerous. Make sure to check local laws carefully before you start.
Look for a large, flat area that has good traction and minimal traffic—it’ll make practicing much easier and safer. Also, be sure to respect property owners by notifying them before you begin practicing on their land.
Choose Secluded Locations
When practicing wheelies, finding a secluded, legal location is essential to guarantee safety and avoid legal trouble. You should practice only in closed circuits, private property with permission, or designated off-road areas.
Choose a large, flat, clean asphalt or concrete surface, ideally around 100 x 100 ft, free from traffic, debris, and loose gravel. Confirm local laws to avoid penalties, and avoid noise-sensitive residential areas. Good lighting, low wind, and having a spotter improve safety.
Below is a quick checklist to help you choose the right spot:
| Criteria | Recommendation |
|---|---|
| Location Type | Closed circuits or private property |
| Surface Type | Asphalt or concrete, clean & flat |
| Size | Minimum 100 x 100 ft (30 x 30 m) |
| Environmental Factors | Good lighting, low wind |
| Safety Measures | Spotter present, inform someone |
Avoid Public Roads
Finding a secluded location is just the first step; practicing wheelies on public roads exposes you to serious legal and safety risks. You must avoid public roads entirely, as most jurisdictions prohibit stunts there, risking fines, license suspension, or criminal charges.
Instead, opt for private property or a closed circuit where stunting is permitted. Choose large, flat asphalt or concrete areas free from traffic, pedestrians, and debris to reduce accident risks.
If possible, use a sanctioned motorsport facility or private track that offers emergency services and defined boundaries. These venues provide safer conditions and liability protection.
Always wear full protective gear and keep speeds low while practicing. By avoiding public roads and selecting safe, legal locations, you protect yourself, others, and your riding privileges.
Check Local Laws
Although practicing wheelies can be thrilling, checking local laws before you start is essential to avoid legal trouble. Wheelies are illegal on most public roads and highways, risking fines, license suspension, or even criminal charges.
To stay safe and legal, find a closed course, private property with permission, or a sanctioned track. Always confirm local ordinances and state laws, including zoning and noise restrictions, before riding.
| Location Type | Permission Needed | Legal Risk |
|---|---|---|
| Public Roads | No | High (fines, charges) |
| Private Property | Yes (preferably in writing) | Low if permitted |
| Closed Courses | Usually yes | Minimal |
| Sanctioned Tracks | Yes | Very low |
| Bike Schools | Yes | Very low |
Check local laws thoroughly to practice wheelies safely and responsibly.
Master Wheelies on a Bicycle for Balance Training
Building balance and control begins with mastering wheelies on a bicycle before advancing to a motorcycle. Start on a stable bike at 5 to 10 mph on flat or slight uphill terrain to generate enough momentum. Crouch low, pedal hard, pull up the handlebars, and shift your weight rearward onto the saddle to lift the front wheel smoothly.
Control your pitch by modulating the rear brake with light, quick taps to avoid flipping or dropping the wheel abruptly.
Focus on these key points for effective wheelie training:
- Keep arms relaxed and extend them to fine-tune balance as the front rises.
- Use subtle body shifts and steady pedaling rather than large steering moves to stay straight.
- Practice in a safe, traffic-free area wearing at least a helmet and gloves to build confidence gradually.
Learn the Power Wheelie Technique on a Motorcycle
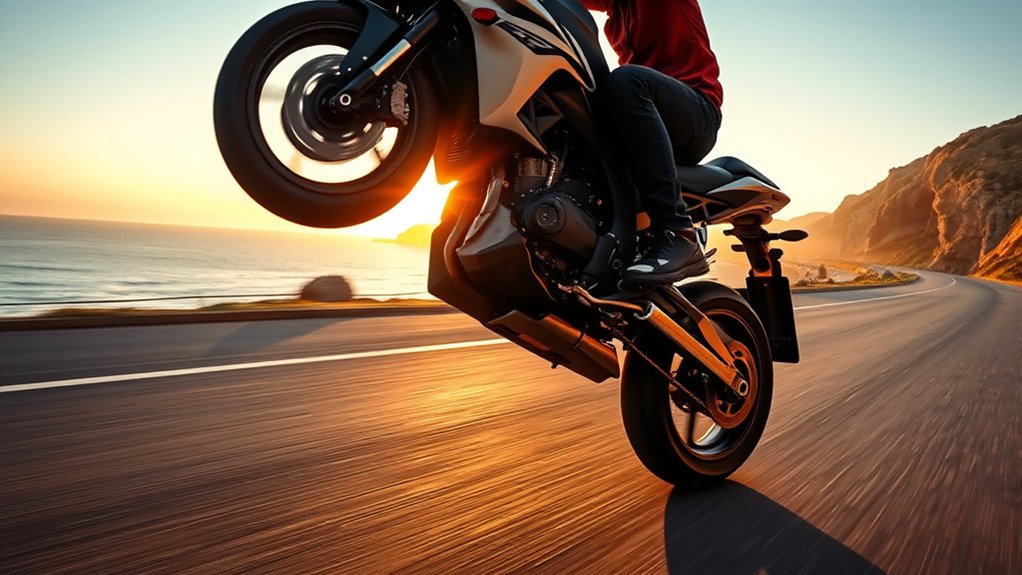
To start your power wheelie, get into first gear and roll at a steady 10 to 20 km/h. Make sure you keep your weight over the rear peg area—that helps with balance.
Now, focus on smooth throttle control. Give a short, controlled pull on the bars while shifting your hips back to lift the front wheel. It sounds tricky, but with practice, it becomes second nature.
Don’t forget to keep your arms relaxed throughout the move. And always keep your toe ready on the rear brake—that’s your key to maintaining balance and control while you’re up there.
Throttle Control Basics
Mastering throttle control is essential for pulling off a smooth power wheelie on your motorcycle.
Start in first gear at a low speed (10–20 km/h), then quickly open the throttle to hit the engine’s low-RPM torque sweet spot and lift the front wheel. Precision is key. Use smooth, controlled throttle inputs to maintain your balance point and avoid sudden jerks that cause looping or drops. Always keep your rear brake covered for instant correction if the wheelie over-rotates.
Focus on these throttle control basics for power wheelies:
- Initiate with steady, small throttle bursts to lift the front smoothly
- Maintain consistent throttle to hold the balance point
- Employ light rear-brake taps to safely lower the front wheel when necessary
Practice progressively to build confidence and control.
Rider Positioning Tips
Shift your body correctly to control your bike’s balance during a power wheelie. Before you initiate, crouch forward over the bars, then quickly shift your hips rearward onto the seat as you crack the throttle. This moves the combined center of gravity behind the front axle.
Keep your arms relaxed and slightly extended to fine-tune pitch with subtle pressure rather than strong pulling. Balance left-to-right by applying equal grip force. Use small hip shifts or peg pressure to correct any drift.
For sustained wheelies, sit toward the rear of the bench seat, keep knees off the tank, and brace firmly with both feet on the pegs. Always hover your right foot over the rear brake, maintaining light throttle modulation to hold the bike precisely at the balance point.
Speed And Gear Selection
When you choose the right speed and gear, you set yourself up for a successful power wheelie.
Start in first gear at about 10–20 km/h, or second gear if your bike has strong torque. This keeps your engine in the low-RPM torque sweet spot, giving you enough power to lift the front wheel without losing control.
Use a brief throttle blip, roll off then crack the throttle, to create a quick torque spike, minimizing clutch work.
Keep these in mind:
- Select a gear that maintains steady torque for subtle throttle control.
- Downshifting or shorter gearing boosts rear-wheel torque but demands precise throttle input.
- Always cover the rear brake to safely bring the front wheel down if needed.
Mastering speed and gear selection is key to balancing and controlling your wheelie.
Use the Clutch to Initiate and Control Wheelies
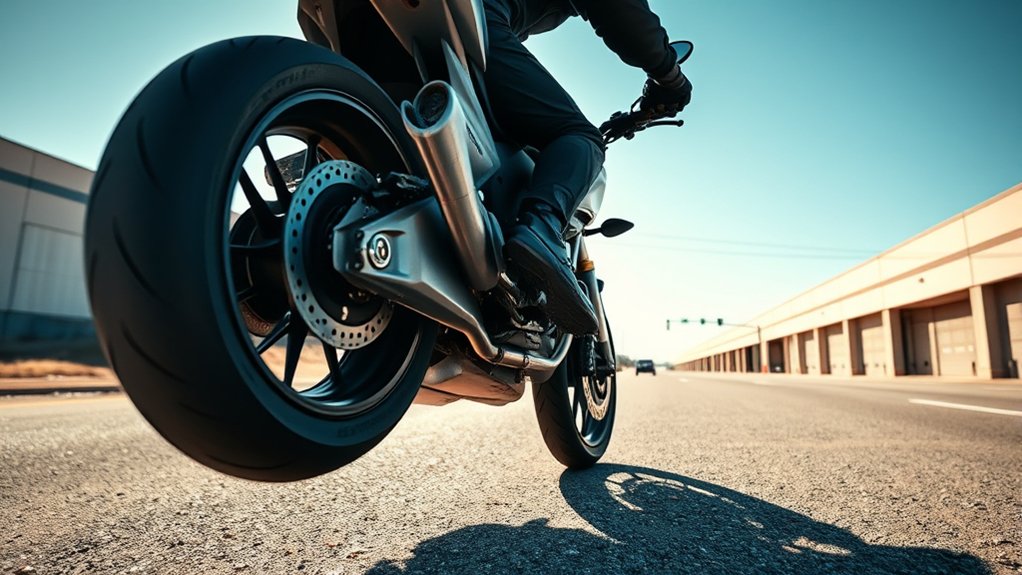
Pull in the clutch at a low speed around 10–20 km/h, rev the engine into its low to mid torque range, then release the clutch sharply while adding a bit of throttle to launch the front wheel off the ground. For a consistent clutch wheelie, set the clutch engagement point close to the lever travel, allowing a quick snap with minimal finger movement.
Keep your fingers on the rear brake to tap it if you pass the balance point and risk looping. After the initial clutch dump, use progressive throttle to maintain the wheelie smoothly. Practice this technique on a light bike with a flat torque curve, wearing full gear in a safe area.
| Technique Aspect | Key Tip |
|---|---|
| Clutch Engagement | Adjust lever for quick, repeatable snap |
| Throttle Control | Smoothly roll on/off throttle |
| Safety | Keep rear brake ready to lower front |
Position Your Body to Control Wheelie Balance and Weight Transfer
Mastering clutch control gets the front wheel off the ground, but your body position determines how well you balance and maintain the wheelie. To keep control, focus on shifting your weight back by sitting rearward on the seat. This moves your combined center of gravity toward the rear axle, making lifting and holding the front wheel easier.
Briefly crouch over the bars to preload the chassis, then extend your arms and relax your grip once airborne. Keep your weight on the footpegs to quickly adjust fore and aft and stabilize lateral balance.
Slide your hips rearward instead of hugging the tank to allow smooth weight transfer. Use small shifts of weight forward or backward to fine-tune pitch. Always keep your rear brake covered for quick recovery.
Use Throttle and Rear Brake to Balance and Control Height
You’ll need smooth throttle control to find the bike’s torque sweet spot.
Gently increase the throttle to lift the front wheel, then ease off to bring it back down.
Keep your right foot ready on the rear brake—it’s key for quickly adjusting the height and avoiding a loop out.
Throttle Modulation Techniques
Control your motorcycle’s front wheel height by smoothly modulating the throttle within the engine’s mid-RPM torque band while keeping your right foot ready on the rear brake. This balance is key to mastering wheelies without sudden, uncontrollable lifts. Use progressive, small throttle adjustments, like quarter turns, to maintain or change the height.
If the front wheel rises too high, tap the rear brake briefly to bring it down safely.
Focus on these throttle modulation techniques: keep throttle inputs smooth and gradual to avoid snapping the front wheel up. Increase throttle to climb higher and decrease to let the wheel settle gently.
Practice coordinated throttle and rear brake control at low speeds to build instinctive balance.
Mastering this control lets you perform safe, controlled wheelies every time.
Rear Brake Usage
Although the throttle sets your wheelie’s initial height, your right foot on the rear brake becomes your crucial safety net for maintaining balance. Keep your foot covering the rear brake pedal at all times, ready to tap it instantly if you pass the balance point.
Use short, controlled taps of the rear brake to gently lower the front wheel or prevent looping. A firm but brief rear brake application pivots the bike forward around the rear contact patch, especially when the front wheel climbs too high.
Combine small throttle decreases with light rear brake taps to hold your bike at a steady pitch. Avoid heavy, continuous rear brake use, as it can unsettle suspension and cause jerky descents. Instead, pulse the rear brake and smoothly reapply throttle for precise control.
Height Control Strategies
When maintaining a wheelie, smooth throttle modulation keeps your bike in the engine’s torque sweet spot. This lets the front wheel hold a steady height without sudden power surges that risk looping. To control the front end precisely, you’ll rely on a combination of throttle and rear brake inputs.
Hover your right foot over the rear brake and use short taps to quickly lower the front end if it over-rotates. Apply small, rapid rear brake inputs to shift the rotation axis forward, reducing pitch instantly. Use light sustained braking to gently bring the front end down.
Fine-tune height by slightly adjusting throttle near the balance point. Small increases raise the nose, while slight decreases prevent abrupt drops.
Combine these with subtle body shifts to keep the front end balanced and the bike stable.
Keep Your Bike Straight When Lifting the Front Wheel
A straight path is essential before you lift the front wheel for a wheelie. Make sure your bike is tracking true by centering your weight evenly on the seat and both footpegs, and confirming the handlebars align perfectly with the front wheel.
When you pull up, apply equal upward force on both sides of the bars to prevent countersteer that could yaw the bike. Keep your knees off the tank and hips loose to shift rearward, allowing quick lateral balance adjustments without twisting the handlebars.
Use subtle steering inputs with your feet and bodyweight instead of large handlebar turns, as heavier bikes respond poorly to bar steering. If the bike drifts, gently roll off the throttle and tap the rear brake to lower the front wheel and regain a straight line before trying again.
Avoid Common Mistakes and Recover Like a Pro
Mastering wheelies means knowing how to avoid common mistakes and recover quickly when things go wrong. Keep your right foot hovering over the rear brakeingto tap it instantly if the front end lifts beyond the balance point. Avoid jerky throttle or clutch inputs. Smoothly modulate throttle within the motor’s low-RPM torque band to maintain control of the back wheel.
If the front wheel drifts sideways, counter with subtle weight shifts and rear-steer, not abrupt throttle changes.
Remember these tips to recover like a pro:
- Apply equal force to both handlebars to keep the bike tracking straight.
- Center your weight on the seat and pegs for balanced lifts.
- Always wear full protective gear and practice in safe, legal areas.
Control and recovery start with smooth, deliberate inputs.
Progress From Small Lifts to Longer Wheelies
Now that you’ve learned to avoid common mistakes and recover smoothly, it’s time to build on those skills by progressing from small lifts to longer wheelies. Start at low speeds (10–20 km/h) in first gear, practicing small throttle blips to produce brief lifts.
Once you can consistently lift the front, focus on finding and holding the balance point by smoothly modulating throttle and positioning your weight rearward. Gradually increase lift duration by maintaining throttle in the engine’s torque sweet spot. Use light rear-brake taps to prevent looping.
Progress distance incrementally, doubling your controlled wheelie length each session while keeping corrections minimal.
| Step | Focus Area |
|---|---|
| Small lifts | Throttle control & balance |
| Balance point | Smooth modulation & weight |
| Duration increase | Torque sweet spot & rear brake |
| Distance progression | Incremental length & control |
Always practice motorcycle wheelies in a safe, legal area with full gear.
Frequently Asked Questions
Can I Wheelie on a Motorcycle Without a Rear Brake?
You technically can wheelie without a rear brake, but the risk is significant and not worth it. The rear brake is your primary tool to safely bring the front wheel down if you over-rotate.
Without it, you lose precise control, increasing your chance of flipping over. If your rear brake isn’t working, fix it first.
Riding without a rear brake multiplies crash severity and risks serious injury, so don’t attempt wheelies without a functional rear brake.
How Do Different Bike Types Affect Wheelie Difficulty?
You’d think a long, heavy cruiser with a stretched-out frame would make wheelies a breeze. Ironic, right? In reality, bike geometry matters a lot.
Lightweight, short-wheelbase bikes with upright ergonomics make it easier to pivot and control wheelies. High torque at low RPM and shorter gearing help too.
Supersport and dirt bikes excel here, while long-wheelbase cruisers or tourers demand more effort and finesse to lift that front wheel.
What Are the Legal Consequences of Wheelie Stunts on Public Roads?
You’ll face serious legal consequences for wheelie stunts on public roads because they endanger public safety. Expect hefty fines, license points, and possible vehicle confiscation.
Repeated offenses or dangerous stunt riding can lead to criminal charges like reckless driving, suspension, or even jail time. Authorities use video evidence and witness reports to prosecute.
Convictions may also increase your insurance rates. Remember, causing injury or damage adds severe civil and criminal liabilities.
How Often Should I Practice to Improve Wheelie Skills Safely?
You’ll want to practice at consistent intervals, about 3 to 5 times a week for 20–30 minutes each session to build your wheelie skills safely.
Start with short daily micro-sessions on a bike to develop timing and balance before moving up to a motorcycle. Limit high-risk practice to once a day, and always take at least one full rest day between intense sessions to avoid fatigue.
This will help keep your progress steady and controlled.
What Maintenance Checks Are Essential Before Practicing Wheelies?
Before practicing wheelies, your pre-ride inspection must cover tire condition and pressure for maximum rear traction. Check clutch operation and lever adjustment to guarantee smooth, quick engagement.
Inspect brakes, especially the rear, for firm pedal feel and reliable function. Verify safety systems like kill switches are functioning or disabled appropriately.
Finally, confirm your drivetrain and suspension are in good shape with proper chain tension and firm rear suspension to maintain control during lifts.
Conclusion
You’ll find that mastering wheelies isn’t just about power. It’s about balance, control, and timing all coming together.
As you lift that front wheel, you’re not only defying gravity but also pushing your limits safely. Coincidentally, the same patience and precision you apply here will improve your overall riding skills.
So, gear up, practice smart, and remember: every small wheelie brings you closer to riding like a pro.