How To Start A Harley Davidson – Pro Tips
To start your Harley Davidson, first gear up fully with a properly fitted helmet, gloves, and boots. Confirm the bike’s in neutral and the kill switch is set to “RUN.” Turn on the ignition and listen for the fuel pump’s 3-5 second hum.
Next, fully depress the clutch before pressing the starter button. Hold it for 2-3 seconds until the engine fires, then release promptly while keeping the clutch engaged briefly.
For cold starts and troubleshooting, precise steps guarantee smooth operation. Keep reading to explore expert details and make your ride hassle-free.
Gear Up Safely Before Starting Your Harley
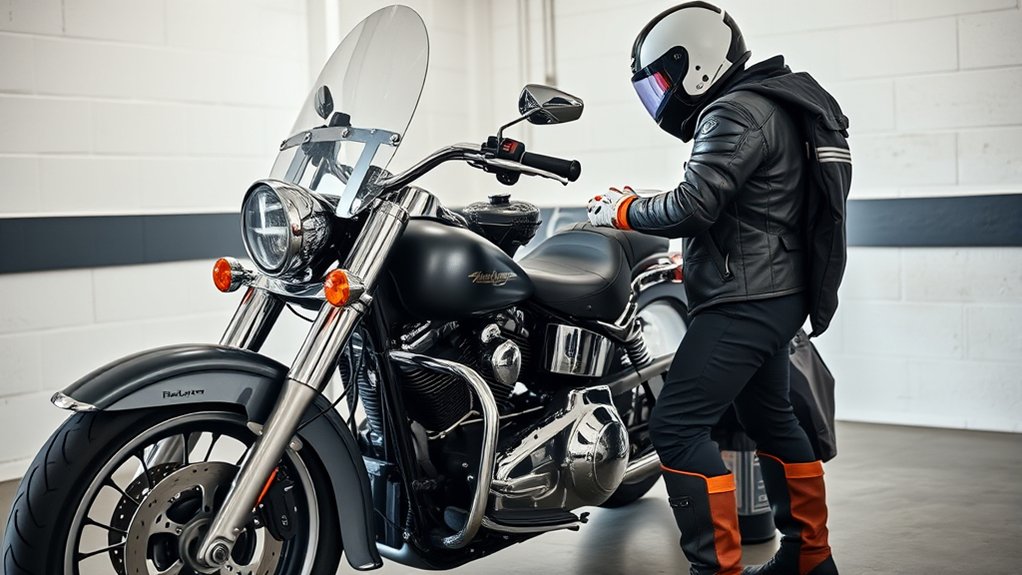
Before you start your Harley Davidson, make sure you’re fully geared up with a properly fitted helmet, gloves, eyewear, and riding boots. Prioritize safety by securing all protective gear correctly.
Helmet straps must be fastened snugly, gloves should fit without restricting movement, and boots need to cover your ankles completely.
This guarantees maximum protection and mental readiness before you mount your bike. Putting on your safety equipment before any pre-ride checks establishes a disciplined, focused routine that’s critical for safe riding.
Double-check each piece of gear to confirm it’s properly fitted and secured.
Loose or improperly worn equipment compromises your protection and control. Gear up thoroughly to safeguard yourself and keep your focus sharp throughout the starting process and the ride ahead.
Check Your Harley Is in Neutral and Kill Switch Is On
Once you’re fully geared up, your next step is to verify the bike’s readiness by checking that it’s in neutral and the kill switch is set to “RUN.” Look for the green neutral indicator light on the instrument cluster. It must be steady and clearly visible to confirm the transmission is disengaged.
The kill switch, located on the right handlebar, must be flipped to “RUN” to enable the electrical system. Always perform this check every time before engaging the ignition switch, as outlined in the Owner’s Manual, to avoid accidental movement. Though clutch engagement isn’t mandatory in neutral, it’s a good safety habit.
The table below summarizes these critical checks:
| Component | Location | Indicator/Action |
|---|---|---|
| Neutral Indicator | Instrument Cluster | Green light steady |
| Kill Switch | Right Handlebar | Button on the right set to RUN |
| Clutch | Left Handlebar | Optional engagement |
| Ignition Switch | Near handlebars | Off before checks |
| Safety Reminder | Owner’s Manual | Follow every time |
Turn On Ignition and Use Keyless or Key Start
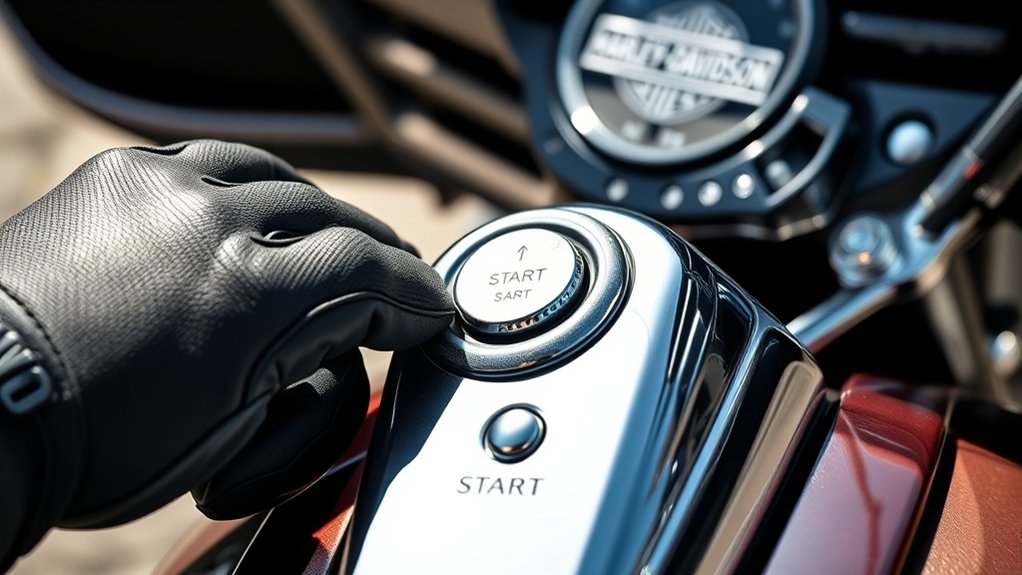
Although you’ve already set the kill switch to “RUN,” you still need to turn on the ignition by inserting the key and rotating it clockwise to the “ON” position.
If your Harley has a keyless system, simply confirm the fob is within 5 feet and press the start button.
Once the ignition is on, verify the bike is in neutral to prevent unintended movement.
To start the engine, firmly hold the starter button until the engine fires.
On keyless models, the system will recognize the fob’s proximity, allowing you to engage the starter without the physical key.
This precise sequence guarantees the electrical system is activated correctly, preparing the bike for ignition without risking damage or safety hazards.
Flip Kill Switch to “Run” and Hear the Fuel Pump
When you flip the kill switch to “Run,” you activate the electrical system and enable the fuel pump to start operating. Position the kill switch correctly on the right handlebar; this is vital for proper fuel delivery.
Once set to “Run,” listen carefully for a distinct humming sound lasting about 3-5 seconds. This indicates the fuel pump is priming the system by pressurizing the fuel lines.
Listen for a 3-5 second humming sound as the fuel pump primes the system and pressurizes the fuel lines.
This step guarantees the engine receives the necessary fuel and prevents starting issues.
The fuel pump’s operation is your signal that the bike is ready before you press the starter button. Never skip this check, especially on carbureted models, since the fuel pump’s hum confirms the system is primed and working as it should.
Press Starter Button and Hold Clutch to Start Smoothly
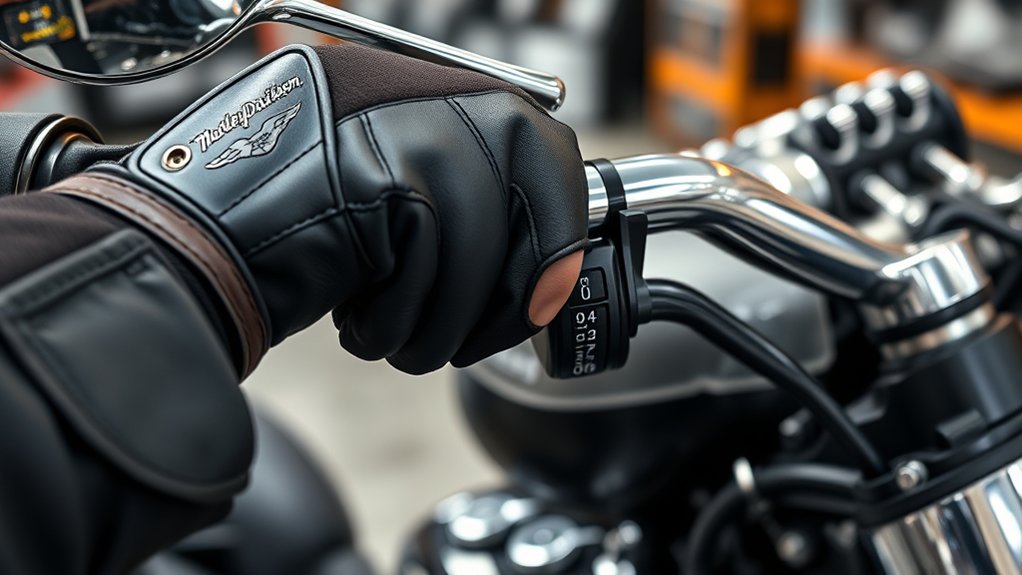
To start your Harley Davidson smoothly, fully depress the clutch lever before pressing the starter button. Doing so disengages the transmission, preventing the bike from lurching forward and reducing strain on the starter motor and battery.
Here’s how to do it right:
- Grip the clutch lever firmly and pull it fully to the handlebar.
- Press and hold the starter button for 2-3 seconds until the engine fires.
- Release the starter button promptly once the engine starts running.
- Maintain clutch engagement momentarily to ensure a seamless power transition.
Getting this coordination down will make sure your engine starts smoothly every time.
Plus, it protects your starter motor and battery while giving you controlled, reliable ignition.
How to Cold Start Older Carbureted Harley Models
Since older Harley Davidson models rely on carburetors rather than fuel injection, starting them cold requires careful use of the choke to enrich the fuel mixture.
Begin by turning the ignition switch to “ON” and fully pulling out the choke lever. Hold the starter button for 2-3 seconds until the engine fires.
Once it starts, keep the choke fully engaged and let the engine idle for 30 to 60 seconds to warm up gradually. Avoid revving immediately; just let the RPM stabilize at a low idle to prevent stalling.
As the engine warms, slowly push the choke back in to lean the mixture. Taking it slow like this ensures smooth cold starts and protects the carburetor from flooding or running too lean in colder weather.
Resolve Common Starting Problems and Check Your Battery
Although your Harley Davidson may power the lights, the engine failing to crank often points directly to a weak or dead battery. Begin by measuring the battery voltage with a voltmeter; a healthy battery reads between 12.6 and 12.8 volts when the bike is off. If the voltage falls below 12 volts, recharge or replace the battery promptly to ensure reliable starts.
Next, inspect battery terminals for corrosion, which disrupts electrical flow. Clean and tighten connections thoroughly.
Moreover, verify your key fob’s battery is functional, as a dead fob battery can prevent the bike from recognizing your signal.
Follow these steps to resolve common starting issues effectively:
- Check battery voltage with a voltmeter.
- Recharge or replace a battery below 12 volts.
- Clean and secure corroded battery terminals.
- Replace dead key fob batteries.
Warm Up Your Harley Properly Before You Ride
When you start your Harley, allow it to idle for 1 to 3 minutes to guarantee the engine warms up properly and oil circulates effectively. During this period, avoid revving the engine; let it stabilize to prevent unnecessary wear.
In colder conditions, extend the warm-up time to ensure the engine temperature rises sufficiently and oil reaches all critical components, reducing the risk of stalling.
If you have a carbureted model, engage the choke to aid in quicker temperature gains.
Keep an eye on your Harley’s engine temperature gauge and listen for a smooth, steady idle. These indicators confirm the bike is properly warmed up.
Only once these conditions are met should you begin riding. This way, you ensure optimum performance and longevity for your Harley’s engine.
Frequently asked questions
How Often Should I Service My Harley’s Starter System?
You should service your Harley’s starter system every 6,000 to 12,000 miles to keep it running smoothly. Make it a habit to check the starter relay, solenoid, and wiring for any signs of wear or corrosion during your regular maintenance.
Replacing the starter brushes around 20,000 miles is a good rule of thumb, but do it sooner if you notice any performance issues.
Also, don’t forget to check your battery condition at least once a year, especially when the weather gets cold. A weak battery can put extra strain on the starter and cause problems.
And whenever you experience electrical issues or unusual starting behavior, give the starter system a thorough inspection right away. It’s better to catch problems early than to be left stranded.
Can Using the Wrong Fuel Affect Starting Performance?
Yes, using the wrong fuel can considerably affect your Harley’s starting performance. If you use lower-octane or ethanol-rich fuel than recommended, combustion efficiency drops. This can cause hard starts or misfires.
Contaminated or stale fuel can clog injectors or carburetors, leading to poor ignition. Always stick to the premium fuel specified in your owner’s manual. That way, you’ll guarantee ideal combustion and a smooth startup.
Plus, it helps prevent long-term engine damage.
What Are Signs of a Failing Ignition Coil?
You’ll notice engine misfires, especially under acceleration or load, if your ignition coil is failing. Difficulty starting, rough idling, and engine stalling or hesitation while riding are common signs.
Check for visible cracks, burns, or corrosion on the coil itself. You might also experience increased fuel consumption and inconsistent throttle response.
These symptoms indicate your ignition coil isn’t delivering a strong, consistent spark, so it’s time to inspect or replace it.
Don’t ignore these signs—they can lead to bigger issues down the road.
How Does Altitude Impact Starting a Harley?
Altitude reduces the oxygen available for combustion, making your Harley’s engine harder to start. You’ll notice longer cranking times and rougher ignition, especially on carbureted models that need air-fuel mixture adjustments.
Fuel-injected bikes handle altitude better but may still require throttle or choke tweaks.
To keep your bike starting reliably and performing at its best, you should consider tuning or re-jetting your Harley when riding frequently at higher elevations.
Is It Safe to Push-Start a Harley Davidson?
Push-starting a Harley Davidson isn’t a walk in the park. It risks damaging the transmission and can put you in harm’s way. You’re dealing with a heavy machine that wasn’t designed for that kind of rough treatment.
Instead, try using a jump-start or a portable battery booster to get it running safely.
Always check your owner’s manual or consult a mechanic before trying anything unusual. This way, you protect both yourself and your bike.
Final Thought
Starting your Harley Davidson isn’t just a routine. It’s an orchestration of precision and control. Miss a step, and you might as well be trying to launch a rocket on a whim.
Gear up, verify neutral, flip the kill switch, and engage the starter with clutch held firmly. Whether you’re taming a modern fuel-injected beast or coaxing life into an older carbureted model, these exact steps guarantee your Harley roars to life every time.
You’ll be ready for the open road in no time.