

How To Turn Off Harley Alarm With Fob – Beginner’s Guide
To turn off your Harley alarm with the fob, press the button twice within 1.5 seconds for reliable deactivation. Make sure the alarm is active, which you can tell by the flashing lights, before you try to disable it.
Different models may vary. Some need a quick double press, while others require holding the button for 10-15 seconds. Timing is important to avoid false triggers.
Getting these steps right guarantees smooth operation and prevents unnecessary alarms. Keep exploring to master activation, troubleshooting, and maintenance.
Turning Off the Harley Alarm With the Fob

When the Harley alarm is activated and the lights are flashing, you can turn it off by pressing the fob button twice within 1.5 seconds.
Before deactivating, make sure the alarm is actually set by checking for those flashing lights.
Press the button once when the bike is off to activate the alarm; pressing it twice will deactivate it.
Some Harley models might need you to hold the button for 10-15 seconds to toggle the alarm on or off.
It’s a good idea to always deactivate the alarm before turning on the main switches. Doing this helps avoid false alarms or any system errors.
By following these steps, you’ll have reliable control of the alarm system using your fob.
This keeps your bike secure and prevents any unintended triggers when you start up.
Recognizing When Your Harley Alarm Is Active
Before you try to turn off your Harley alarm with the fob, make sure the alarm is actually active. Recognizing when the alarm is on helps you use the right steps to deactivate it. Usually, your Harley’s alarm shows its status through visual and sound signals.
Look out for these signs:
Look out for these signs to know when your Harley alarm is active and ready to be turned off.
- The bike’s indicator lights keep flashing after you press the fob button.
- The lights continue to flash well after the initial press.
- A loud siren or alarm noise lets you know the system is triggered.
These clues mean the alarm is active and won’t stop until you do the proper deactivation, like double-pressing the fob button. Spotting these signals clearly helps you avoid unnecessary attempts and keeps your Harley’s security system under control.
Activating the Harley Alarm With Your Fob

To activate your Harley alarm with the fob, just press and hold the button until the lights start flashing. That flash means the alarm is set and ready to go.
If you have a 2004 model, it’s even simpler. Just a quick press with the bike off will trigger the alarm, and you’ll see the lights flash as confirmation.
You definitely want to make sure you catch these flashing lights—they’re your signal that the alarm is activated and working properly.
Button Press Activation
Although activating the Harley alarm with your fob might seem straightforward, you need to press and hold the button for about 10-15 seconds until the lights flash. This flashing confirms the alarm is fully engaged.
Simply tapping the button won’t activate the system, so keep the button pressed for the entire time.
When you’re using button press activation, keep these points in mind:
Hold the button steadily for 10-15 seconds to make sure it activates. Watch for the bike’s lights to flash, which means the alarm is set. Avoid brief presses because they won’t trigger the alarm.
Following this exact procedure guarantees your Harley’s security system arms correctly and keeps your bike safe from theft or tampering.
Alarm Confirmation Signals
When you activate the Harley alarm with your fob, the bike’s lights flash to confirm the system is armed. This visual signal lets you know the security system is engaged, so you won’t accidentally leave it off or only partially armed. The number of flashes changes depending on the model, but it always means the activation was successful.
It’s pretty straightforward—once you see the flashes, you can be confident your bike is secure. Recognizing these signals helps you avoid any confusion about whether the alarm is on or not.
| Flash Pattern | Meaning |
|---|---|
| 1-2 flashes | Alarm armed successfully |
| 3 flashes | Alarm armed with additional features |
| Rapid flashing | System error or malfunction |
| No flashes | Alarm not activated |
Use these flashes as a quick and easy way to check your Harley’s security status every time you set the alarm with your fob.
Timing Tips for Using the Harley Alarm Fob
When you’re turning off the Harley alarm, make sure to press the button within 1.5 seconds. This helps avoid any false triggers.
To switch the alarm on, just hold the button steadily for about 10 to 15 seconds until you see the lights flash. That’s your confirmation that the alarm is set.
Keeping your timing consistent between presses really helps the system respond reliably every time.
Deactivation Button Press Timing
Because precise timing is critical, you need to press the deactivation button on your Harley alarm fob twice within 1.5 seconds to turn the alarm off successfully.
If the interval between presses exceeds 1.5 seconds, the system won’t register the command, and the alarm will remain active.
To guarantee reliable deactivation, focus on the speed and consistency of your double press.
Here are key points to master the timing:
Press the button rapidly, avoiding delays longer than 1.5 seconds between presses.
Practice quick consecutive presses to develop muscle memory.
Avoid holding the button down for activation; deactivation requires a precise double tap.
Mastering this timing ensures you’ll deactivate the alarm efficiently every time.
Just keep at it, and it’ll become second nature before you know it.
Activation Button Hold Duration
How long should you hold the button on your Harley alarm fob to activate the system properly? You need to press and hold it for approximately 10-15 seconds until the lights flash, signaling the alarm is armed.
Holding the button too briefly or for too long can prevent proper activation. This might cause false alarms or malfunctions. So, it’s important to keep the pressure consistent during this window.
Doing this guarantees reliable engagement every time.
| Hold Duration | Effect |
|---|---|
| Less than 10 seconds | Alarm may not activate |
| 10-15 seconds | Proper activation confirmed |
| More than 15 seconds | Possible system malfunction |
| Consistent timing | Reliable alarm engagement |
Follow this timing guideline precisely to avoid errors and make sure your Harley alarm works as it should.
How 2004 and 2005 Harley Alarm Fobs Differ
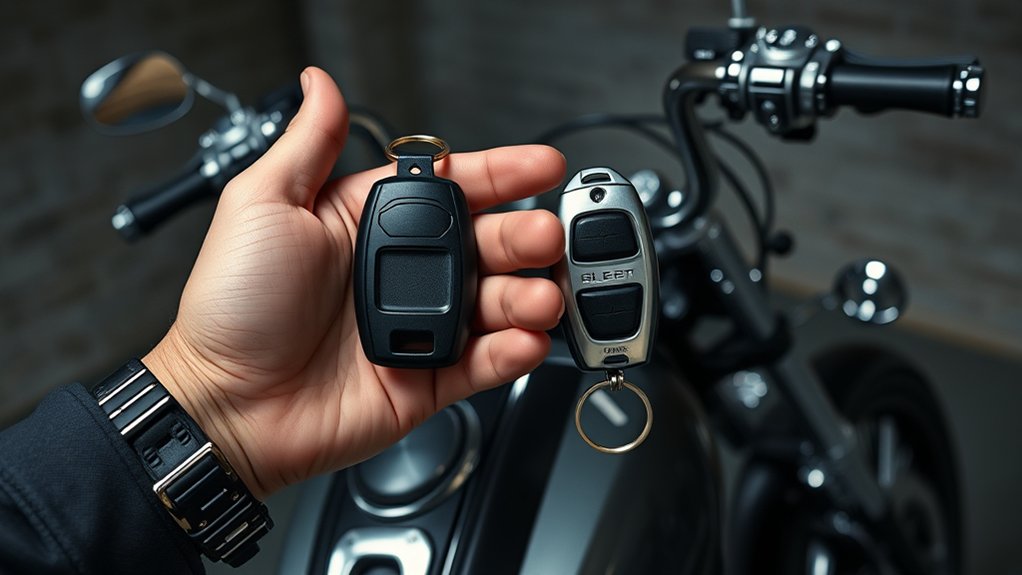
Although both the 2004 and 2005 Harley alarm fobs serve to secure your bike, their activation and deactivation methods differ markedly. The 2004 model activates the alarm with a quick button press while the bike is off, confirmed by flashing lights.
In contrast, the 2005 fob requires you to hold the button for 10-15 seconds to activate.
Deactivation also varies: the 2004 needs a single press before turning on the main switch, whereas the 2005 demands a precise double press within 1.5 seconds.
Key differences include:
- 2004 uses simple, quick presses for both activation and deactivation.
- 2005 requires a longer hold to activate and a timed double press to deactivate.
- 2005’s method reflects enhanced security protocols and precision.
Troubleshooting Alarm Deactivation Issues
If you have trouble turning off your Harley alarm, make sure you press the fob button twice within 1.5 seconds. Timing is key because pressing the button too slowly or too quickly often causes the alarm not to deactivate.
Check if the alarm is actually activated by seeing if the lights flash when you press the button. This helps confirm the alarm status before you try to turn it off.
If the alarm doesn’t respond right away, try holding the button down for 10 to 15 seconds. This usually forces the alarm to turn off.
After you’ve successfully turned off the alarm, only then should you turn on the main switch. Doing it in this order helps avoid any false triggers.
If the alarm is still active, just repeat the deactivation steps. Make sure your button presses are timed just right, as inconsistent intervals often cause problems.
Following these tips should help you troubleshoot and fix common issues with turning off your Harley alarm.
Preventing False Harley Alarm Triggers With Your Fob
Mastering the timing and sequence of your fob button presses not only helps deactivate the Harley alarm but also plays a key role in preventing false triggers.
To avoid accidental activations, always press the alarm button twice within 1.5 seconds when turning off the alarm. Make sure your bike is off before you attempt deactivation, as starting the bike prematurely can cause false alarms.
Also, hold the button for a full 10-15 seconds during activation to ensure the alarm sets properly.
Follow these key practices to prevent false triggers:
- Press the alarm button twice within 1.5 seconds to deactivate correctly
- Confirm the bike is off before using the fob
- Hold the button 10-15 seconds when arming the alarm
Doing these steps will help you keep your alarm under control and reduce those annoying unintended activations.
Maintaining Your Harley Alarm Key Fob
Maintaining your Harley alarm key fob involves regular testing, timely battery replacement, and proper storage to guarantee consistent performance. You should routinely test the fob to confirm the alarm system responds correctly.
Regular testing, prompt battery changes, and proper storage are key to keeping your Harley alarm key fob performing reliably.
Replace the battery as soon as you notice diminished range or response delays to avoid malfunctions.
Store the fob in a safe, dry place that’s easily accessible, preventing physical damage and assuring quick activation or deactivation.
Clean the fob periodically with a soft, dry cloth to remove dirt and moisture that could impair button sensitivity.
Finally, familiarize yourself with the exact button sequences and timing for your model’s alarm deactivation. This knowledge guarantees efficient use and prevents errors.
Following these steps keeps your Harley alarm key fob reliable and ready when you need it.
Frequently asked questions
Can I Replace the Harley Alarm Fob Battery Myself?
Yes, you can replace the Harley alarm fob battery yourself. Carefully pry open the fob case using a small screwdriver or coin. Just be sure to avoid damaging any internal components.
Make sure you use the correct battery type, like CR2032 or CR2016, as specified. It’s best to work on a clean, static-free surface to protect the electronics.
After swapping the battery, test the fob to see if it activates and deactivates the alarm correctly. Once you’re sure everything works, go ahead and close the case.
Are Harley Alarm Fobs Waterproof or Water-Resistant?
Harley alarm fobs aren’t waterproof; they’re water-resistant. Imagine holding your fob under a light drizzle. It can handle that without shorting out.
However, don’t dunk it or blast it with water jets. You risk internal damage if you do.
The water resistance varies by model, so check your fob’s IP rating for exact specs.
To keep it working well, avoid full submersion. Also, clean it regularly to maintain its protective seal.
How Do I Sync a New Fob to My Harley Alarm System?
To sync a new fob to your Harley alarm, first turn on the ignition and verify the alarm is off.
Press and hold the fob button until the LED flashes or you hear a confirmation sound.
On some models, press the fob button while switching the ignition to “on.”
Complete syncing additional fobs within seconds.
Always check your specific Harley manual for exact steps, as procedures vary slightly by model and year.
It’s a good idea to follow the instructions carefully so you don’t run into any issues.
If you’re unsure, your dealer can also help with the process.
What Is the Typical Range of a Harley Alarm Fob?
You might expect your Harley alarm fob to work from miles away, but its typical range is about 100 to 300 feet. This distance shrinks drastically if obstacles like walls or metal get in the way.
Keep in mind, newer Harley models usually boast stronger signals.
But a weak fob battery can cut your range short.
Can Multiple Fobs Be Programmed for One Harley Alarm System?
Yes, you can program multiple fobs to a single Harley alarm system, but it depends on your model’s compatibility. Each fob requires individual synchronization, usually through a specific button sequence using an existing programmed fob or the alarm interface.
You’ll want to check your owner’s manual for the exact procedure. Properly programming additional fobs makes sure all authorized users can control the alarm securely and conveniently.
It’s a handy way to share access without any hassle.
Final Thought
Now that you know how to turn off your Harley alarm with the fob, you can avoid unnecessary stress and interruptions. Notably, over 30% of Harley owners report false alarms triggered by fob mismanagement. This just shows how important proper timing and maintenance really are.
By following these tips, you’ll guarantee smooth alarm operation and avoid common issues. Keep your fob in good condition and stay alert to your bike’s security signals for peak performance. It’s all about staying on top of things so your ride stays safe and sound.