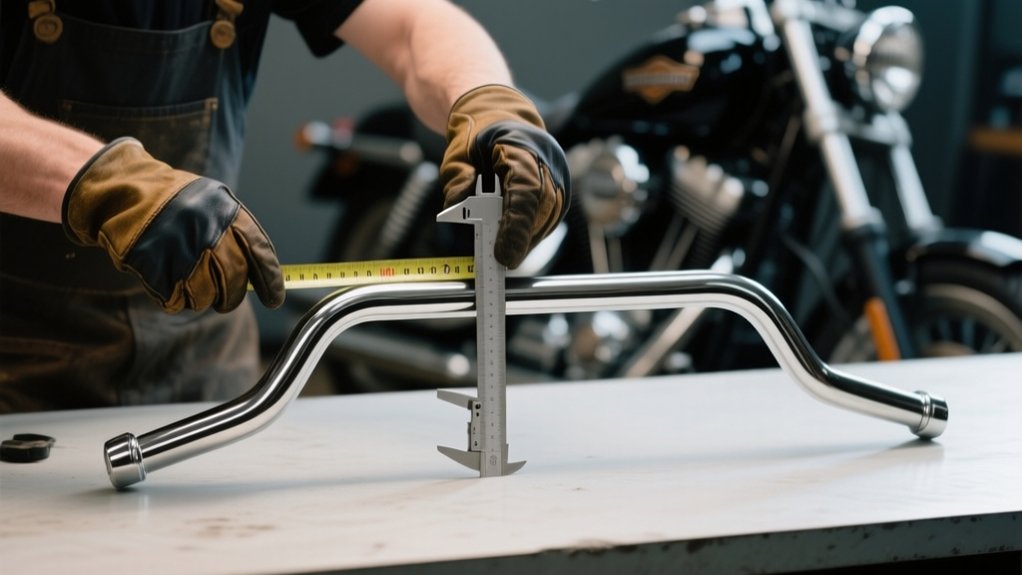
How To Measure Harley Handlebars – Full Guide
To measure Harley handlebars, start by using a caliper to find the inside diameter at the clamp area. This helps make sure it matches your riser size, which is usually 1 inch or 1-1/4 inch.
Next, measure the width from tip to tip, then check the rise from bottom to top, and finally the pullback from the clamp to the grip. Don’t forget to check the riser clamp spacing too.
Make sure to confirm cable lengths with the handlebars positioned correctly so there’s no tension. Taking these precise steps will help ensure a safe and comfortable fit. You’ll find even deeper guidance on fine-tuning and installation ahead.
Measuring Harley Handlebar Diameter and Clamp Size
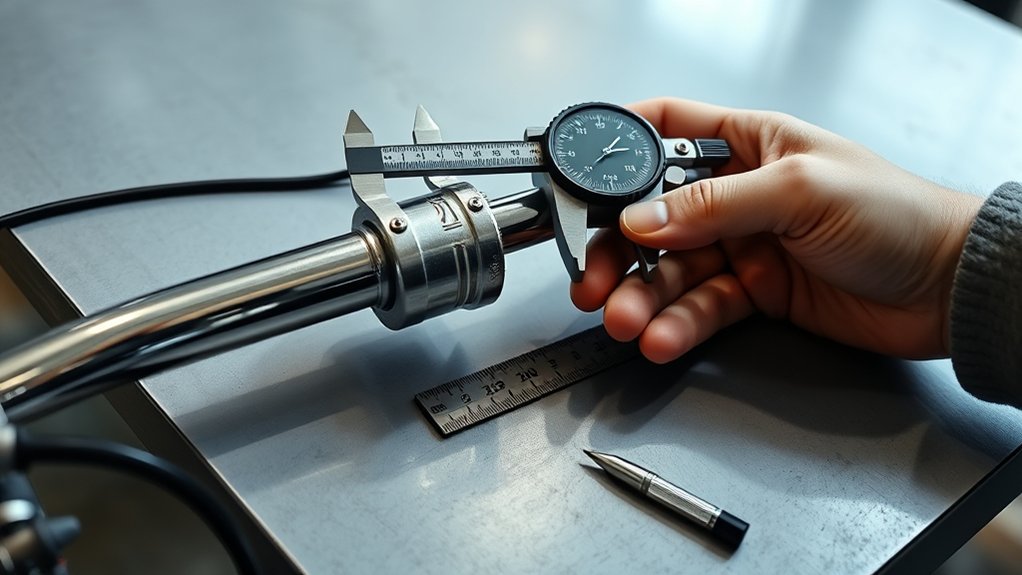
When measuring Harley handlebar diameter and clamp size, start by focusing on the clamping area where the handlebar attaches to the risers. Use a caliper to measure the diameter at the wall of the handlebar tube within this clamping area. This guarantees accurate handlebar measurements.
The clamp size corresponds to this diameter at the wall and must match the inner diameter of your riser clamp for a proper fit. Common handlebar diameters include 7/8 inch (22mm), 1 inch (25mm), and 1-1/4 inch (32mm) for fat handlebars.
Always measure from the wall inside the clamp area, not the outer diameter, to confirm compatibility with risers and controls. Properly matching clamp size prevents installation issues and ensures secure mounting.
Measuring Handlebar Width, Rise, Pullback, and Center Width
After confirming the correct handlebar diameter and clamp size, the next step involves measuring the handlebar’s width, rise, pullback, and center width to guarantee proper fit and comfort.
Use a tape measure to record the handlebar width from grip tip to tip, making sure it aligns with your shoulder width. This helps ensure better control and comfort while riding.
Measure the rise by placing the handlebar flat and gauging from its lowest point to the highest. This measurement impacts your hand position and overall posture on the bike.
For pullback, measure horizontally from the front of the mounting point to the grip tip. This affects how far you have to reach and can influence your comfort during rides.
Finally, measure the center width across the inside edges at the handlebar base. This is critical for clearance and accessory mounting.
Taking accurate handlebar length measurements makes sure your setup matches your riding style perfectly.
Measuring Riser Spacing and Confirming Handlebar Compatibility
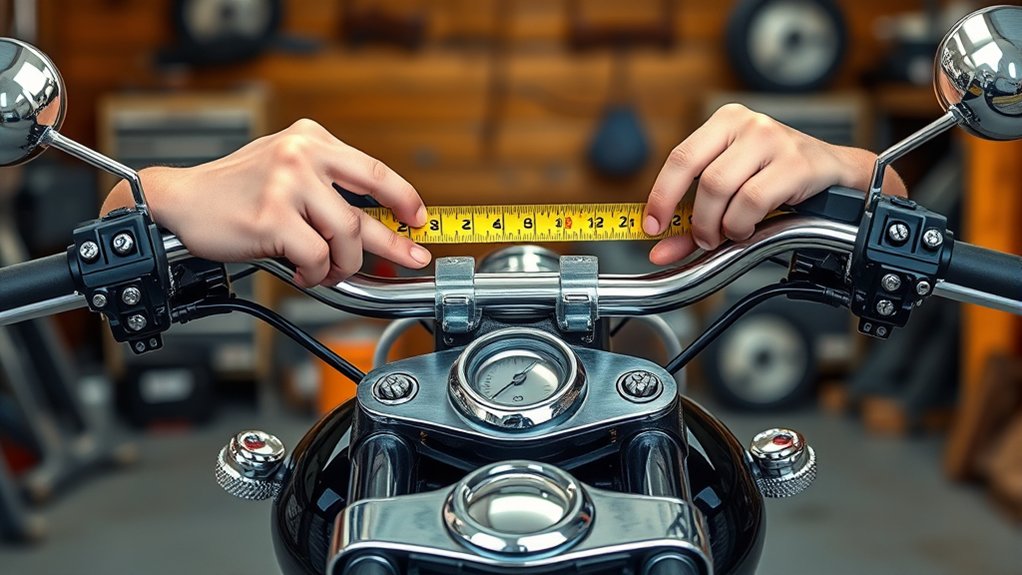
Since riser spacing directly affects handlebar fitment, you need to measure the center-to-center distance between the riser clamps accurately. For most Harley models, this distance is typically 3-1/2 inches.
Next, confirm that the handlebar’s clamp area diameter matches your riser clamp size. This is usually 1 inch or 1-1/4 inch for fat bars. Doing this helps ensure compatibility.
Position the handlebar’s knurling or textured section correctly under the riser clamp for a secure attachment.
Also, verify that the handlebar width and rise align with your bike’s design and riser spacing. This will prevent clearance issues.
Always double-check riser spacing before purchasing handlebars. Precise measurements guarantee proper fitment and a safe, stable installation on your Harley.
Checking Cable Lengths and Ensuring Proper Handlebar Fit
Although selecting the right handlebars is crucial, guaranteeing your cables and wiring accommodate the new setup is equally important. Start by measuring the length of each cable, like throttle, clutch, brake, and wire harnesses with a flexible tape. Measure from their connection points to the controls.
Ensuring your cables fit correctly is just as vital as choosing the right handlebars for your bike.
Mount the handlebars at the desired height and pullback before measuring to simulate actual positioning. Add 2 to 4 inches to the original cable length to compensate for increased rise or pullback. This helps prevent tension or stretching.
Inspect the routing carefully, making sure no pinching or restriction happens during movement. Test cable slack and control placement by moving the bars through their full range before tightening.
If cables fall short, plan for appropriate extensions or replacement cables designed specifically for your handlebar style and height. This guarantees a safe, precise fit.
Preparing for Installation: Final Tips and Considerations
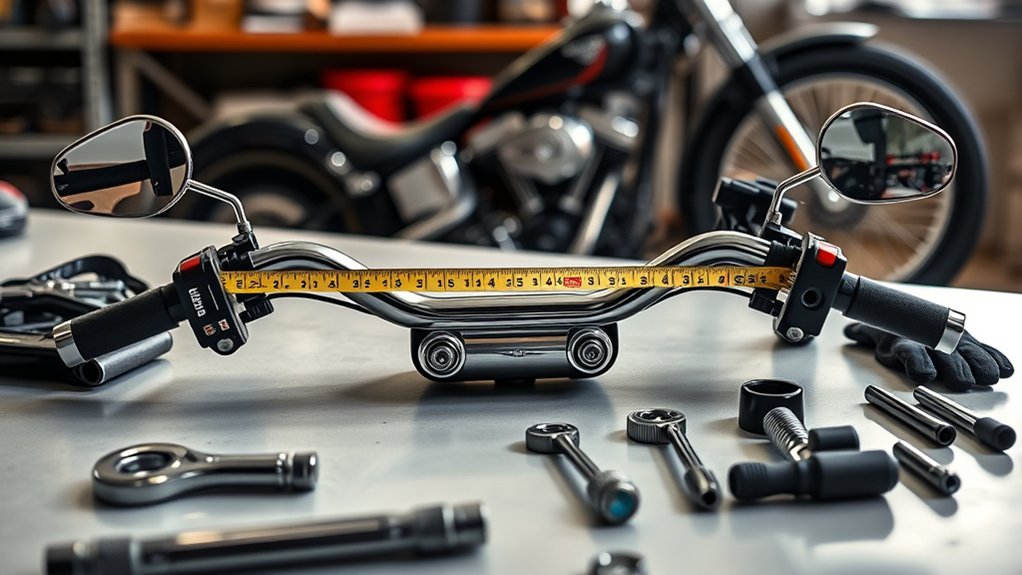
When you prepare to install your new Harley handlebars, support them carefully with a towel or soft cloth to protect the finish from scratches or damage. Before tightening, check cable and wiring slack to guarantee smooth control functions without pinching.
Rotate the handlebars fully to confirm no interference or tension exists with cables or controls. Use proper tools and steady support during installation to maintain alignment and avoid stressing hardware.
Finally, perform a thorough final check of clearance and control responsiveness to guarantee safe, precise fitment.
| Step | Key Consideration |
|---|---|
| Support | Use towel or soft cloth |
| Slack | Verify cable and wiring |
| Alignment | Maintain proper positioning |
| Interference | Rotate handlebar fully |
| Final Check | Confirm clearance and controls |
Frequently asked questions
What Materials Are Best for Durable Harley Handlebars?
For durable Harley handlebars, you’ll want steel or chromoly tubing. Steel, especially DOM steel, offers excellent strength and weldability. This makes it highly resilient.
Chromoly combines strength, lightweight properties, and corrosion resistance. It’s ideal for performance and durability.
Aluminum’s lightweight nature isn’t as durable under stress, though.
Stainless steel is strong but heavier and pricier. So, choose chromoly or steel if you want long-lasting, tough handlebars suited for various riding conditions. It really depends on what you prioritize.
How Do Handlebar Styles Affect Riding Comfort?
Over 60% of riders report increased arm fatigue with Ape Hanger handlebars because of their high rise and stretched posture.
You’ll notice that narrow bars like Z-bars offer better control and comfort in city riding.
Drag bars promote a forward lean which helps with high-speed stability, but they can cause discomfort on long trips.
Adjusting pullback reduces wrist strain, so it’s worth considering.
Choose bars that match your riding style to optimize comfort and minimize fatigue.
Can Aftermarket Handlebars Impact Motorcycle Warranty?
Yes, aftermarket handlebars can impact your motorcycle’s warranty. If the bars cause damage or interfere with factory components, your warranty may be voided.
Manufacturers often require modifications to meet OEM specs to keep your coverage intact.
Using non-approved parts or improper installation can lead to denied claims.
So, it’s really important to check with your dealer or manufacturer before you install aftermarket handlebars.
This way, you can be sure you’re not risking your warranty protection on your bike.
Are Heated Handlebars Compatible With All Harley Models?
Heated handlebars aren’t compatible with all Harley models. You’ll need to check if your bike has standard handlebar wiring connections and the correct diameter.
Some models require adapters or specific wiring kits for proper installation, especially those with internal wiring or custom controls.
Always verify your Harley’s year, model, and wiring setup before buying. Using manufacturer-specific kits enhances compatibility and ensures safe, reliable operation.
It’s a good idea to double-check these details so you don’t run into any issues during installation.
How Often Should Handlebars Be Inspected or Replaced?
Just like a pilot checks their cockpit before takeoff, you should inspect your Harley handlebars every 3,000 to 5,000 miles. Look for cracks, dents, or corrosion that threaten safety. Replace them immediately if you spot damage or loose mounting clamps.
Don’t forget to check wiring and control attachments for wear. Following your manufacturer’s guidelines guarantees your handlebars stay reliable, giving you confidence on every ride.
Final Thought
Now that you’ve mastered measuring your Harley handlebars, maintain meticulousness to maximize motorcycle mastery. Measure diameter, width, and riser spacing with methodical mindfulness. Confirm clamp compatibility carefully, check cable lengths consistently, and prepare precisely for a perfect fit.
This practical precision prevents problems and promotes performance. It provides a safer, smoother ride. Stay sharp, stay safe, and steer smartly with your newly measured handlebars for a flawless, functional finish.