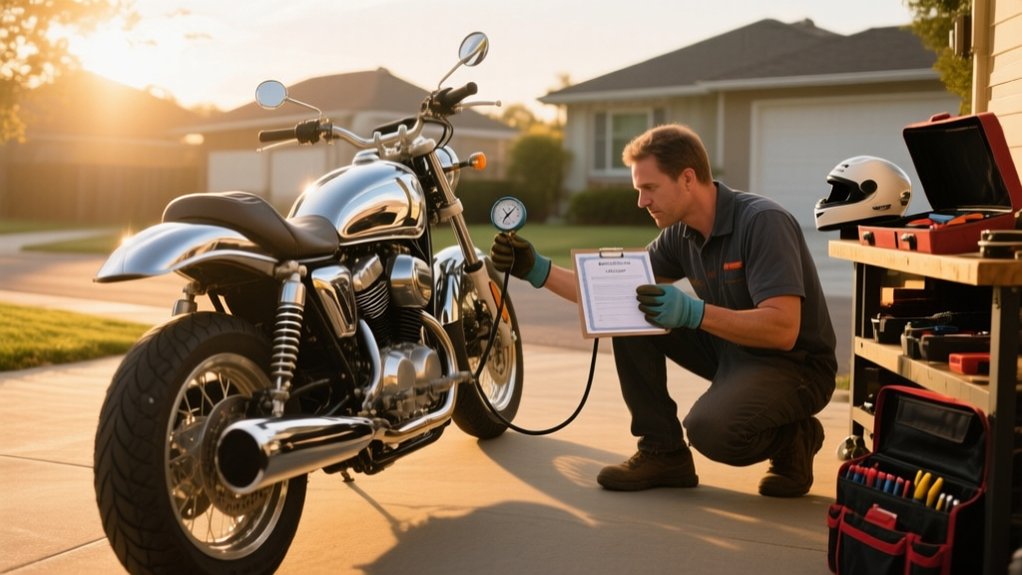
How To Buy A Used Motorcycle From A Private Seller – Guide
Start by matching the VIN on the frame, steering neck, engine case, and title.
Then verify the seller’s ID and any lien or transfer paperwork.
Inspect for tampered VIN plates, crash damage, bent frames, and leaking fluids.
Check worn tires, and look closely at fork or wheel issues.
Test the brakes, controls, and suspension before you hand over money.
Then start the bike cold and listen for smoke, knocks, or poor throttle response.
Finish with a detailed bill of sale.
After that, your next steps will depend on the specifics.
How to Buy a Used Motorcycle From a Private Seller
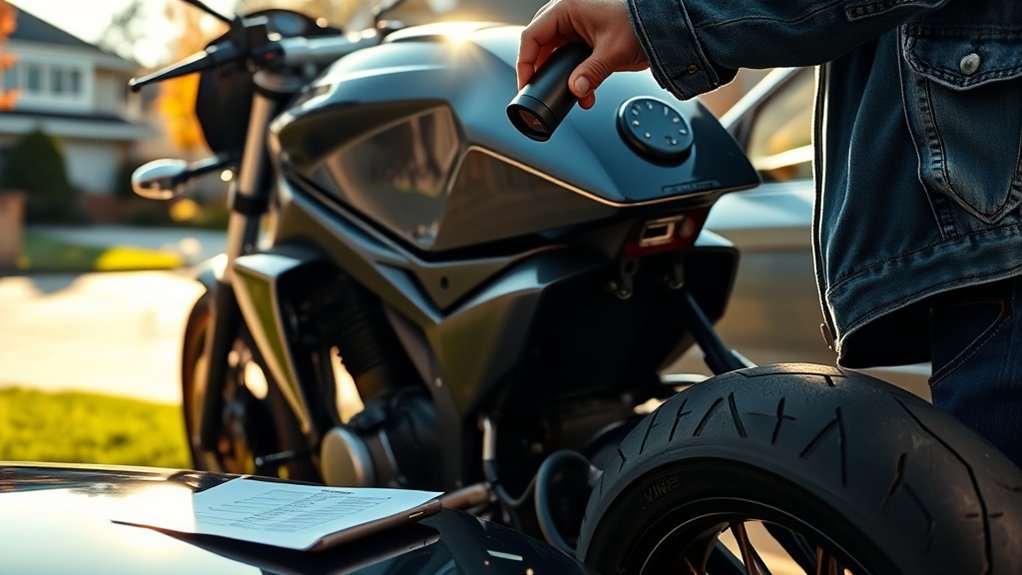
Start by verifying the motorcycle’s identity before you hand over any money.
Verify the VIN on the steering neck, frame, engine case if present, and VIN plate. Then match it to the title exactly.
Verify the VIN on the steering neck, frame, engine case, and VIN plate, then match it exactly to the title.
Run a VIN check through CycleVIN, NICB VINCheck, or a motorcycle history report.
Look for salvage status, theft records, odometer discrepancies, or recall notices.
Next, arrange an in-person inspection or a paid pre-purchase inspection at a local shop.
Test-ride the bike with proof of insurance to assess mechanical condition, brakes, and suspension.
Review the paperwork carefully and confirm the seller’s name, lien release, and current registration.
If anything seems inconsistent, walk away before you pay.
Look for Crash Damage and VIN Tampering
Before you commit, inspect the bike for crash damage and signs of VIN tampering.
Check the VIN plate and the stamped VIN number on the frame, usually near the steering head or neck, and confirm they match exactly.
Look for consistent font, spacing, and stamping depth.
Uneven marks can indicate alteration.
Examine the rivets, surrounding paint, and the metal for fresh paint, grinding, welds, heat discoloration, filing marks, creases, or rounded edges.
Use a flashlight or magnifier to expose fine tool marks.
Verify the plate details, including the build date and model code, against manufacturer specs and a VIN decoder.
If you find an impossible combination, treat it as a red flag.
If anything looks off, verify the VIN through official checks and request matching paperwork before proceeding.
Match the Title, VIN, and Seller ID
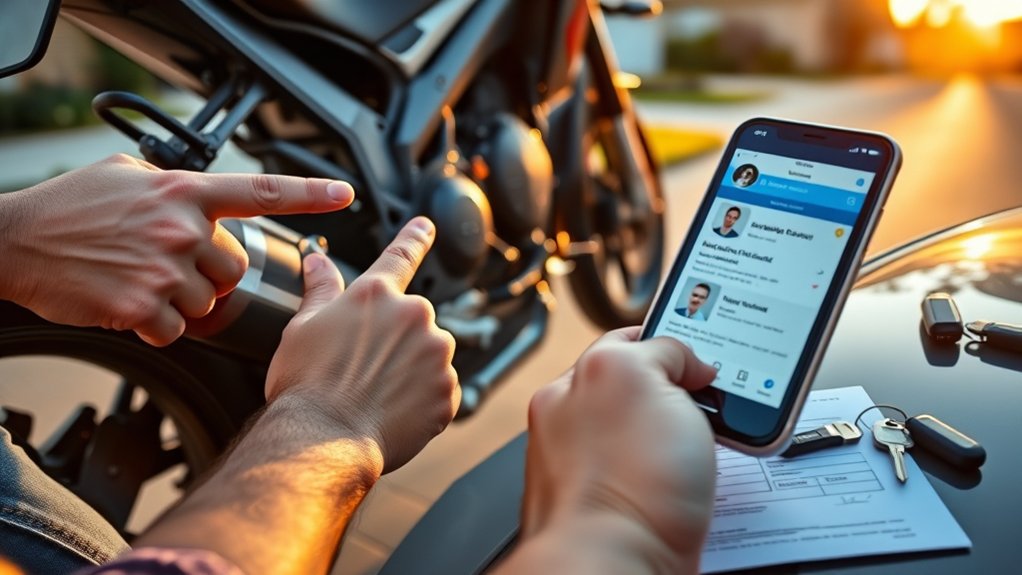
Before you buy, verify that the VIN on the title matches the steering-head/frame stamping and the manufacturer’s placard exactly—character for character. Also, check the VIN plate and the area around it for any signs of tampering, like uneven stamping, replaced rivets, fresh paint, or grinding marks.
Next, confirm the VIN isn’t flagged by the DMV or through a vehicle history check.
Finally, match the seller’s photo ID to the name on the title, and require the original title—with any lien release properly documented—before you hand over any money.
VIN Plate Inspection
Inspect the VIN plate and all related identifiers carefully.
The VIN on the title should exactly match the stamped VIN on the steering head and the VIN plate or placard on the frame. Any discrepancy is a hard stop.
Verify the VIN on the title matches the stamped VIN on the steering head.
Also verify it matches the VIN plate or placard on the frame. If there’s any mismatch, treat it as a red flag and halt the purchase.
Check the plate rivets, surrounding paint, and fasteners for signs of tampering.
Look for different rivet styles, fresh paint, drilled heads, or rounded edges.
Compare details with model-year photos if you can.
Run the full 17-character VIN through a history service to check theft, salvage, odometer, and recall records.
Also inspect for hidden secondary stampings under the seat, inside the frame backbone, or on the engine case.
If anything looks altered, contact your DMV and walk away without proof.
Seller ID Match
Match the seller’s ID to the title and registration. The name on all ownership documents should match the person handing you the bike.
Verify the VIN on the title against the steering head, VIN plate, and any secondary stampings. Different fonts, spacing, or damaged stamp marks deserve extra scrutiny.
| Checkpoint | What you compare | Red flags |
|---|---|---|
| Identity | Seller ID, title, registration | Name mismatch |
| VIN | Title, frame, plate | Altered digits |
| Status | DMV or VIN report | Salvage, lien, theft |
If the seller isn’t the registered owner, ask for a signed bill of sale and the transfer reason. Examples include a lien release or power of attorney.
Run a VIN history check. If anything looks suspicious, don’t buy—walk away or contact law enforcement first.
Check Fluids, Tires, and Frame Damage
Check the fluids first. They can reveal hidden maintenance gaps or mechanical trouble before you ever ride.
Check oil through the dipstick or sight glass. Fresh oil looks amber or brown and syrupy. Very dark or milky oil can signal neglected service or water contamination.
Check the oil first—amber and syrupy is healthy, while dark or milky oil can point to trouble.
Inspect coolant in the reservoir for the correct neon green color, or the manufacturer-specific color. There should be no brown tint or oily film.
Then examine the motorcycle tires. Check the 4-digit DOT date code, uneven wear, cupping, and exposed cords.
Replace any tire older than about six years, even if the tread looks good.
Finally, inspect the frame and swingarm. Look for dents, cracks, repairs, or bent stops. Feel for hidden deformation.
Rock the bike with the front brake applied. This helps you detect steering-head play.
Test the Controls, Brakes, and Suspension
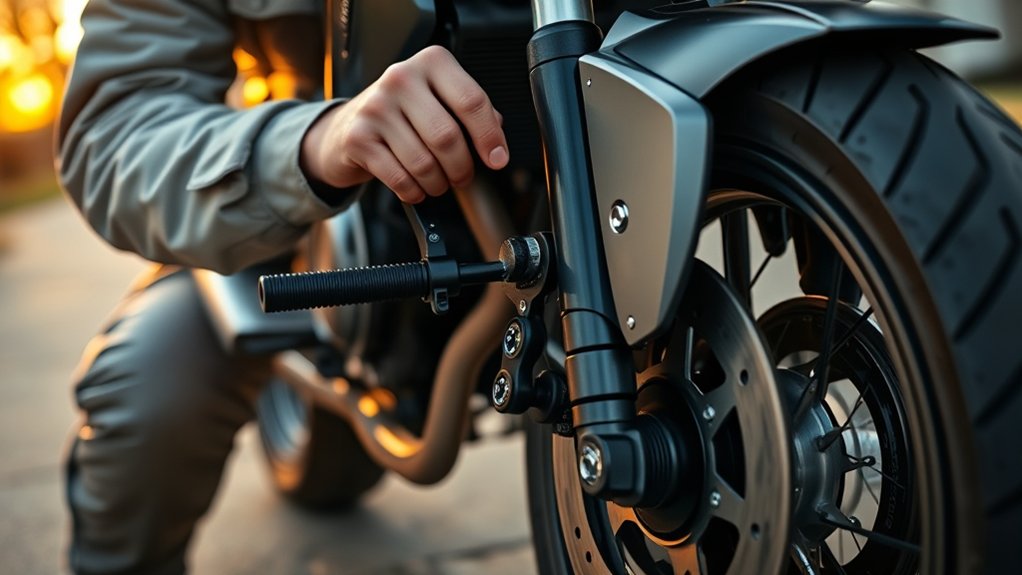
With the bike supported, test the controls and suspension before you commit to anything else.
Squeeze the front brake and rock the bike fore and aft. Any click or bar movement can mean loose steering head bearings.
Pull each brake lever and press the rear pedal.
You want firm, smooth travel with no sponginess and no dragging, plus immediate brake light activation.
Listen for grinding or squeal that suggests worn pads or warped rotors.
Spin each wheel and watch for lateral runout, rim dents, and rotor wobble.
Brake pulsing often points to a bent rotor.
Compress the forks and bounce the seat to check the rear shock.
Look for smooth return, no clunking, no excessive rebound, and no oil leaks.
Run your fingers along the fork tubes for pitting, rust, or creases.
Start the Engine Cold and Listen Closely
Before you start the bike when it’s cold, confirm the seller’s usual routine—like where the petcock is set, whether they use the choke or a primer, and if they normally use the electric starter or the kick starter. That way, you can match how it’s typically started and help avoid unnecessary wear on the starter.
As it fires, listen closely. You want a smooth start and a stable idle within about 30–60 seconds. If you notice hard cranking, sputtering, or it stalls, that can be a sign of fuel, carburetor, or choke problems.
Keep listening as it warms up for any knocks or taps. And while you’re at it, watch the exhaust smoke—blue, white, or black smoke can point to internal wear or mixture issues.
Cold Start Ritual
A true cold start can reveal more than a quick visual check. Ask the seller how they normally set the fuel petcock, choke, or fast-idle, and what starter method they use before you touch any controls. This helps avoid flooding or an odd start procedure.
Then start it cold the first time and watch how it lights off. You should hear a stable idle within 30 to 60 seconds, not repeated sputtering or roughness. Lightly blip the throttle and check the smoke.
Blue smoke points to oil burning. Black smoke suggests an overly rich mixture. White steam can indicate coolant in the chambers.
Press a wooden dowel or screwdriver to the cases. Listen for abnormal ticking, knocking, or rumble.
Let it warm for 3 to 5 minutes. Then check for leaks.
Listen For Red Flags
Start the bike cold and let it idle. Listen closely for the first 30 to 60 seconds.
Start it cold after it’s sat several hours, then check for a smooth idle and even mechanical tone.
Loud ticking, clattering, or heavy valvetrain noise can point to low oil pressure, worn bearings, or failing hydraulic lifters.
Use a wooden dowel against the cases and your ear to isolate knocking or bearing growl.
Consistent metallic noise from the lower end or transmission is a serious warning.
Watch for blue smoke, white steam, or loud popping on startup.
Once warm, snap the throttle and confirm immediate response.
Hesitation, surging, misfires, grinding, whining, or dragging with the clutch pulled can indicate fueling, ignition, clutch, or gearbox faults.
Close the Deal With a Bill of Sale
Seal the deal with a bill of sale that includes the buyer and seller’s full names, addresses, and phone numbers.
It should also list the motorcycle’s make, model, year, VIN, odometer reading, sale price, and the date of sale.
If the mileage is exempt or unknown, include a clear disclosure.
When buying a used motorcycle, state the terms clearly, like “as-is, with no warranties,” or list agreed repairs.
Both parties should sign and date in ink.
Add a witness or notary if your state requires it.
Include a clause confirming the seller has the right to sell the motorcycle.
The clause should also state there are no liens or hidden encumbrances.
Note whether the title transfers now or later.
If a lien exists, attach payoff details and any related paperwork.
Keep copies of everything, including numbered receipts and photo ID.
Then check your local DMV rules to confirm any extra steps you must follow.
Frequently Asked Questions
What Documents Should I Bring to Inspect a Private-Sale Motorcycle?
Bring the signed title, your photo ID, and a bill of sale template.
Bring service records, maintenance receipts, the owner’s manual, and any current registration.
If there’s a lien, get payoff or release documents and the lender’s contact info.
Bring a smartphone or laptop for VIN checks and to take clear photos.
Verify the title VIN matches the frame, plate, and barcode exactly before you agree to buy.
How Can I Verify the Motorcycle’s Service History?
At face value, you can verify a bike’s service history by asking for receipts, service records, and the owner’s manual. Then match dates and mileage to the odometer.
Check for dealer stamps, invoice details, and scheduled maintenance intervals in the manual. If records look thin, run the VIN through dealer or database checks.
When anything is unclear, pay for a pre-purchase inspection. A mechanic can confirm maintenance and flag deferred work.
What Payment Methods Are Safest for Private Motorcycle Purchases?
The safest payment methods are escrow for out-of-state purchases. For local deals, use an in-person bank transfer or a cashier’s check verified by the teller.
You can use a same-day wire or Zelle only after you’ve inspected the bike. Make sure the VIN matches and the title is verified, then sign the bill of sale.
Don’t use cryptocurrency or anonymous methods. If you pay cash, meet at your bank and complete the title transfer right away.
Should I Arrange Insurance Before Buying the Motorcycle?
Yes, you should arrange insurance before you buy the motorcycle.
In most U.S. states, you can’t legally ride it home without at least liability coverage active on the purchase date.
Call your insurer. Give the VIN, seller details, and sale time. Ask for a binder or short-term policy.
Verify your state’s minimum limits. If you’re financing, add required all-risk and collision coverage, plus lienholder details.
Can I Return a Motorcycle if Hidden Issues Appear Later?
Usually, you can’t simply return a motorcycle, especially from a private seller.
Most sales are as-is, a legal relic from a bygone era.
If hidden defects surface later, check your state’s consumer laws.
Also, review any written return terms, and act fast.
Send the seller written notice and request a resolution.
Gather repair estimates and preserve photos, mileage, and the bill of sale.
Then pursue mediation, settlement, or small claims if needed.
Conclusion
By now, you know how to buy a used motorcycle from a private seller with a sharper eye and steadier hand.
You can spot crash scars, verify the VIN, inspect the fluids and chassis, and test the controls before the engine even warms up.
If everything lines up, close the deal with a clear bill of sale.
That way, you’re not just buying a bike, you’re taking home a machine that’s been given a clean, road-ready passing.