How Long Does A Harley Davidson Battery Last – Quick Answer
A Harley Davidson battery typically lasts three to five years if you maintain it properly. Using a battery tender during storage, avoiding deep discharges, and regularly checking voltage can extend its lifespan.
Factors like frequent short rides, extreme heat, and parasitic electrical loads can shorten battery life. Watch for signs like slow cranking or dim lights to spot early failure.
Following proper jump-start and replacement steps also helps. Keep going to explore how to maximize your battery’s durability.
How Long Does a Harley Davidson Battery Last?
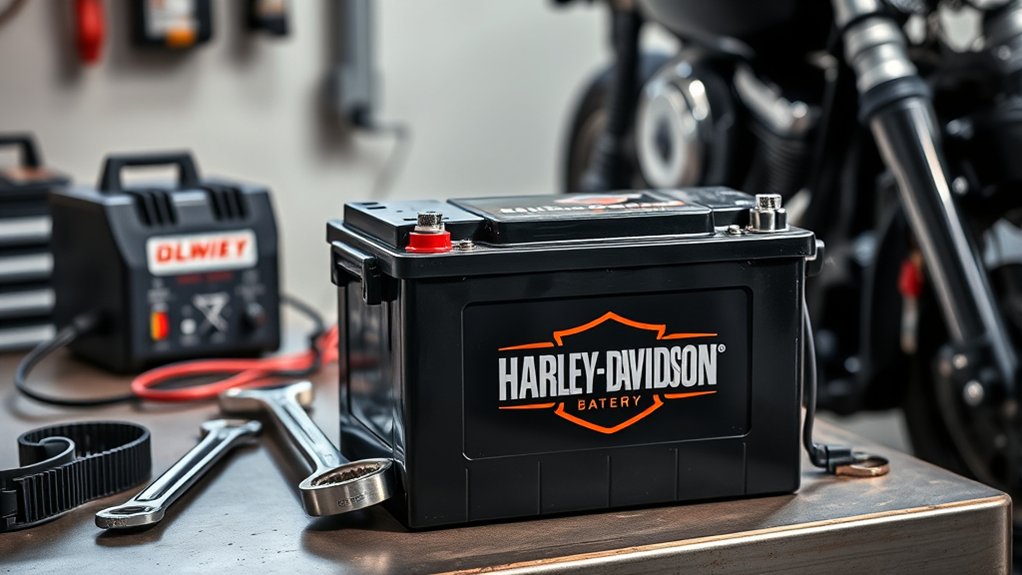
How long does a Harley Davidson battery usually last? Typically, a Harley Davidson battery offers a battery lifespan of 3 to 5 years with proper battery maintenance.
Your motorcycle battery’s durability depends considerably on its type; lead-acid batteries generally require more attention than modern AGM or lithium-ion options.
Using a battery tender regularly, especially during winter storage, helps maintain battery health and promotes a long-lasting battery.
Neglecting maintenance or frequent inactivity shortens lifespan, increasing the need for battery replacement.
Monitoring voltage and avoiding deep discharges can prevent premature failure.
What Affects Your Harley Battery’s Lifespan the Most?
Although a Harley battery is designed for durability, several factors greatly impact its lifespan. Frequent short rides prevent full recharging, which speeds up battery deterioration. Exposure to extreme heat also reduces capacity and makes the battery age faster.
Harley batteries are durable, but frequent short rides and extreme heat significantly shorten their lifespan.
Parasitic loads from electronics can drain the battery when the bike is off. This silently eats away at the battery’s life without you noticing.
Poor maintenance, like neglecting terminal corrosion cleaning and charging irregularly, will also shorten battery life.
Using chargers that aren’t recommended or ignoring proper storage conditions can cause premature failure by stressing the battery’s chemistry.
To get the most out of your Harley Davidson battery, make sure the charging system works correctly and follow the maintenance routines suggested.
Being mindful of these factors helps you protect your investment and avoid unexpected battery problems when you’re out on the road. It’s all about giving your battery the care it needs to keep going strong.
How to Spot Early Signs of Harley Battery Failure
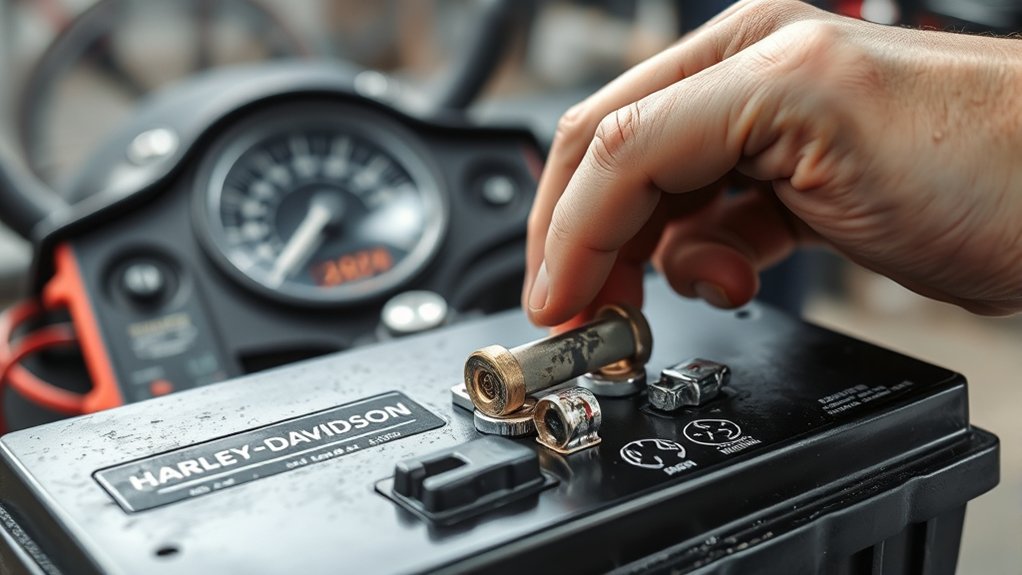
When your Harley starts showing slow engine cranking or dim headlights at startup, these are clear early signs of battery failure. Keep an eye out for visual indicators like terminal corrosion, physical swelling, or acid leaks. These usually suggest that issues are on the way.
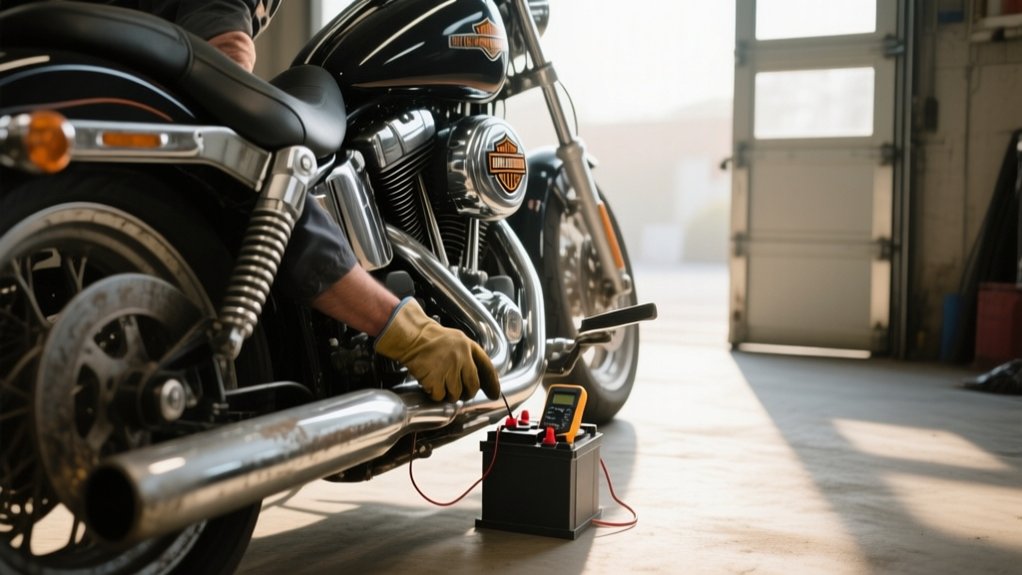
It’s a good idea to use a multimeter to check the voltage; if it drops below 12.4V, that signals reduced battery capacity. If you find yourself relying on jump-starts frequently or notice the battery struggling to hold a charge, don’t ignore those warning signs.
Flickering electronic components and difficulty starting also point to battery failure in its early stages.
Recognizing these early signs helps you act promptly, so you can avoid unexpected breakdowns and costly repairs on your Harley Davidson. Staying alert to these clues is key for effective maintenance and keeping your battery healthy.
How to Extend Your Harley Battery Life: Simple Maintenance Tips
Noticing early signs of battery wear means it’s time to take proactive steps to extend your Harley’s battery life. Use a battery tender during long-term storage to keep the battery charged and avoid deep discharge.
Regularly clean terminals with a baking soda solution to prevent corrosion and maintain tight connections. Perform voltage checks and aim for over 12.6 volts to monitor the battery’s health.
Try adjusting your riding habits by favoring longer trips, around 20-30 minutes, to fully recharge the battery.
Also, store your motorcycle in a cool, dry place. If you’re not using it for a while, disconnect the negative terminal to keep things safe.
How to Safely Jump-Start and Replace Your Harley Battery
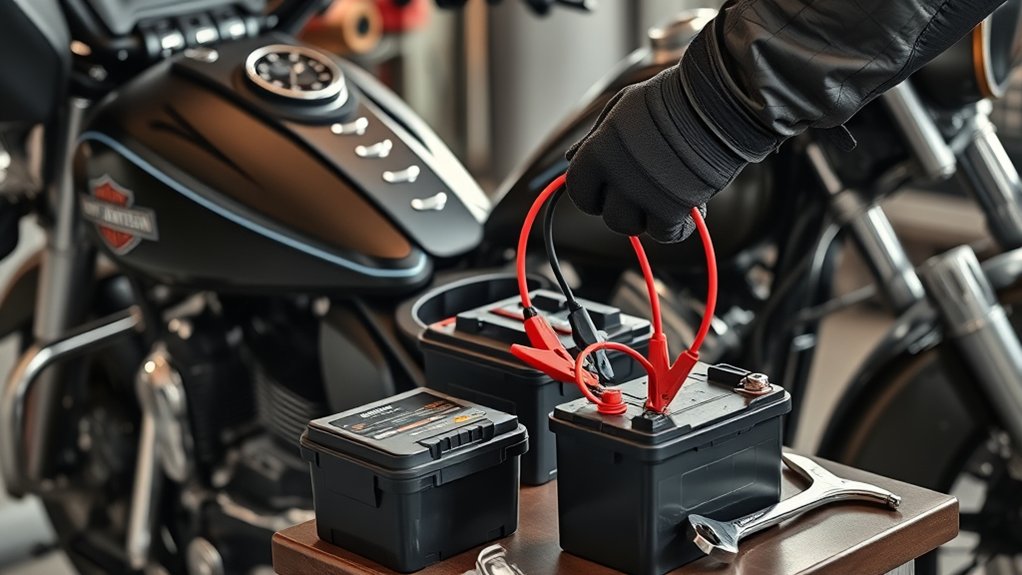
Before jump-starting your Harley, make sure both vehicles are off.
Connect the positive (red) cable to the battery’s positive terminal first. Then, attach the negative (black) cable to a grounded metal part away from the Harley battery to guarantee safety.
After the engine starts, remove the cables in reverse order.
When you replace your Harley battery, always disconnect the negative terminal first to avoid short circuits. Then, remove the positive terminal.
Use a high-quality, compatible battery such as Yuasa or Shorai for reliable performance.
During installation, secure connections firmly to the correct terminals. Also, take a moment to inspect for any corrosion or looseness.
Proper terminal maintenance and safe jump-start procedures will extend battery life and prevent damage. That way, your Harley starts reliably every time.
Frequently asked questions
Can I Use a Car Battery for My Harley Davidson?
You shouldn’t use a car battery for your Harley Davidson. Car batteries are larger, heavier, and built for different electrical demands. This can cause fitment issues and even damage your motorcycle’s system.
Harley batteries are designed to handle vibration and specific electrical loads. This ensures safety and performance while you ride.
Using the proper motorcycle battery guarantees reliable starts and longer battery life.
It also protects your bike’s electrical components and helps you avoid potential problems down the road.
How Do I Recycle an Old Harley Battery?
To recycle your old Harley battery, start by removing it carefully. Make sure the terminals are disconnected to avoid any short circuits.
Don’t just toss it in the regular trash. Instead, take it to an authorized recycling center, an automotive store, or a motorcycle shop that accepts lead-acid batteries. These places know how to handle hazardous materials properly and can recover valuable lead and plastic.
Always follow local regulations for battery disposal. This helps prevent environmental harm and keeps you on the right side of the law.
What Is the Warranty Period for Harley Davidson Batteries?
You get a warranty period of 12 to 24 months on Harley Davidson batteries, depending on the model and brand. Most OEM batteries come with a standard one-year warranty, while suppliers like Deka offer up to two years for specific types.
This coverage protects you against manufacturing defects but not misuse or poor maintenance.
Always check the exact terms from your dealer to know your protection details precisely. It’s a good idea to understand what’s covered so you don’t run into surprises later.
Warranties can vary quite a bit depending on where you buy and the battery type.
Are Lithium Batteries Better Than Lead-Acid for Harleys?
Yes, lithium batteries are better than lead-acid for Harleys in several ways. They last longer, typically 4 to 7 years versus 1 to 3 years, and offer higher energy density. This means you get more power in a smaller, lighter package.
You’ll also notice improved handling because of the reduced weight. Plus, they need less maintenance, which is always a bonus.
Although they cost more upfront, their extended lifespan and durability usually make them a more practical and cost-effective choice in the long run.
How Much Does a New Harley Davidson Battery Typically Cost?
A new Harley Davidson battery typically costs between $100 and $200, with genuine options like Deka batteries at the higher end.
If you want advanced tech and lighter weight, lithium-ion batteries usually range from $150 to $250.
You can find aftermarket batteries for around $80 to $120, but you’ll need to check quality and compatibility carefully.
Prices also vary based on whether you buy from a dealership, online, or a parts store.
So, it’s a good idea to shop around and see what fits your bike and budget best.
Just make sure you’re getting a reliable battery to keep your Harley running smoothly!
Final Thought
Now that you know a Harley Davidson battery typically lasts 3 to 5 years, don’t just rely on age alone. Factors like ride frequency, weather, and maintenance play a bigger role than you might think.
Regularly checking voltage and keeping terminals clean can extend battery life considerably. So, before you blame your battery for starting issues, test it properly and follow simple upkeep steps.
This practical approach saves time and money in the long run.