How To Change Motorcycle Oil – Full Tutorial
To change motorcycle oil, gather the correct oil, a new filter, a crush washer, a drain pan, a funnel, and a wrench set.
Warm the engine briefly, shut it off, and remove the filler cap.
Drain the oil, remove the filter, and clean the sealing surface.
Install the new filter and the drain plug to the specified torque.
Refill with the oil your manual recommends, then check the level on level ground.
Run the engine and inspect for leaks.
A few extra steps can save you trouble later.
Tools You Need to Change Motorcycle Oil
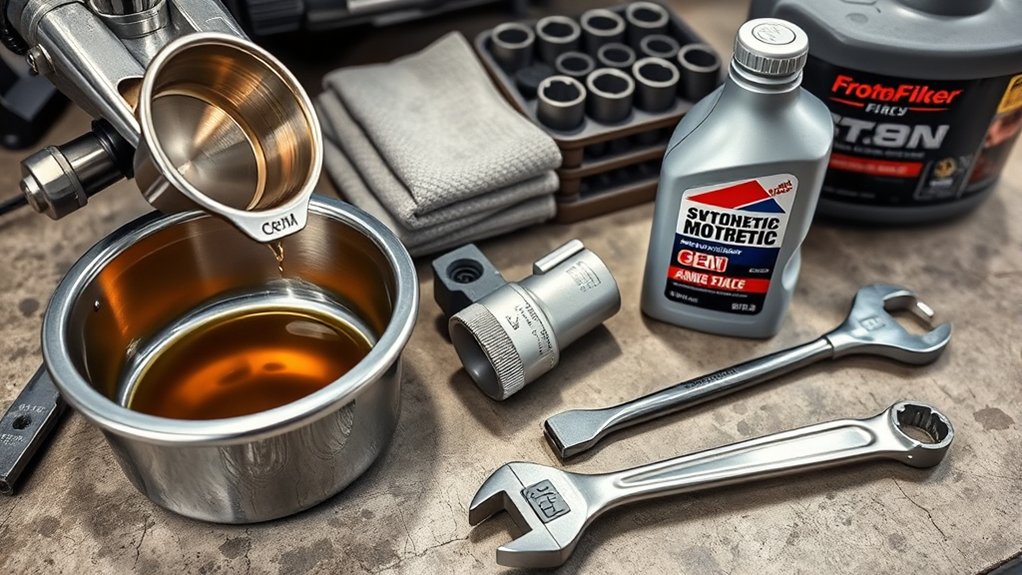
Before you loosen a single bolt, gather the basics: the correct-grade engine oil and a new oil filter sized for your bike. Also pick up replacement crush washer(s) for the drain plug.
Before you start, have the right oil, a new filter, and fresh crush washer(s) on hand.
Add a socket wrench set, often with a 17 mm socket, and an oil drain pan for cleanup. Keep the motorcycle level on a center stand or secure side stand so measurements stay accurate.
Use gloves, eye protection, and rags to protect your hands and wipe sealing surfaces. Have a torque wrench ready for the drain plug and filter fasteners, since overtightening can cause leaks or damage.
A dipstick or sight glass helps you confirm the final level. Use a funnel to refill cleanly without spills, and use a filter wrench if your oil filter needs one.
Drain the Old Motorcycle Oil
Warm the engine for 1–2 minutes to thin the oil. Then switch it off, remove the oil filler cap to let air in, and place a drain tray under the sump.
Keep the bike on level ground. Use the correct socket to loosen the drain bolt and start the oil drain.
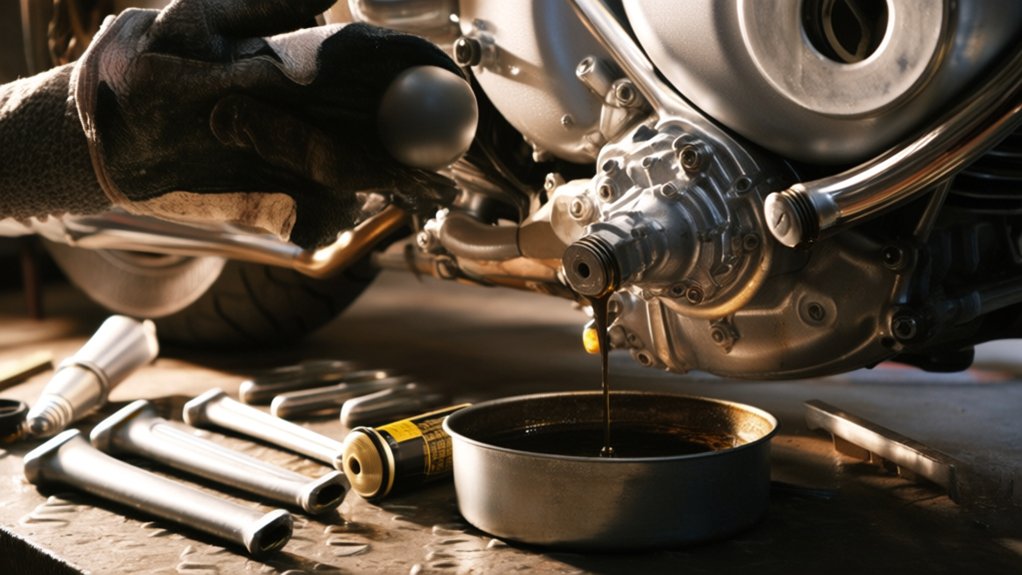
Let the stream run into the drain tray. Turn the oil filter off by hand or with a filter wrench, then catch any residual used oil as it drains.
Wait a few minutes until the flow stops. Keep the drain bolt and crush washer clean and safe.
When the flow reduces to a drip, let it finish completely before you move on. Transfer the used oil to a sealed container for recycling.
Wipe up any spills from the workspace. This keeps the area clean and ready for the next step.
Replace the Oil Filter and Drain Plugs
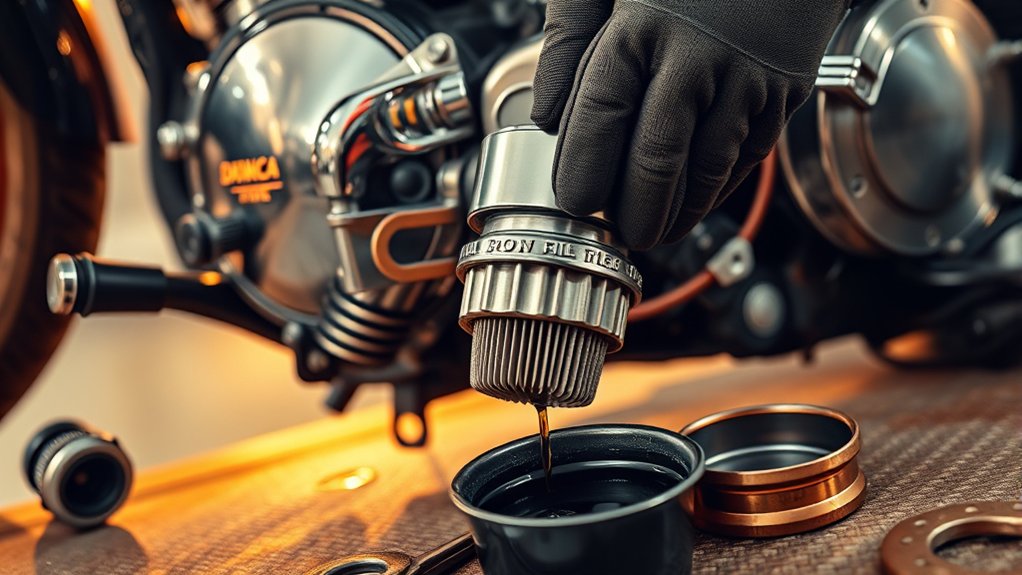
With the old oil drained away, fit the new oil filter and refit the drain plugs. Remove the oil filter with your hand or a filter wrench, keeping the drain tray underneath.
Wipe the mounting face with a lint-free rag. Lightly oil the new gasket, then hand-thread the new filter until it seats.
| Task | Method |
|---|---|
| Inspect old filter | Look for metal debris |
| Prepare mounting face | Clean with a lint-free rag |
| Fit new filter | Lubricate the new gasket |
| Replace drain bolt | Fit a new crush washer |
| Tighten fasteners | Use the correct torque spec |
Install the drain bolt with a fresh crush washer. Start it by hand, then tighten it to the manual’s torque spec.
Refit every plug, wipe the area clean, and check for leaks after startup.
Refill the Engine Oil to the Correct Level
Refilling the engine oil now, pour in the correct grade and capacity from your owner’s manual. Start with about 75 to 90% of the specified amount.
Keep the bike level, use a funnel, and fill slowly to avoid overshooting. After a few minutes, check the oil level in the sight glass or with the dipstick, exactly as the manual instructs.
Aim for roughly three-quarters in the glass, or between the min and max marks. If the level’s low, top up in small increments, then recheck each time.
- Verify oil capacity before pouring
- Match the correct grade exactly
- Let oil settle before reading
- Run engine and recheck after refilling
- Avoid overfilling to prevent frothing
Check for Leaks and Dispose of Used Oil
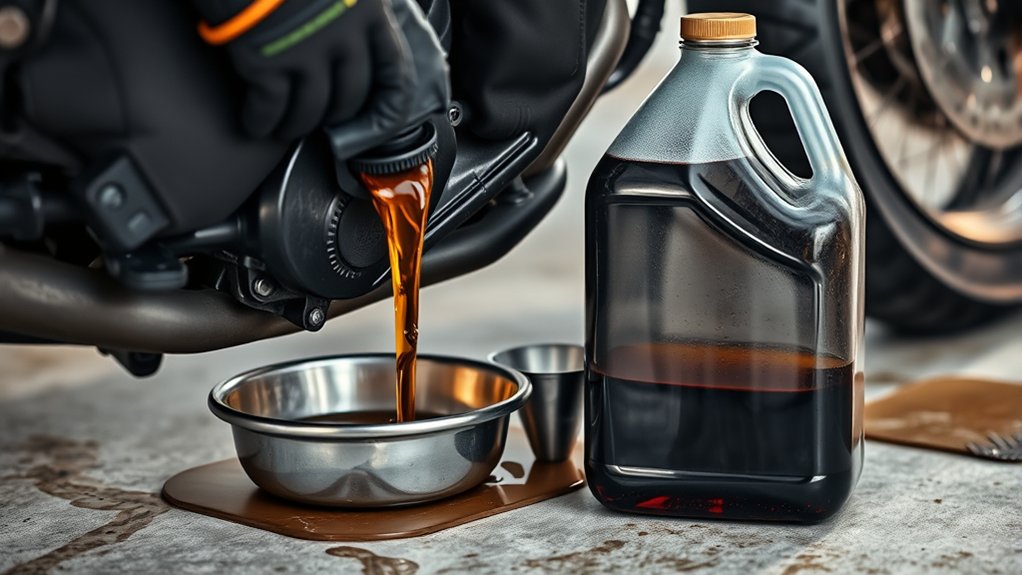
Now that you’ve refitted the drain plug and installed the new filter, start the engine for 1–2 minutes. Then inspect the drain plug, filter gasket, and filler cap for any fresh seepage.
If you spot leaks, stop the engine and tighten the components to the manufacturer’s torque spec. Park the bike level and wait 5–10 minutes.
Verify the oil level with the inspection glass or dipstick. Then recheck the drain plug and oil filter area for slow leaks.
Drain the used oil into a sealed container. Don’t mix it with solvents or gasoline.
Bag the old filter, then recycle used oil and filters at an approved collection point. Wipe up spills with absorbent pads or cat litter.
Dispose of contaminated material as hazardous waste under local rules.
Frequently Asked Questions
How Often Should Motorcycle Oil Be Changed?
You should change motorcycle oil every 3,000 to 5,000 miles.
Or every 6 to 12 months if you ride less.
You’ll need to shorten that interval if you ride hard, in hot weather, or in dusty conditions.
Always check your owner’s manual, since some modern engines use synthetic oil and longer service intervals.
Also inspect your oil level regularly, because low oil can damage your engine quickly and seriously.
Can I Use Synthetic Oil in My Motorcycle?
Yes, you can use synthetic oil in your motorcycle if your owner’s manual approves the viscosity and API/JASO rating.
You’ll often get better heat resistance, cleaner operation, and longer drain intervals.
Just make sure it’s wet-clutch compatible, usually marked JASO MA or MA2, so you don’t cause clutch slip.
If your bike is older or has high mileage, you can still switch, but inspect for leaks after the change.
What Happens if I Overfill Motorcycle Oil?
If you overfill motorcycle oil, it can foam the oil, raise crankcase pressure, and force oil past seals or into the airbox.
You may notice smoke, leaks, a rough-running engine, or a slipping clutch on wet-clutch bikes.
Drain the excess to the correct mark, then recheck with the bike upright and the engine off.
Don’t ride far with the level high, since extra oil can cause serious mechanical damage.
Do I Need to Warm the Engine Before Draining Oil?
Yes—you should warm the engine slightly before draining oil. You want it warm, not hot.
Run the bike for two to five minutes, then shut it off and wait briefly.
If you drain cold oil, sludge can cling inside the crankcase.
Don’t overdo it. Scorching oil burns you and makes the job dangerous.
Can I Change Motorcycle Oil Without a Torque Wrench?
Yes, you can, but you shouldn’t guess on final tightening. You can change the oil without a torque wrench if you use the correct socket, clean the threads, and tighten drain plugs and the filter carefully.
The risk is stripping threads or causing leaks if you overtighten. Check your service manual for the torque specs, then snug the fasteners to specification whenever possible.
A torque wrench gives you the safest and most repeatable result.
Conclusion
Changing your motorcycle oil isn’t just routine maintenance.
It protects your engine’s life.
Regular oil changes can extend engine durability by thousands of miles.
That’s why staying on schedule matters.
You’ve already seen how to drain, replace, refill, and inspect properly.
So use the right oil and torque specs every time.
Keep an eye out for leaks.
And don’t overfill.
Dispose of used oil responsibly.
Your bike will run cleaner, cooler, and longer.