
How To Measure Motorcycle Windshield – Full Tutorial
To measure your motorcycle windshield, sit in your true riding position with your helmet on. Keep your hands on the bars and your feet on the pegs.
Have a helper hold a ruler or tape vertically from the bike’s correct reference point to your mouth. Then check against your nose or sight line as well.
Choose a shield that ends below your direct view. Usually, that’s around mouth level.
Recheck your measurements after any seat or bar changes. Then test at speed to confirm you’re not getting buffeting.
There’s more to fine-tuning.
Why Windshield Height Matters

Windshield height matters because it determines where airflow breaks over you. If the top edge sits at mid-helmet or eye level, you can get buffeting, extra noise, and neck strain.
Windshield height shapes airflow: too high or too low can cause buffeting, noise, and neck strain.
With the right Motorcycle Windshield Height, you should see over the top edge, not through it. The shield should sit below your direct line of sight, usually near mouth level.
That placement keeps your vision clear and lets the screen manage wind without masking the road. A taller shield can lift airflow higher, but it may also create turbulence behind the screen.
Flared designs often provide similar protection with less height. That can help reduce drag and noise while keeping comfort and control.
Measure Your True Riding Position
Sit on your bike in your normal riding position. Put both hands on the bars, keep your feet on the pegs, and relax your back so you can measure your true eye line.
Next, have a helper hold a ruler or tape measure from the bike’s reference point up to a level with your mustache or nose tip. Make sure you’ll look over the windshield—not through it.
Then, repeat the same check with your helmet and your usual riding gear on. Finally, confirm the suspension is settled before you write down the height.
True Riding Posture
To measure accurately, capture your true riding posture, not a casual seated position.
Sit on the bike with your hands on the grips, arms slightly bent, back relaxed, feet on the pegs, and eyes looking straight ahead.
Keep your true riding posture consistent while a helper holds a tape or ruler vertically at the correct bike reference point.
On 2024+ Street and Road Glide models, use the center dashboard vent. On older bikes, use the headlight, fairing, or mounting-bolt reference.
Bounce once to settle the suspension under your weight before measuring.
Then record the vertical distance to your sight line at mouth level.
This gives you your actual riding position.
Then you can choose a windshield that sits below your natural line of sight and helps avoid buffeting.
Eye Line Check
With the bike settled under your weight, sit in your normal riding posture.
Keep your hands on the bars and your eyes forward.
Have a helper hold a ruler or tape measure vertically from the fairing/top-center dashboard point or headlight center.
Place it about 1 inch forward of the headlight and aligned with the fork angle.
| Check | Action |
|---|---|
| Posture | Sit relaxed, feet on pegs |
| Reference | Hold ruler vertical at fairing point |
| Reading | Note where your sight line crosses |
| Result | Measure windshield below that line |
Keep your head in riding position and measure the crossing point.
That’s your true eye line.
Include luggage and accessories you normally use.
They change your posture and the reading.
Then choose a windshield top that sits below this line.
You should look over it, not through it.
Use the ruler value to select the right Flare® or model-specific height.
Find Your True Sight Line
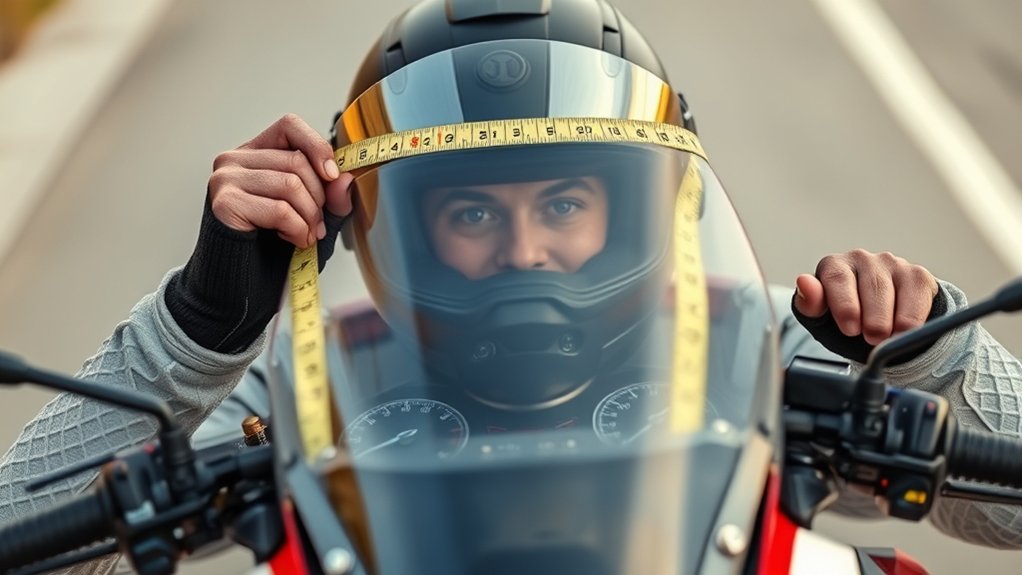
Once you’re in your normal riding posture, put your hands on the bars, relax your back, and place your feet on the pegs. Have a friend hold a ruler or tape measure vertically at the fairing’s top-center reference point to locate your true sight line.
Keep the bike settled under your weight, or take a short roll first. This helps ensure suspension sag matches real riding conditions. With the ruler steady, look straight ahead and read where your natural eye line crosses it.
That mark is your true sight line. Don’t measure from a feet-on-ground stance, because it lifts your head and skews the result. Repeat the check with your usual helmet and any bar or seat changes.
Record the number carefully. Small setup changes can shift your true sight line enough to affect windshield selection.
Choose the Right Windshield Height
Check your sight line first.
Sit on the bike in your true riding posture and confirm that the windshield’s top edge sits below your direct view.
Then measure from the proper mounting reference point while you’re in that position, and pick a height that lets you look over the screen while still keeping airflow above your helmet.
For most setups, aiming near mouth level works well, since it balances forward visibility with wind deflection.
Sight Line Check
To choose the right windshield height, sit on the bike in your normal riding posture.
Have a helper hold a vertical tape or ruler from the proper center reference point to the windshield top so you can verify your eye line.
You want the shield below your direct view so you see clearly over the edge, not through it.
Aim for roughly mouth level at the top edge.
On 2024+ Street Glide and Road Glide models, measure from the top-center above the dash or vent.
On older models, use the specified center point, such as a mount bolt, vent hole, or headlight center.
At 50 mph, check whether wind reaches mid-helmet or above.
Recheck after seat, bar, or suspension changes.
Measure Riding Position
Settle into your true riding posture. Keep both hands on the bars, feet on the pegs, eyes forward. Compress the suspension under your weight to measure your real eye line.
Have a helper hold a tape or ruler vertically from the model-specific top-center reference point. On 2024+ Street/Road Glide models, use the point above the dashboard vent. On older bikes, use the proper center mount, vent, or headlight point about 1 inch from the fairing.
Measure straight up to your mouth or mustache line. If you use that method, measure to the tip of your nose.
The windshield top should sit below your direct sight line so you look over it. Recheck after any bar, seat, or suspension change.
Balance Height And Airflow
With your riding posture and eye line set, choose a windshield height that keeps the top edge comfortably below your direct line of sight, roughly at or below mustache level.
Have a friend measure vertically from the fairing reference point to the lip, then match that dimension to your model and setup.
- Keep the shield lower than your eye line.
- Aim to look over, not through, the screen.
- Shorter Flare-style shields can deflect air efficiently.
- Taller shields can add turbulence and helmet shake.
- Recheck after seat, bar, or suspension changes.
On 2024+ Street Glide and Road Glide models, use the top-center point above the dash vent.
Test at about 50 mph. If wind hits mid-helmet, adjust the height.
Measure With the Line-of-Sight Method
How do you find the right windshield height by sightline? Sit on the bike in your true riding posture. Hands on the bars, back relaxed, and eyes forward.
Have a helper hold a tape or ruler vertically at the fairing center. Measure from the bike’s fixed reference point. Use the top center above the dashboard or vent on 2024+ Street/Road Glide models, or the center mounting bolt or headlight top on older bikes.
Measure to your eye line. Choose a screen that sits below that line, usually at or below mustache level. You should be looking over the windshield, not through it.
Set seat, bars, and suspension first. Posture changes alter the reading.
Verify at speed by extending your hand at head height. You shouldn’t feel steady wind on your helmet until your hand rises higher.
Avoid Common Measuring Mistakes

Even a good sightline measurement can go wrong if you don’t set it up the same way every time. Sit in your true riding position, hands on the bars, and eyes forward so your eye line stays accurate.
Then have a helper hold a ruler vertically from the correct windshield reference point for your bike.
Don’t measure with your feet down.
Don’t change your posture.
Don’t guess at the top edge.
Don’t pick taller just because it looks safer.
Recheck after seat, bar, or riser changes. Use the line-of-sight method and keep the shield below your natural sight line. Start conservative, around mouth or chin level, then test real airflow. Small setup changes can shift the right height fast.
How to Measure Harley Models
To measure a Harley windshield correctly, sit in your true riding posture with your hands on the bars and eyes forward.
Then have a helper hold a tape or ruler vertically from the proper reference point for your model.
On 2024+ Street Glide and Road Glide, start at the top center above the dashboard or vent.
For 2014–2023 Ultra and 2015–2023 Road Glide Recurve models, measure from the center mounting bolt, or the vent hole center, to the windshield top rim.
For 2013 and earlier Road Glide models, measure from the fairing’s top center where the rubber strip meets the shield.
For Road King and Softail, follow the headlight cup or surface specific path.
Choose a windshield that ends below your natural line of sight.
Cut and Test a Windshield Safely
Once you’ve confirmed your measurement, mask both sides of the windshield with non-solvent tape.
Mark a conservative cutline using a cardstock template so you can verify fit before removing any material.
Keep the shield mounted if you can.
Cover the bike with a drop cloth, and wear eye protection.
Use an electric jigsaw with a plastic-cutting blade.
Set the base flat on the taped surface, then cut from one edge at moderate speed with steady pressure.
Follow the taped guideline closely.
Avoid heat buildup, cracking, and melting.
File the edge with long strokes.
Sand from medium to extra-fine grit.
Polish the edge and test ride.
This method helps you shape the Perfect Motorcycle Windshield safely, refine curvature, and confirm clear visibility with acceptable airflow and minimal buffeting.
Compare Shield Options
Start by matching your measured factory reference point to replacement shield heights. Common options run about 9″–12″ for lower sport or cruiser screens, up to 14″–16″ for tall touring shields. Don’t judge windshield size by height alone.
Compare shape, flare, and width too. A Flare®-style shield can redirect airflow as well as, or better than, a taller flat shield while staying shorter. Check adjustable models as well, since ranges like 14″ ±1″ or 16″ ±2″ give you tuning room without cutting.
Confirm exact fitment for your bike, such as RYDE™ 2024+ Street/Road Glide or Road King Recurve. That way, you avoid returns. Wider shields that follow the fairing contour cut edge turbulence, and clear, polished, OEM-style finishes help preserve sight lines and aerodynamics.
Frequently Asked Questions
Should I Measure With My Helmet on or Off?
You should measure with your helmet on if you’ll ride with it.
That gives you the true eye line, head height, and airflow you’ll actually experience.
Your helmet can add about 1–2 inches, so measuring bareheaded can skew fitment.
If you usually ride without a helmet, measure that way instead.
Use the same helmet every time for consistent results.
This is especially important when checking shield height or making adjustments.
Does Passenger Weight Affect Windshield Measurement?
Yes, passenger weight does affect your windshield measurement.
You might think only the rider matters, but a typical passenger lowers the bike, changes your eye line, and can shift the screen’s position by about 0.5–2 inches.
Measure with your passenger seated normally and you in riding posture.
Use the same reference point each time, and consider an adjustable shield if you often ride two-up for consistent airflow and visibility.
Can Adjustable Seats Change the Needed Windshield Height?
Yes, adjustable seats can change the windshield height you need. When you raise your seat, your eyes sit higher, so you’ll often need 1–2 inches more windshield to keep the top below your sight line.
If you lower your seat, you may need a shorter windshield. Always remeasure in your real riding position, with your hands on the bars, since posture and airflow shift with every seat adjustment you make.
How Often Should I Remeasure My Windshield Fit?
You should remeasure your windshield fit whenever you change anything that affects your riding position or airflow. That includes seat height, handlebars, suspension, tires, luggage, or fairing parts.
Ironically, the set it and forget it approach only works until your bike changes.
You should also recheck after a highway test ride if you notice buffeting, shake, or neck strain. At minimum, remeasure at least seasonally or annually to keep the screen aligned with your eye line.
Is a Taller Windshield Always Better for Touring?
No—taller isn’t always better for touring.
You might raise the screen and still get more turbulence, helmet buffeting, and noise.
That happens when the airflow hits your helmet wrong.
You’ll usually do better with a shield that lets you look over it, not through it.
Also, match the height to your riding posture.
If possible, test adjustable or demo screens first.
Small setup changes can alter wind management a lot.
Conclusion
To measure your motorcycle windshield correctly, lock in your riding position.
Confirm your true sight line and match the shield height to where your eyes naturally fall.
Do it right and the windshield becomes a tool, not a trial.
Use the line-of-sight method, avoid common errors, and test carefully before you cut.
Then you can ride with clear vision and confident comfort.
No more bug-splattered guessing game.