How To Use Motorcycle Lift – Step-by-Step Guide
Choose a motorcycle lift rated at least 20–30% above your bike’s wet weight.
Also, make sure the support mode fits your model.
Park on level ground.
Inspect straps and lift points, and clear the workspace.
Wheel the bike into the chock or vice.
Secure it with rated straps to solid frame points.
Raise it in short strokes, then lock the platform.
Recheck stability before you start.
Lower slowly after clearing the area.
This helps you avoid the most common mistakes.
Pick the Right Motorcycle Lift
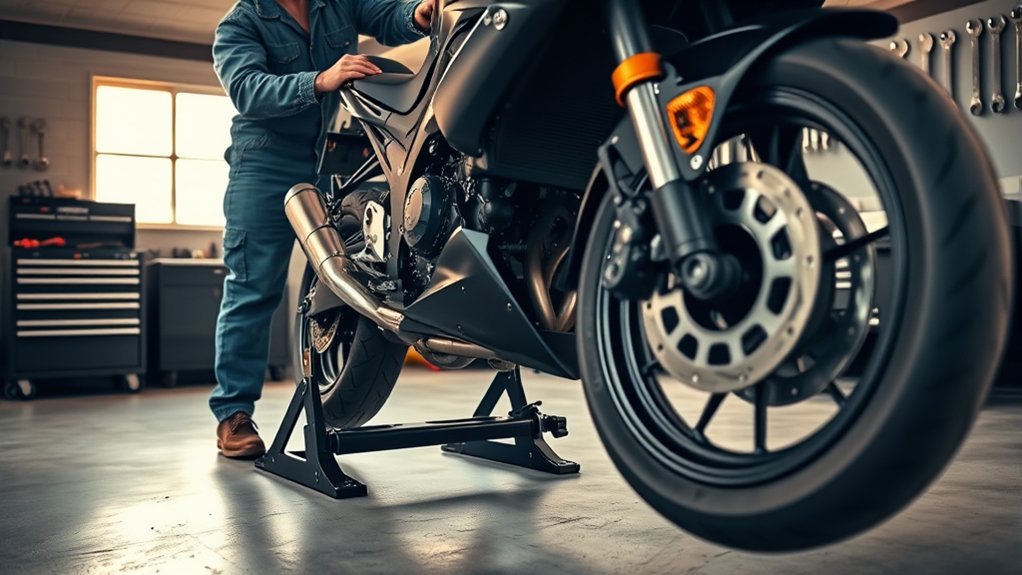
Start by choosing a motorcycle lift rated above your bike’s wet weight, including fluids and accessories. As a rule, a 600 lb bike should sit on a lift rated for at least 700 lb for a safe margin.
Choose a lift rated above your bike’s wet weight for a safe, stable margin.
Match the lift to your motorcycle and your workspace. Use a hydraulic table for heavy cruisers or full-service work.
For sportbikes with rear spools, choose a rear drop-out or spool-compatible stand. Also, check that the contact points fit your model.
Confirm support at the swingarm, spools, fork pin, or front wheel vice. Make sure adapters or pads are included or available.
Prioritize mechanical locks, non-slip surfaces, dolly wheels, and secure tie-down points. For durability and value, favor steel-frame lifts with powder-coating and a 1,000 lb capacity.
Look for a 1- to 5-year warranty, too. That extra coverage helps ensure long-term performance.
Prep Your Bike and Workspace
Once you’ve chosen the right lift, set up your bike and workspace so the raise goes smoothly and safely.
Park your motorcycle on a level, solid surface, then shift it into gear to reduce rolling.
Check the lift, straps, wheel chock or vice, and any fork or swingarm pins.
Verify their rated capacity exceeds your bike’s wet weight with fluids and accessories.
Read the manufacturer’s instructions and confirm every mounting point matches your model.
Before you start, follow their guidance for your specific lift setup.
Clear at least 3–4 feet around the lift.
Remove tripping hazards and make sure the area has bright lighting.
Inspect the bike for loose tank bags, mirrors, and luggage.
If the manual or the lift calls for it, lower tire pressure first.
Prepare the workspace, not the lift, before you begin.
Take a minute to double-check everything is ready.
Secure the Motorcycle on the Lift
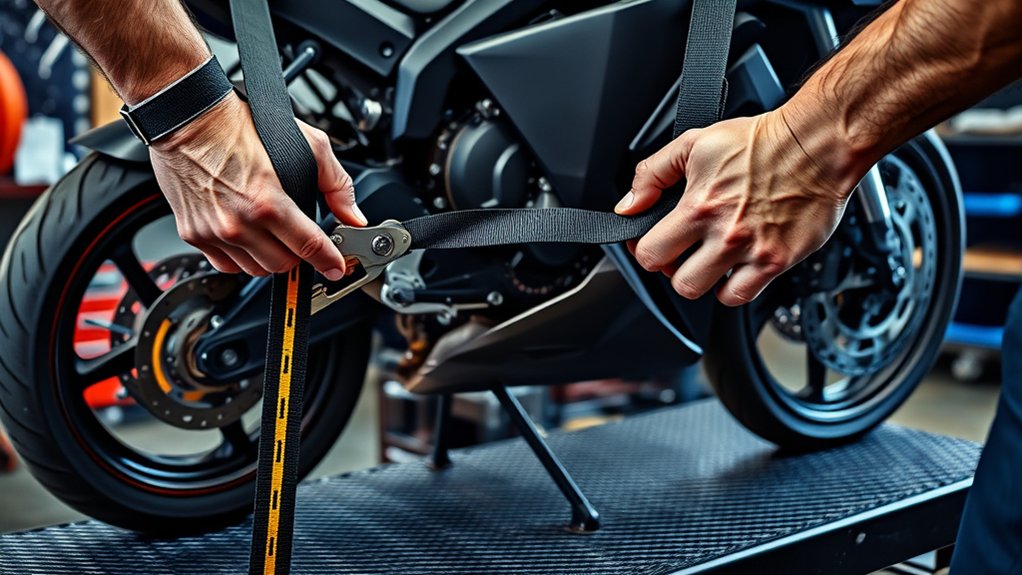
Position the lift on a flat, solid surface, then wheel the motorcycle into the chock or vice. Lock the front wheel in place first.
Next, attach two high-strength ratchet straps from the handlebars to opposite lift anchors. After that, add rear support at the swingarm or subframe tie-down points.
Now tighten everything evenly, so the bike stays stable. Before you raise the lift, double-check that the motorcycle sits upright, the handlebars are straight, and there’s no lateral play.
Strap Down Firmly
Lock the motorcycle down with heavy-duty ratchet straps rated at least 1,500–3,000 lbs WLL. Attach them to solid frame points or passenger footpeg mounts instead of soft plastics or tank mounts.
Cross the straps in an X from the front and rear of the lift to opposite sides of the handlebars or frame. This limits side-to-side movement and helps balance the load.
Tighten them gradually while the bike’s on its wheels. Then lift a few inches and recheck, because settling can create slack.
Seat the front wheel in the vice or chock. Add a secondary safety strap from the triple tree or handlebar as backup restraint.
Keep straps clear of hot exhaust and sharp edges. Make sure total WLL exceeds the wet weight plus a 20% margin.
Check Wheel Alignment
Center the motorcycle on the lift so its center of gravity lines up with the platform’s center.
Visually check both wheels have equal clearance on each side before you tighten anything.
Then lock the front wheel in the vice or chock so it can’t move laterally.
Measure from each rim to the lift edge.
Sight along the axle; it should stay parallel.
Tighten ratchet straps from solid frame points at 45° angles.
Make sure both straps are equally tensioned so the motorcycle stays vertical and snug.
Push the bike fore, aft, and side to side.
If it shifts, reset the chock and recheck alignment before lifting.
When nothing moves, you’ve secured it correctly.
Then you can raise the platform with confidence.
Raise the Lift to Working Height
Once the motorcycle is centered on the lift, secure the front wheel in the built-in vice. Then place at least two high-strength tie-down straps.
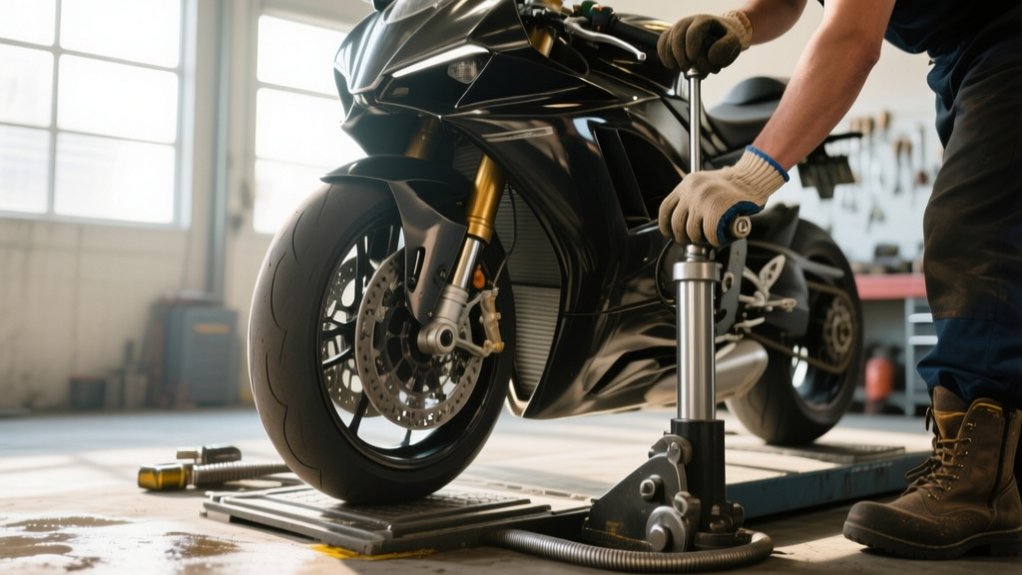
Pump the foot pedal or operate the hydraulic lever in steady, short strokes. Raise the platform to a comfortable working height, typically 30–40 inches for bench-level work.
Keep your eyes on the lifting arm and platform as they rise. Stop at the height you need, then insert the safety locking bar or engage the mechanical lock so the lift can’t descend under load.
Before you start working, verify the lift rating exceeds the bike’s wet weight. Then give the motorcycle a gentle shake and recheck the straps, front vice, and lock seating.
Lower the Motorcycle Safely
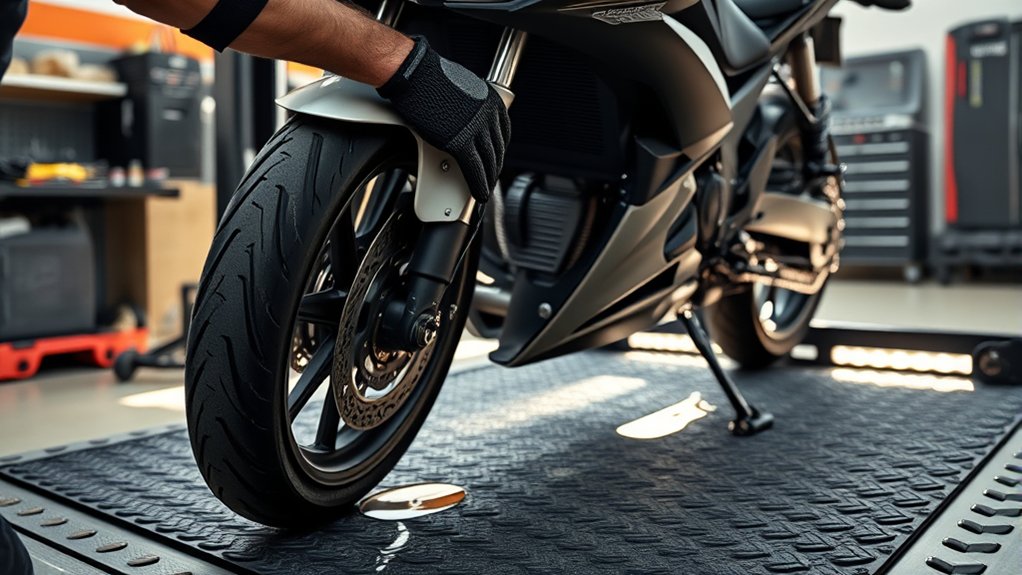
Before you lower the bike, clear the area under and around the platform. Remove the straps, wheel chocks, and locking bar, and check that nothing will catch as the lift comes down. Keep one hand on the handlebars or a solid frame point. Then press the release pedal or valve slowly so the platform drops under control, not all at once.
Lower at a steady rate.
Watch the wheels contact the ground.
Stop when the bike carries its own weight.
Check pins, spools, or stand seating before removing support.
If you’re taking a bike off a stand, pull the stand up while steadying the motorcycle until it clears the pins. Then set it on its wheels. Reengage the locking bar in the lowered position before you move the lift away.
Avoid These Motorcycle Lift Mistakes
You should start by placing the motorcycle lift on a flat, stable surface, and then align it correctly under the bike before you raise anything.
Also, don’t skip the safety straps or the lift’s anchor points—if the bike isn’t fully secured, it can shift or even tip.
Finally, make sure you stay within the lift’s rated wet weight capacity, because exceeding it can lead to collapse or serious damage.
Wrong Lift Placement
Wrong lift placement can crush components or destabilize the motorcycle.
Position the pads only on manufacturer-recommended frame rails, swingarm points, or other designated lift locations.
Do not place the pads under engine casings or the oil pan.
This helps protect the bike’s structure and prevents oil leaks.
1. Center the bike so its weight tracks over the lift’s midpoint.
2. Never use the kickstand, pegs, or handlebars as contact points.
3. Place the lift on a solid, level surface.
Soft or uneven ground can shift the load.
4. Match the lift rating to the motorcycle’s wet weight and accessories.
If the bike sits off-center, it can tip or shift during service.
Check pad placement before raising the platform.
Then verify the bike rests squarely on the lift before you continue.
Skipping Safety Straps
Never skip safety straps when the motorcycle is on a lift.
Use rated ratchet or cam buckle straps rated for at least the bike’s wet weight plus 25% to stop forward, backward, and lateral tipping.
Attach the front straps around the triple tree, fork tube, or frame.
Secure the rear at the swingarm or frame.
Cross-brace the straps so they resist rotation and keep the bike upright.
If you’re on a lift table, use at least two straps on the platform anchors and add a third for redundancy.
Don’t trust the wheel chock or vice alone.
They won’t stop all movement.
Inspect every strap for frays, cuts, worn stitching, broken hardware, or missing load labels.
Then snug them as you raise the bike and recheck tension after a minute.
Ignoring Weight Limits
Even a well-built motorcycle lift can fail if you ignore its weight limit. Always compare the lift’s rated capacity with your bike’s wet weight plus accessories before raising it.
Overload can crack the frame, damage hydraulics, or drop the bike without warning. Use the owner’s manual or a digital scale to verify wet weight. Don’t guess from dry specs.
- Check the lift rating against total load.
- Add fuel, oil, coolant, and accessories.
- Confirm the rating for the exact platform mode.
- Inspect pins, welds, and cylinders before use.
If your lift is only approximate, treat that number cautiously. Many pros choose a lift rated 20–30% above the bike’s wet weight.
When in doubt, step up to a higher-capacity table and keep the working load within spec.
Frequently Asked Questions
How Much Weight Can a Motorcycle Lift Safely Support?
A motorcycle lift usually safely supports 800 to 1,500 lb. Still, confirm your model’s rated capacity plate or manual.
Choose a lift that exceeds your bike’s wet weight. That means fuel, oil, luggage, and any accessories.
Add at least a 20–30% safety margin. Also, check any per-point load limits.
If you’re unsure, get a higher-capacity lift. Or ask the manufacturer for guidance.
Can I Use a Motorcycle Lift on Uneven Garage Floors?
Yes, you can use a motorcycle lift on slightly uneven garage floors, but only if the irregularity is under about 1/4 inch. Place the feet on the flattest spots, and use shims or rubber pads.
Then verify the lift sits solidly before loading the bike. If the floor varies more than 1/4–1/2 inch, don’t operate the lift.
Check the manual first, strap the bike securely, and test the stability before you ride.
Do Motorcycle Lifts Work With Cruisers and Sport Bikes Alike?
Yes, motorcycle lifts work with cruisers and sport bikes alike, and that’s no accident. You just match the lift to your bike.
You’ll need a capacity above the wet weight. You’ll also need the right platform, chock, and attachment points.
Cruisers often need wider support and ramps. Sport bikes usually fit front vices and narrower decks.
Always strap the bike down. Check clearance, and verify the wheelbase fits.
How Often Should a Motorcycle Lift Be Inspected for Damage?
You should inspect your motorcycle lift before every use for visible damage.
Then, perform a detailed monthly inspection.
Check the hydraulic fluid, release valves, safety locks, welds, pivots, and hardware.
Do an annual load test and inspect arms, pins, and casters for fatigue.
After any drop, overload, or sudden failure, inspect it immediately.
Remove it from service until you’ve repaired it and rechecked it.
Keep a dated log.
What Maintenance Does a Motorcycle Lift Need After Regular Use?
You should wipe down the platform and moving parts after each use. Use a mild degreaser and a dry cloth to remove grime and prevent corrosion.
Tighten fasteners, pins, and hardware monthly. Or tighten after every 10–20 uses.
Check hydraulic fluid every 3 months or after 50 cycles. Keep an eye on levels and condition.
Lubricate pivots, rollers, and bearings every 1–3 months. This helps the lift move smoothly and reduces wear.
Test locks, valves, and load components before each use. This ensures everything is working safely.
Schedule an annual professional inspection. It can catch small issues before they become big problems.
Conclusion
Like Odysseus steering past danger, you can lift your motorcycle safely if you stay methodical.
Choose the right lift, prep your workspace, and secure the bike.
Raise it only to the height you need.
When you’re done, lower it slowly.
Avoid rushed moves or unstable footing.
If you follow each step with care, you’ll protect your bike, your tools, and yourself.
Precision isn’t optional here.
It’s the difference between a clean lift and a costly mistake.