Where Is The Clutch On A Motorcycle – Best Places to Look
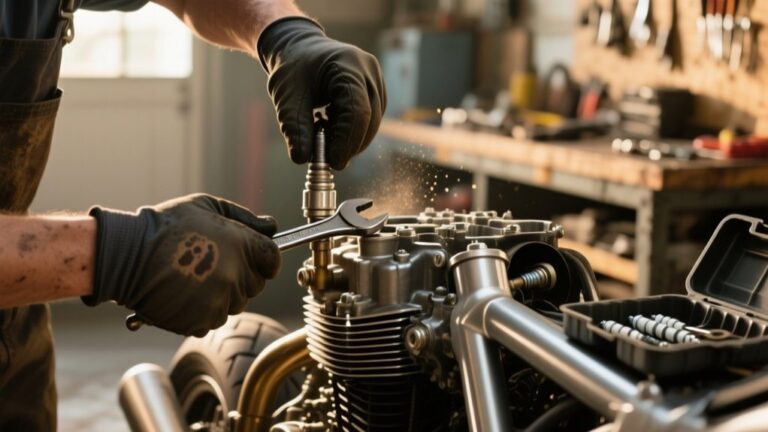
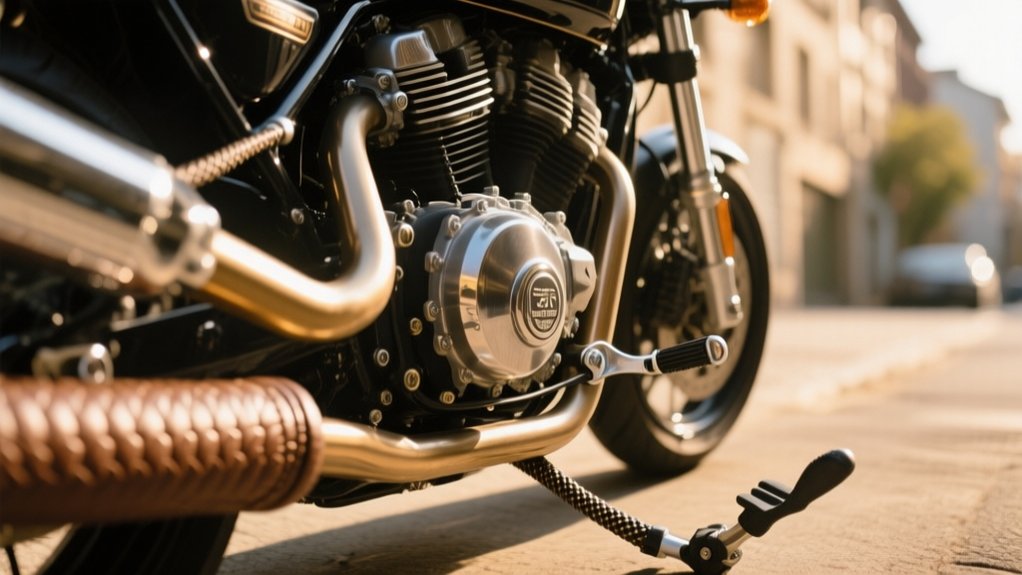
You’ll usually find the clutch on a motorcycle’s left side, behind the clutch cover.
The lever is on the left handlebar, and it engages the clutch through a cable or hydraulic line.
Follow the cable or hydraulic line down the left side of the steering head toward the engine.
On many bikes, that cover hides the clutch basket, plates, springs, and release parts.
If you notice slipping, hard shifting, or a burnt smell, inspect it more closely.
That’s when you should check what’s happening inside.
Where Is the Motorcycle Clutch?
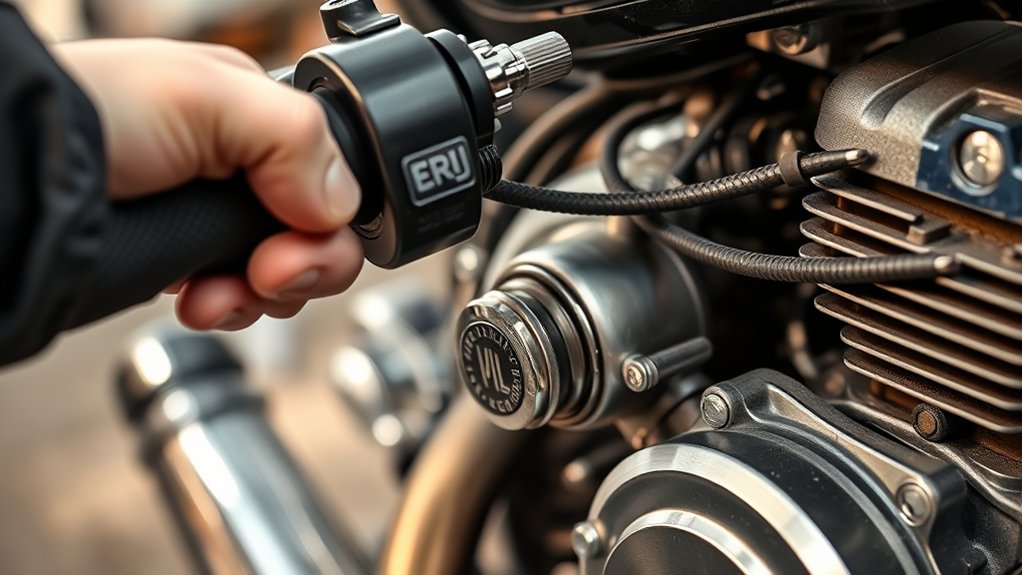
The clutch lever is on the left handlebar. That’s the control you squeeze to disengage the clutch while riding.
The clutch lever sits on the left handlebar, and you squeeze it to disengage the clutch while riding.
You’ll find the clutch assembly on the engine’s left side. It’s tucked inside the transmission housing behind a removable cover.
On most motorcycles, the cable or hydraulic line runs from the clutch lever to this assembly. If your bike uses a wet clutch, the clutch plates sit in engine oil inside the crankcase.
You’ll usually need to remove the cover. You may also need to drain oil first.
On dry-clutch models, the stack sits behind a perforated cover for quicker inspection. Inside, you’ll see alternating friction and steel plates held by spring bolts on the basket.
How the Clutch Lever Works
When you squeeze the clutch lever on the left handlebar, you either pull a cable or move a hydraulic piston. That action separates the clutch plates, so engine power disconnects from the transmission.
When you let go of the lever, the clutch springs pull the plates back together and clamp the friction and steel plates. Then torque transfers again to the gearbox and out to the rear wheel.
And that’s why free play matters: a correct free play setting helps the clutch stay fully engaged at rest. It also reduces the chances of slipping or misengagement.
Lever Pulls Clutch Apart
Pulling the clutch lever rotates a cable or pressurizes hydraulic fluid.
This moves the clutch release mechanism, separating the friction and steel plates.
On a cable-actuated system, your clutch lever draws the clutch cable through its adjuster and actuator arm.
That turns your hand pull into plate-separating motion.
On a hydraulic setup, squeezing the lever raises master-cylinder pressure.
Fluid then goes to a slave cylinder, pushing the pressure plate away from the clutch stack.
You’ll feel free play before the bite point, where disengagement starts.
Keep the lever travel within spec, since too much free play or too little movement usually means the adjustment’s off.
Use smooth input.
Also watch for any resistance that feels uneven or inconsistent.
Lever Release Reconnects Power
Release the lever. The clutch springs press the friction and steel plates together. This reconnects engine rotation to the transmission, sending power to the rear wheel.
You’ll feel it at the clutch lever as it moves from the friction zone into full engagement.
Small free play, usually 2–4 mm at the lever, keeps the plates from dragging. Too much free play delays bite. Too little can cause slipping.
| Lever condition | Meaning |
|---|---|
| Firm, smooth return | Normal engagement |
| Soft, spongy feel | Hydraulic or cable issue |
| Excess free play | Delayed plate contact |
| Slip under load | Worn clutch or misadjustment |
On cable systems, adjust the barrel or locknut. On hydraulic systems, check fluid and bleed the line.
Follow the Clutch Cable to the Engine
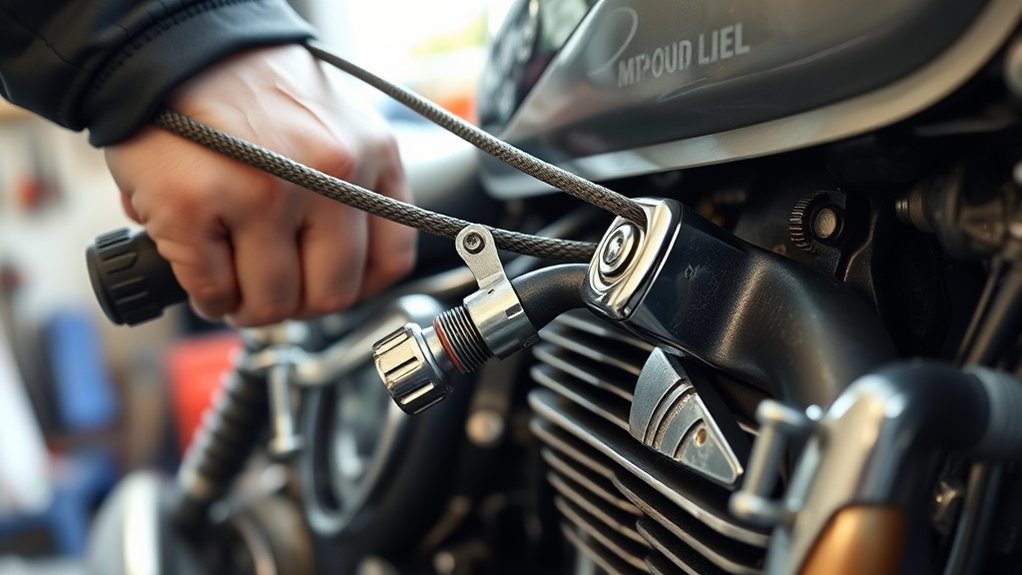
Start at the left handlebar clutch lever. Trace the cable or hydraulic hose down the left side of the steering head toward the engine, where it usually runs under the fuel tank.
Start at the left clutch lever, then trace the cable or hose down the steering head toward the engine.
On a cable system, follow the clutch cable sheath along the frame. Look for frame guides, a bracket, or a rubber grommet where the line enters the case, near the left crankcase.
On a hydraulic setup, trace the hose to the clutch slave cylinder beside that cover. At the engine end, the cable works a release arm or pushrod, while the hydraulic line feeds a slave cylinder or throw-out mechanism.
If you can’t see it, remove side panels or the left fairing. Always shut off the engine first.
Where the Clutch Assembly Sits
Once you’ve followed the cable or hydraulic line to the engine, you’ll find the clutch assembly on the left side of most motorcycles.
It sits behind the clutch cover bolted to the crankcase.
On many bikes, this cover hides the release mechanism and the assembly itself.
So you won’t see it without removing the case.
In wet-clutch systems, the clutch assembly sits inside the engine side cover and runs in oil.
This helps with cooling and smooth engagement.
On some modern machines, the clutch pack sits deeper in the gearbox housing.
It sits between the crankshaft and the transmission input shaft.
Some sport models use a dry clutch under a separate exposed cover.
This can make servicing quicker and allow better airflow.
What’s Inside the Clutch Cover
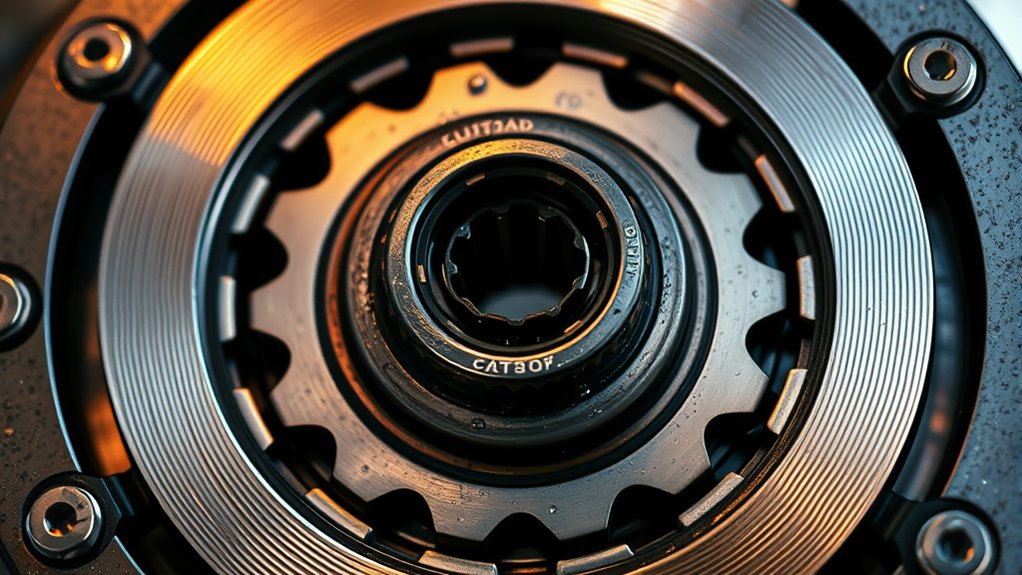
When you remove the clutch cover, you’ll see the clutch basket, hub, friction plates, steel plates, and the springs that make up the assembly.
The plates stack alternately on the hub and basket, so you can check their thickness and overall condition.
While you’re at it, look for any signs of warping or discoloration, since those can point to wear.
You’ll also find the spring caps, and on some bikes, the release mechanism that applies and then relieves clutch pressure.
Clutch Plates And Springs
Inside the clutch cover, you’ll find a stack of alternating friction plates and smooth steel plates. Wet clutches run this pack submerged in engine oil.
Your clutch plates transfer power when the clutch springs clamp them together. If the springs are weak, the engine can slip under load.
Check the friction plates for blackening, glazing, warped edges, and thickness below the service limit. Inspect the steel plates for heat discoloration or warpage.
- Measure every plate, not just the worst one.
- Replace clutch springs in sets, not one by one.
- Soak new friction plates in fresh engine oil for 30 minutes.
- Watch for scoring, which can signal deeper wear.
Basket And Cover Components
Remove the clutch cover and you’ll see the basket assembly. It holds the alternating friction and steel plates, plus the pressure plate and springs that clamp the pack together to transmit power to the transmission.
In most wet clutches, the clutch basket has an inner hub splined to the input shaft and an outer drive basket that the friction plates engage. Check the basket for notching, since grooves can snag the plates and disrupt smooth release.
Inspect the friction plates for glazing, discoloration, or wear. Verify the steel plates stay flat.
Also examine the pressure plate, springs, release mechanism, and the gasket surface inside the clutch cover. Look for leaks or damage.
Wet Clutch vs Dry Clutch
- Wet clutches suit street and touring use.
- Dry clutches favor racing and high-performance setups.
- Oil helps wet clutches last 30,000–60,000+ miles.
- Dry clutches trade longevity for reduced drag.
Signs of Clutch Wear
Whether your bike uses a wet or dry clutch, wear shows up in a few predictable ways. During acceleration or hill climbs, you may notice clutch slipping. The engine revs rise, but road speed doesn’t match.
Acceleration or hill climbs may reveal clutch slipping: revs rise, but road speed doesn’t keep up.
Shifting can also turn notchy, resistant, or noisy. This is especially true if worn friction plates or steel plates are dragging during engagement.
A burnt-toast smell after hard use usually means the clutch has overheated. It’s often losing grip.
You might also feel the clutch lever is released yet the bite point has moved. The lever may feel spongy, stiff, or inconsistent, which can reflect plate thinning or control-system issues.
If you can inspect the assembly, look for blackened, glazed, warped, or uneven plates. Also check for basket scoring to confirm material wear and guide replacement.
How to Check Clutch Free Play
To check clutch free play, start with the engine off and the bike stable.
Gently pull the lever until you first feel resistance.
That initial movement is the free play.
On many bikes it should be about 2–3 mm, or as your owner’s manual specifies.
Measure at the clutch lever tip with a ruler or caliper.
Or, you can count the fingertip gap.
- Confirm spec.
- Note lever travel.
- Adjust cable-actuated clutch.
- Recheck after tightening.
If you adjust a cable-actuated clutch, loosen the locknut.
Turn the barrel adjuster to increase or reduce free play.
Retighten the locknut and verify the free play again.
A hydraulic system should feel firm, not spongy.
If it doesn’t, inspect the fluid and bleed it.
Too much free play can hinder disengagement and make shifting harder.
How to Tell If the Bite Point Has Changed
You can tell the bite point has changed if the clutch starts to engage much closer to the handlebar than it used to—especially in first gear during a slow roll or when you’re doing a front-wheel lift.
If the engagement point moves farther out, or if the engine revs rise without the wheel speed increasing as expected, then it’s time to check for extra lever free play, cable stretch, or worn friction plates.
Also, if you notice a sudden change after heavy use, or you smell something burnt, don’t ignore it—those are good signs the clutch needs inspection.
Biting Point Shift
A changing bite point is one of the clearest clues that a motorcycle clutch needs attention. You feel the bite point where the plates start to engage and the bike begins to pull.
If it creeps closer to the bar, clutch wear or weak springs may be letting it slip.
If it moves farther out, clutch adjustment, cable stretch, or hydraulic air can be the cause.
- Test at idle in first gear.
- Note lever travel at engagement.
- Compare RPM rise with road speed.
- Repeat and track drift over time.
Use the manufacturer’s free-play spec as your baseline.
A steady shift in the friction zone, especially with burning smell or rough shifts, means you should inspect the clutch plates, springs, basket, and actuation system.
Lever Free Play
Lever point free play gives you a quick, measurable way to tell whether the bite point has changed.
Measure the small movement at the clutch lever before you feel resistance. Many bikes want about 2–3 mm at the tip, but check your manual.
When you pull the clutch lever, note where engagement starts on a warm engine in neutral.
If the bike begins to pull forward much closer to the bar, or that point varies from ride to ride, your setup is changing.
Keep a log of the bite point, such as one-third of lever travel, so you can spot drift early.
If cable or hydraulic adjustment won’t restore normal free play, inspect the clutch plates, springs, and basket, because the release system may be compensating for wear.
Wear Warning Signs
When the clutch bite point shifts noticeably, it’s a useful wear warning. More free play than usual often means worn friction plates or a stretched cable.
If the bite point is higher than normal, especially with rising revs and little speed increase, the clutch is likely slipping. Track changes in the clutch bite point after each ride.
- Measure lever free play.
- Note if engagement moves late.
- Watch for inconsistent, catchy pickup.
- Recheck after adjustment or plate replacement.
If the bite point creeps upward from session to session, you may be dealing with glazing or spring fatigue, so inspect early. If engagement jumps or feels notchy, warped plates, contamination, or basket wear may be involved.
After service, the bite point should return to the factory range. If it doesn’t, deeper clutch damage is likely.
When to Remove the Clutch Cover
Remove the clutch cover when you notice clear signs of clutch trouble. These include a persistent burnt odor, clutch slip, hard shifting, grinding during engagement, or a sudden change in bite point or free play that won’t improve with normal adjustment.
If you see clutch slipping, noise, or suspect basket damage, remove the clutch cover and inspect the pack.
| Trigger | Action | Check |
|---|---|---|
| Burnt smell | Remove cover | Plates |
| Hard shifting | Inspect | Springs |
| Wear interval | Service | Basket |
On wet-clutch bikes, drain oil first. Replace worn friction and steel plates or springs, then fit a new gasket.
Soak new plates in fresh oil for about 30 minutes before reassembly. When symptoms persist, don’t delay, since internal wear can worsen quickly and lead to more expensive damage.
Frequently Asked Questions
Can a Motorcycle Clutch Be Adjusted at the Handlebar?
Yes, you can often adjust your motorcycle clutch at the handlebar if it uses a cable.
You’ll usually find a threaded barrel adjuster near the lever.
Turn it to set proper free play, then tighten the locknut.
Aim for about 2–3 mm at the lever tip, unless your manual says otherwise.
If your bike has a hydraulic clutch, you can’t adjust it this way.
You’ll need system service instead.
Do All Motorcycles Use a Cable-Operated Clutch?
No, you won’t find a cable-operated clutch on every motorcycle. Many modern bikes use hydraulic clutches with a master cylinder, fluid reservoir, and hydraulic line.
These provide smoother action and self-adjustment. You’ll still see cable clutches on smaller, older, and many commuter bikes.
They’re simpler, cheaper, and easier to service. Check the left handlebar for the difference.
If it’s cable actuation, you’ll see a cable. If there’s a reservoir, it’s usually hydraulic.
Is the Clutch on the Right Side of Any Motorcycle?
Usually, no. The clutch isn’t on the right side of a motorcycle.
You’ll normally find the clutch lever on the left handlebar, with the clutch pack inside the left engine cover.
If you see a right-side lever, you’re likely looking at a custom, race, or very old design.
Treat right-side clutch controls as unusual and check for aftermarket modifications before assuming the bike is standard.
Can You Ride With a Slipping Clutch Temporarily?
Yes, you can ride with a slipping clutch briefly, but only to reach home or a shop.
If it slips, you’ll notice higher RPMs with little speed gain, weaker acceleration, and maybe a burning smell.
Don’t push hard, climb hills, or sit in traffic.
Ride gently in a higher gear and keep the revs low.
If you can, check the clutch free play.
Then get the clutch inspected and repaired as soon as possible.
Does Clutch Location Vary Between Manual and Automatic Bikes?
Yes, clutch location does vary between manual and automatic bikes.
On a manual motorcycle, the clutch pack is usually inside the left engine or crankcase cover, with the lever on the handlebar controlling it.
On a scooter or CVT automatic, you typically won’t have a hand-operated clutch.
Instead, the centrifugal clutch sits in the transmission or primary drive housing.
Check your service manual to confirm the exact layout.
Conclusion
So, if you’re still hunting for the clutch on your motorcycle, start at the lever. Trace the cable or hydraulic line next, and then follow it to the engine case.
That tiny system can feel like a hidden fortress, but once you know the route, it’s surprisingly straightforward. Check free play, watch the bite point, and inspect the cover if something feels off.
Catching wear early can save you from a mechanical disaster that’s bigger than it needs to be.