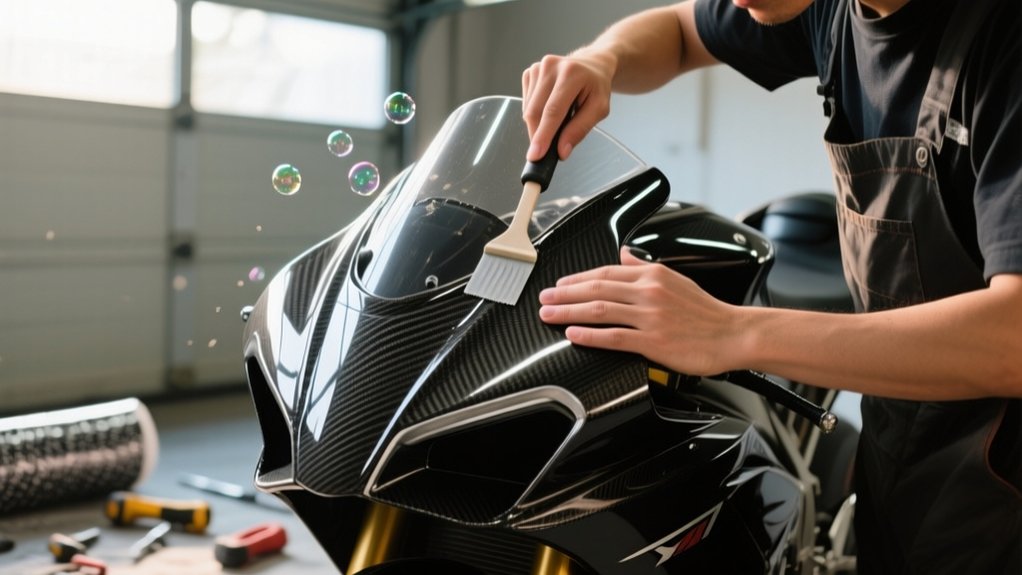
Can You Wrap A Motorcycle – What Really Happens
Yes, you can wrap a motorcycle. What really happens is a careful prep-and-fit process.
You clean every panel with isopropyl alcohol, remove fairings and other parts for access, and work in a dust-free, warm space. Then you apply cast vinyl for the best flexibility.
You tack the center, squeegee outward, and use heat to stretch the film over curves. A proper wrap protects paint, trims cleanly, and can last years.
If you want the full process and pitfalls, plan for extra time and patience.
How Motorcycle Wrapping Works
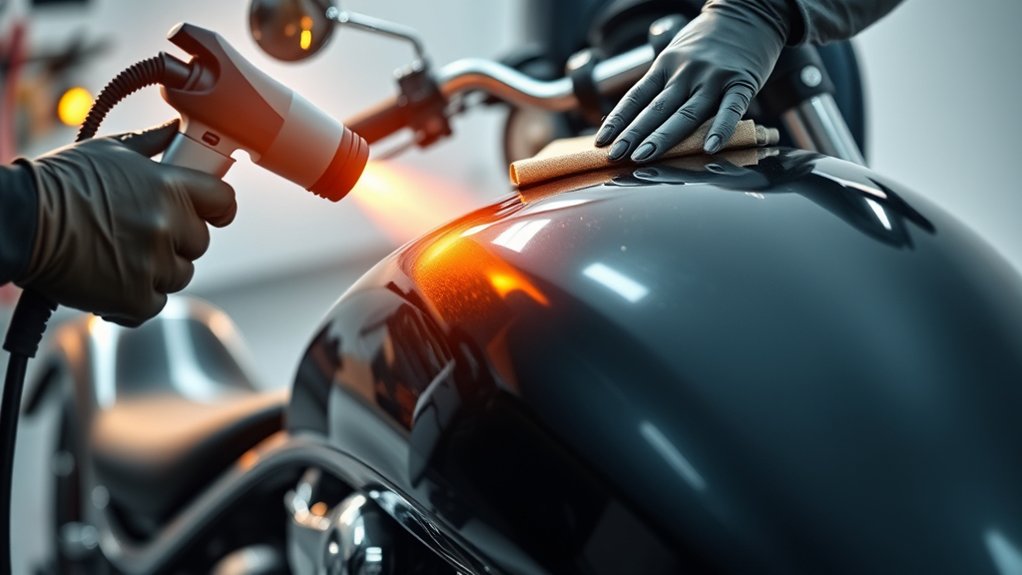
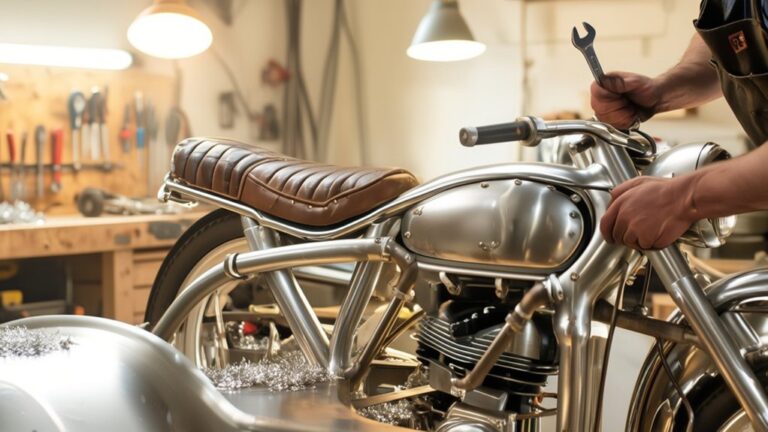
Wrapping a motorcycle starts with meticulous prep. You clean and degrease every surface with isopropyl alcohol, then often remove panels like fairings, mirrors, and seats.
Next, you apply the vinyl in a dust-free, temperature-controlled space. Aim for about 15–26°C (60–80°F) so the material lays down correctly.
Prep is critical, because a proper wrap depends on clean adhesion. You position oversized cast vinyl, peel the liner gradually, and use a felt squeegee to push air from the center to the edge.
A heat gun helps you stretch and conform the film over complex curves. It also helps prevent distortion while you work.
In a professional installation, you trim or tuck edges. Then you post-heat to reset memory and activate the adhesive.
Done correctly, the wrap lasts 5–7 years.
Why Choose a Motorcycle Wrap Over Paint
You’ll usually spend far less on a motorcycle wrap than on a full paint job, and you can pick either DIY materials or professional installation depending on your budget.
Plus, a wrap helps protect your original paint from UV fading, chips, scratches, and everyday road grime. And when you’re ready for a change, you can remove it later without damaging the bike.
On top of that, wraps give you way more finish options than paint. For example, you can switch from matte to chrome, go with a carbon-fiber look, or add custom graphics—without making a permanent commitment.
Cost And Savings
A motorcycle wrap is usually cheaper than a custom paint job. This is especially true when you factor in labor and future flexibility.
With vinyl wrapping, you can choose a professional full motorcycle wrap for about $1,500–$3,500. Or, you can cut costs with DIY wrapping, using roughly $200–$600 for high-quality vinyl and tools.
If you only need tanks, fairings, or side panels covered, partial wraps often run $300–$1,000 professionally. They still deliver strong cost savings, too.
You also avoid the long shop time and repaint expense that custom paint demands. Since wraps aren’t permanent, you can update graphics later without starting over.
That makes wraps a practical budget choice when you want controlled spending, exact color management, and a finish that fits your bike and your timeline.
Protects Original Paint
A quality motorcycle wrap does more than change the look of your bike. It helps shield the factory finish from UV fading, minor chips, road grime, and light abrasion.
With vinyl wrapping, you add a protective layer that protects original paint without permanently altering it. The film takes the abuse first, so small scratches affect the wrap, not the tank or fairings.
If damage occurs, you can replace panels instead of repainting. Proper surface prep matters, too—clean the surfaces with isopropyl alcohol, and fix dents or rust before install so the adhesive bonds correctly.
When you’re ready to sell, the wrap comes off removable without damaging the clearcoat. That helps preserve resale value and lets you return the bike to stock condition.
Flexible Style Choices
When it comes to style flexibility, vinyl wraps give you far more options than paint.
You can choose matte, satin, gloss, metallic, chrome, carbon-fibre, or neon/iridescent finishes.
You can also mix them with custom design options, printed graphics, and textured panels.
High-quality cast films from brands like 3M, Avery Dennison, and ORAFOL conform to motorcycle fairings and other bike contours without cracking.
Because the wrap is removable, you can change colors or revert to stock without permanent alteration.
That makes updates practical, especially when you want a partial tank or fairing wrap instead of a full repaint.
You also avoid multi-stage masking and clearcoats, while still getting precise gradients or photographic detail.
Vinyl wraps give you controlled, repeatable results and protect resale value too.
How Much Vinyl You Need for a Motorcycle Wrap
You’ll typically need about 5 ft × 10–15 ft of vinyl for a full motorcycle wrap.
If you’re working with a smaller naked bike, you can usually plan for the lower end (around 10 ft).
For larger touring bikes, especially ones with fairings or saddlebags, you’ll often need closer to 15 ft.
If you’re only wrapping part of the bike—like just the tank—you can generally budget around 3 m × 1.5 m so you have enough overlap and extra material for mistakes.
And don’t forget to buy 10–20% extra.
That buffer helps cover trimming waste, complex curves, and finishes that can be trickier to apply, like metallic or textured films.
Vinyl Amount By Bike Size
Figuring out vinyl by bike size starts with the bike’s panel count and shape, not just its overall length. For a typical motorcycle wrap, you’ll usually need about 5ft x 10–15ft of vinyl.
The amount depends on what you’re wrapping. If you ride a naked or smaller bike, you’re often closer to the 10 ft end.
A fully-faired or touring setup with saddlebags usually pushes you toward 15 ft. For a single Sportster or DYNA-style tank and a few panels, 3 metres by 1.5 metres usually works.
Always add 10–20% extra for edge wraps, tight curves, and trimming mistakes. If you’re doing two-tone or patterned work, budget separate vinyl for each color.
Typical Yardage For Wraps
Most motorcycles need about 5 ft × 10–15 ft of vinyl for a full wrap. Smaller naked bikes usually land near 10 ft, while full-fairing or touring bikes come closer to 15 ft.
When you’re planning a vinyl wrap, estimate how much you need by measuring each panel and adding waste. Use 5 ft × 10–15 ft as your baseline, then add 10–20% extra for curves, seams, trimming, and pattern alignment.
For tanks or partial jobs, 10 ft often works well. Larger fairings, saddlebags, and screens may push you toward the upper end.
Choose cast automotive-grade vinyl and buy one continuous roll width. Also leave room for post-heat shrink and edge tucking so the wrap finishes cleanly and stays durable.
Choose the Right Vinyl, Finish, and Brand
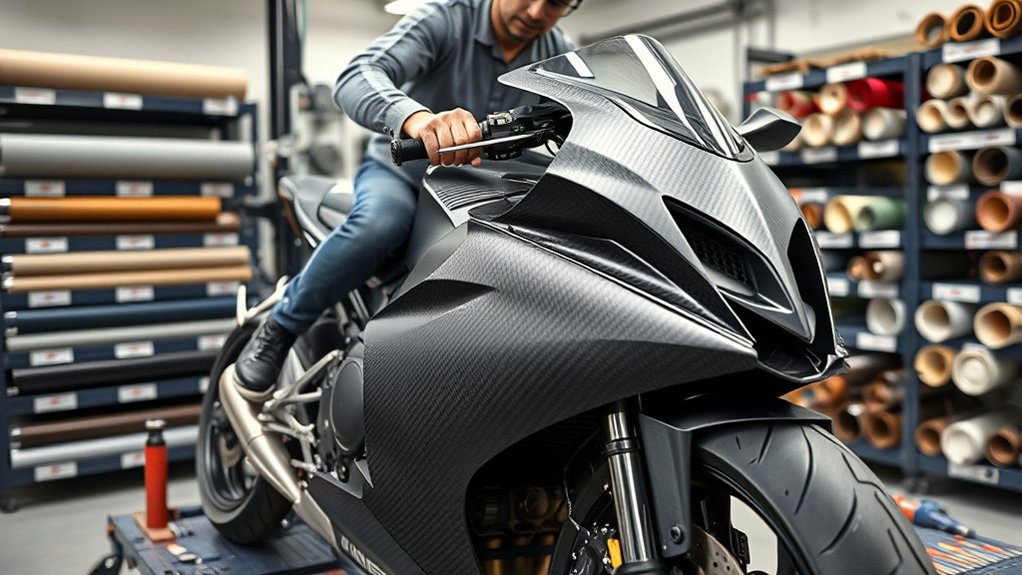
Start with high-quality cast vinyl from a reputable brand like 3M, Avery Dennison, or ORAFOL. Cast vinyl stretches cleanly over tight motorcycle curves and typically lasts 5–7 years.
Choose high-quality cast vinyl from trusted brands—it stretches smoothly over curves and can last 5–7 years.
For vinyl wrapping, choose quality vinyl that matches your build and riding conditions. Use cast vinyl with an air-release film so you can reposition panels and reduce bubbles on tanks and fairings.
Pick the finish (matte or gloss) based on the look you want. Matte helps mask small flaws, while gloss usually cleans easier and gives sharper color.
Other options include satin, metallic, chrome, or carbon fiber textures. Compare vinyl brands for adhesive performance, warranty coverage, and how well they conform.
Order enough material for full or partial coverage. Keep 10–20% extra for seams, errors, and trim work.
Prep Your Bike for a Motorcycle Wrap
Before you lay down vinyl, thoroughly clean every panel with isopropyl alcohol and lint-free microfiber cloths. This helps prevent wax, oil, and road grime from compromising adhesion.
To prep your bike for vinyl wrapping, work in a temperature-controlled, dust-free space, ideally 60–80°F. That way, the adhesive behaves consistently.
Remove fairings, mirrors, seats, and the windscreen if you can. Flat access makes it easier to wrap edges cleanly and avoid trapped seams.
Inspect panels for dents, deep scratches, and rust. The film won’t hide damage.
Measure each section, then cut with a 1/4- to 1/2-inch margin. Keep your tools, including a heat gun, squeegee, sharp blades, knifeless tape, and masking materials, within reach before you start.
Apply Vinyl to Tanks and Fairings
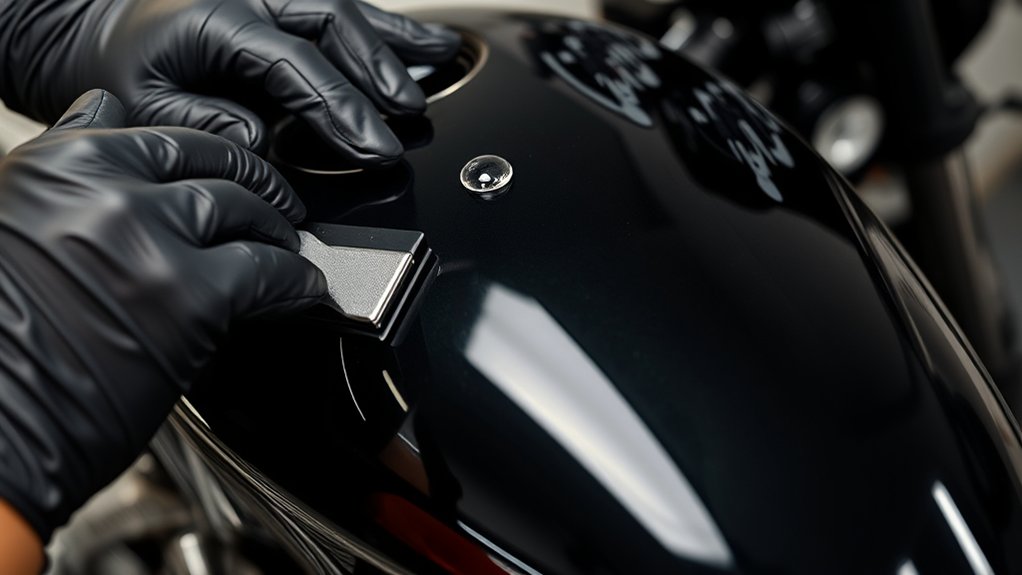
With the tank and fairings cleaned and prepped, position each vinyl panel with 1–2 cm of extra material around the edges. Keep the backing on until you’re ready to tack the center.
With the tank and fairings cleaned and prepped, leave extra vinyl at the edges and tack the center first.
When you apply vinyl to tanks, work from the middle out with a squeegee. Keep tension even to preserve adhesion.
Use isopropyl alcohol only before placement. Never apply alcohol to exposed adhesive.
For tight tank shoulders and fairings, warm the film with a heat gun to about 80–90°C. Then make controlled passes and reheat as needed.
Keep the vinyl moving so it doesn’t overstretch or wrinkle. Trim excess with a fresh blade, leave a small lip, and fold it into seams.
Post-heat the edge to lock the wrap.
Handle Curves, Bubbles, and Trimming
To wrap complex curves cleanly, heat the cast vinyl to about 80–100°C (176–212°F). Use a push–pull motion so the film softens and stretches without tearing or lifting.
During vinyl wrapping, keep the heat gun moving. Squeegee from the center outward in overlapping passes to push out bubbles.
Work small sections so the film stays controllable on curves. If a pocket won’t sit flat, reheat it, then smooth it again.
- Leave 6–8 mm of excess to trim edges and tuck cleanly.
- Use knifeless tape or a fresh blade for precise, paint-safe cuts.
- Make relief cuts on tight 3D shapes, then post-heat briefly to reset the vinyl.
Care for Your Motorcycle Wrap Afterward
Keep your motorcycle wrap clean and protected by washing it weekly, or anytime it’s visibly dirty, with mild soap, water, and a soft microfiber cloth. Clean wrapped surfaces gently, then dry them fully to prevent spots and edge lift.
| Task | Best practice |
|---|---|
| Washing | Use mild soap and water only |
| Pressure cleaning | Avoid pressure washers; keep spray 12–18 inches away |
| Sun exposure | Park in shade and apply UV-protectant spray every 3–6 months |
| Damage control | Re-seat repaired edges with a heat gun on low after alcohol prep |
Skip abrasive chemicals, brushes, and compounds. For stubborn grime, use a vinyl-safe cleaner, rinse well, and dry with microfiber.
Inspect seams often. If lifting returns, get a pro involved before moisture gets under the vinyl.
Frequently Asked Questions
How Long Does a Motorcycle Wrap Usually Last?
A motorcycle wrap usually lasts 5–7 years if you use quality cast vinyl and keep it installed and maintained properly.
If you choose cheaper calendared film, you’ll usually get 2–4 years, especially in high-UV or high-wear areas.
Sun, salt, and aggressive washing can shorten that lifespan fast.
You’ll extend it with careful prep, professional installation, post-heat treatment, and gentle cleaning with UV protection.
Can a Wrap Damage Custom Motorcycle Parts?
Yes, a wrap can damage your custom motorcycle parts if you prep or install it badly.
You’ll avoid trouble with quality cast vinyl, but dirt, wax, rust, or weak paint can trap contaminants and lift finishes.
Too much heat can warp plastics or clear coats, and rough trimming can scratch parts.
If you leave the wrap too long, hardened adhesive can pull fragile custom paint when you remove it.
Is Motorcycle Wrap Legal in Every State?
Yes—motorcycle wrap is legal in every state, and you’ve got a 50-state baseline to work from. You must keep plates, VINs, lights, and reflective markings fully visible and unchanged.
Some states require DMV color updates after a full wrap. Municipalities may also regulate advertising graphics.
If you cross state lines, carry your registration and proof of any notified color change. This helps avoid inspection issues or fines.
Can You Wrap Chrome or Matte Bike Surfaces?
Yes, you can wrap chrome or matte bike surfaces, but you’ll need different prep.
On chrome, use a primer, dechroming film, or a satin/gloss underlayer since standard vinyl won’t bond well long term.
On matte, clean off wax or sealant first, then apply with low heat and light squeegee pressure.
This helps you avoid shiny spots, and expect extra trimming, edge sealing, and post-heating.
Will a Motorcycle Wrap Affect Insurance Coverage?
Yes, a motorcycle wrap can affect your insurance coverage, but usually only if you don’t disclose it.
You should treat the wrap as an aftermarket cosmetic modification and tell your insurer right away.
If you hide it, you could face denied claims or cancellation.
If you report it, your policy may still cover damage.
You might need an endorsement and possibly pay a higher premium for full protection.
Conclusion
So yes, you can wrap your motorcycle. And here’s the irony: the biggest change can look effortless.
But what seems like a simple cosmetic layer really depends on careful prep, precise measurements, clean application, and patient finishing.
If you rush, the wrap will show every flaw. If you do it right, it protects your bike and transforms it fast.
Treat vinyl like a tool, not a shortcut. Then you’ll get a sharp, durable result that paint can’t always match.