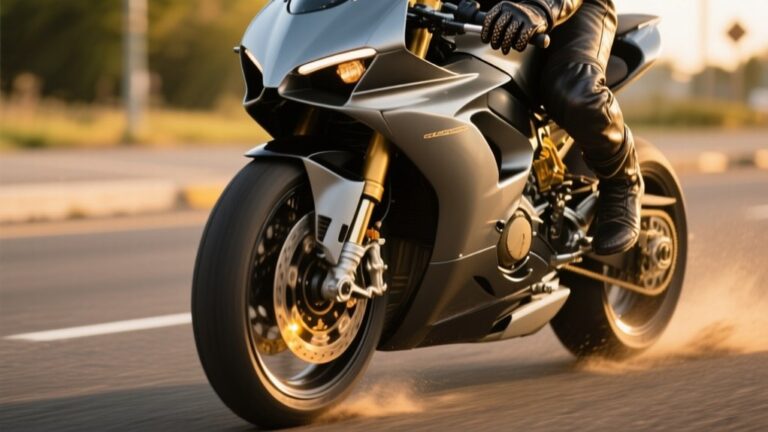
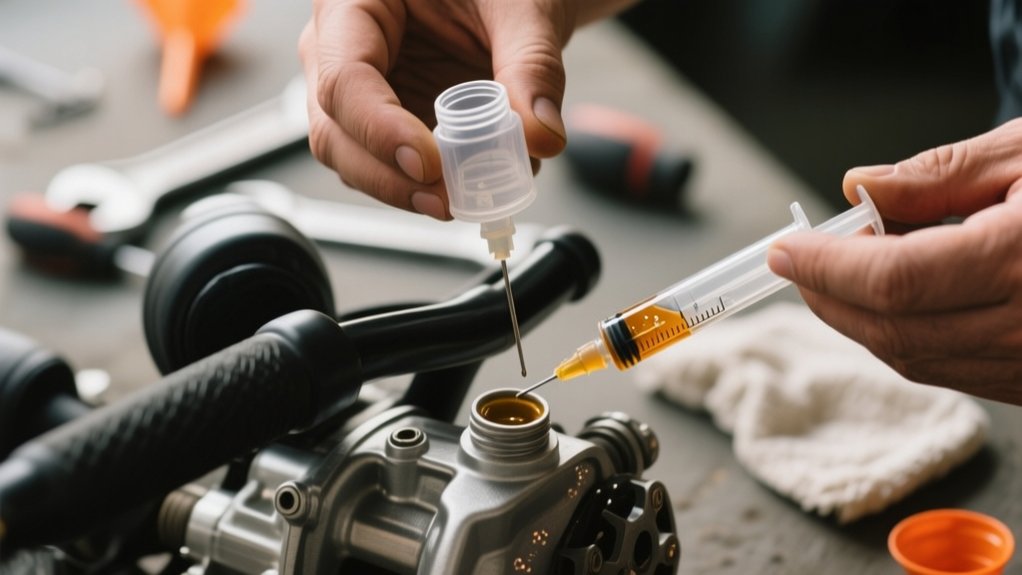
How To Change Motorcycle Brake Fluid – Simple Steps
Use the DOT fluid your owner’s manual or reservoir cap specifies. Then protect paint with towels and gloves.
Park the bike level, remove the cap, and siphon out old fluid without exposing the system to air. Starting with the caliper farthest from the master cylinder, bleed through a clear hose.
Keep the reservoir topped up as you work. Stop when clean, bubble-free fluid flows, then tighten everything.
Check lever or pedal firmness afterward. There’s more to get it perfect.
Why Fresh Motorcycle Brake Fluid Matters
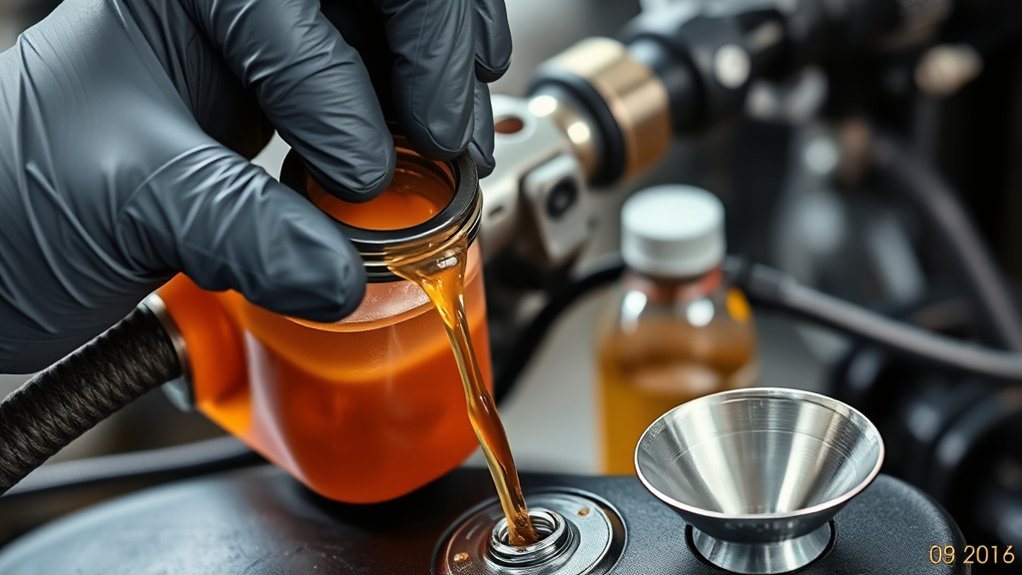
Fresh motorcycle brake fluid matters because brake fluid doesn’t stay stable forever. It absorbs moisture from the air, and that water can cut boiling performance sharply.
When motorcycle brake fluid absorbs enough water, heat from hard braking can turn that moisture into vapor. Vapor compresses, so you get a spongy lever and lose hydraulic efficiency. You also need more distance to stop.
Fresh, dry DOT-spec fluid keeps boiling points high and pressure transfer consistent. That means your brakes respond predictably.
Most manufacturers and experts say to replace it every 6–12 months, or closer to 6 if you ride often or live in humid, coastal conditions. Once you open a bottle, it starts absorbing moisture fast. So use small containers and discard leftovers after about three months.
Choose the Right Motorcycle Brake Fluid
You should check your owner’s manual or the reservoir cap to confirm the exact DOT rating your bike needs—most often that’s DOT 4 or DOT 5.1.
Also, don’t mix silicone DOT 5 with glycol-based fluids like DOT 3, DOT 4, or DOT 5.1.
If your bike has ABS, use only the specific fluid type the manufacturer calls for, and be sure to follow the recommended service interval.
Check DOT Specification
The reservoir cap or your owner’s manual tells the whole story:
Use only the DOT brake fluid rating the manufacturer specifies, usually DOT 3, DOT 4, or DOT 5.1.
That’s the correct fluid for your system, and you shouldn’t substitute by guesswork.
DOT 3 and DOT 4 are glycol-based and can mix.
DOT 5 silicone can’t be blended with them, and it must never go into a glycol system.
DOT 5.1 is also glycol-based, with higher boiling points and greater moisture absorption.
It’s chosen only when the manual allows it.
Use unopened small bottles for one bike.
Opened fluid absorbs moisture fast, so check carefully.
Check the DOT number exactly before you pour.
Reject any bottle that doesn’t match the required spec.
Match Bike Requirements
Match your bike’s brake fluid to the exact DOT rating in the owner’s manual or on the reservoir cap. DOT 3, DOT 4, and DOT 5.1 are glycol-based and compatible with one another.
DOT 5 silicone isn’t compatible and must never go into a glycol system. Use the specified fluid for the master cylinder, and on ABS bikes follow the manufacturer’s limits exactly.
If your bike allows DOT 5.1, you can choose it for a higher dry boiling point and better heat resistance. Keep in mind it absorbs moisture faster, so plan on changing it more often.
Buy a small, unopened bottle and use it within three months of opening. A full flush usually needs only one bottle, so this is an easy way to keep fluid fresh.
Pick fresher fluid, not just the highest label number.
Gather Tools and Protect Painted Surfaces
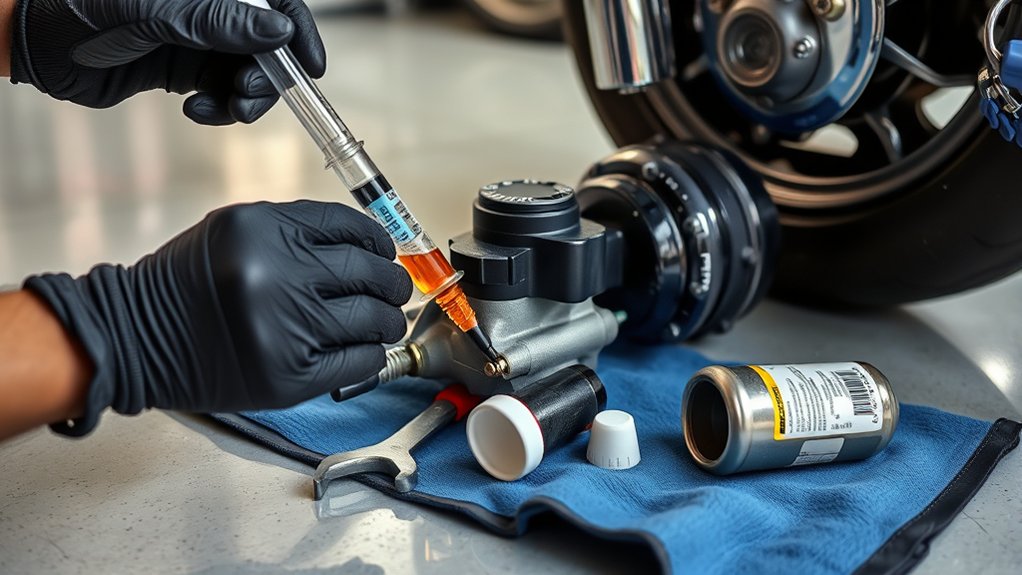
Before you crack a bleeder, gather the right DOT-spec brake fluid from your owner’s manual. Use DOT 3, 4, or 5.1 as required, and buy a small sealed bottle.
Opened fluid shouldn’t sit for more than about three months. Set out a brake bleeder vacuum pump, clear hose, and a sturdy catch container.
This lets you draw old fluid cleanly. Have an 8mm spanner, and keep 9mm or 10mm handy if your bleeder nipples need it.
Use a Phillips screwdriver for the reservoir cap and diaphragm. Also have paper towels and nitrile gloves.
To protect paint and plastic, wrap a towel around the reservoir. Cover the tank and headstock, since brake fluid damages finishes fast.
Keep extra new fluid nearby so you can top up continuously. This helps you avoid pulling air into the system.
Open the Reservoir and Remove Old Fluid
Park the bike upright on stands.
Then remove the reservoir cap and diaphragm slowly using a Phillips screwdriver, and set them aside carefully and cleanly.
Next, wrap a towel around the reservoir to catch any drips.
Siphon or vacuum out the old fluid until the level drops below the master-cylinder outlet.
Just make sure it doesn’t go below the drain port, and keep an eye on the fluid color as you go so you can spot any signs of contamination.
Reservoir Cap Removal
Set the bike upright on level stands.
Clean the area around the master-cylinder cap, and lay a towel beneath it to protect the paint.
Remove the reservoir cap by backing out the Phillips screws.
Lift off the diaphragm carefully.
Use a clean turkey-baster or suction tool to remove the reservoir fluid.
Take it out until it’s nearly empty, but leave a small amount so you don’t pull air into the outlet port.
Pour the old fluid into a clear container.
Check its color; dark amber or brown means it has degraded and needs a full flush.
Wipe the reservoir interior and cap mating surfaces with a lint-free cloth.
Use brake cleaner only if contamination is present, and keep it off paint and pads.
Siphon Old Fluid
With the bike upright and level on its stands, crack open the master-cylinder reservoir. Remove the cap and diaphragm with a Phillips screwdriver. Keep a towel wrapped around the reservoir to catch any drips and protect the paint.
Use a turkey baster, suction syringe, or vacuum bleeder to remove the old fluid. Continue until only clean, amber-free fluid remains. Keep the level below the cap but above the outlet.
As you siphon, top up immediately with fresh, correct-spec DOT fluid. Don’t let the reservoir drop below the master-cylinder inlet and pull in air.
Pour the removed fluid into a sealed container and discard it. Don’t reuse it.
Wipe any spills at once, then reseat the diaphragm and cap loosely. Bleed the calipers next.
Bleed the Farthest Caliper First
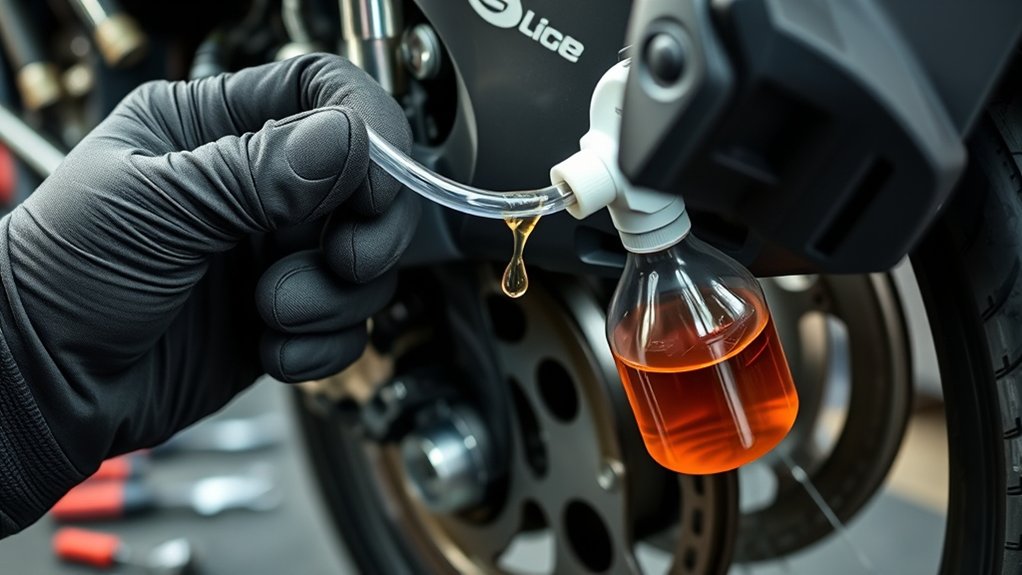
Start at the caliper farthest from the master cylinder.
That way, you can push trapped air back toward the reservoir as you flush the system.
To bleed the farthest caliper first, slip a clear hose over the bleeder nipple.
Route the hose to a catch bottle or vacuum pump.
Crack the bleeder about half a turn with the correct 8 mm wrench.
Then draw fluid by pumping the lever or applying vacuum.
Watch the hose until the fluid runs clear.
Make sure it matches the new brake fluid’s light color.
Tighten the bleeder before you release pressure.
Then move to the next caliper closer to the master cylinder.
This order usually shortens bleed time.
It also reduces the chance of trapping air in the lines while you work through the system.
Keep the Reservoir Topped Up
Keep the reservoir topped up throughout the bleed.
Make sure the fluid level stays above the internal drain port so air can’t get drawn into the system.
You should also ensure the master cylinder never falls below the diaphragm.
Add the specified DOT fluid from your owner’s manual as soon as the level drops.
Use a towel around the reservoir.
Use a small funnel or syringe to avoid spills that can etch paint or contaminate pads and discs.
If you’re flushing multiple circuits, keep topping up between bleed cycles.
This helps ensure you pull fresh fluid every time.
Don’t let the reservoir run low.
Low fluid invites moisture and air into the system.
When you finish, fill it to the upper mark.
Reseat the diaphragm, then tighten the cap securely.
Bleed the Other Caliper and Rear Brake
Now, move to the other front caliper and repeat the bleed process. You’ll usually need a little less fluid and fewer pump cycles this time.
Next, keep an eye on the master cylinder reservoir and keep it topped off while you bleed the rear brake from the caliper farthest from the reservoir. Use the correct bleeder wrench, and continue until the fluid runs clear and bubble-free.
Finally, torque the bleeders to spec, clean up any spills, and check that the lever and pedal feel firm before you ride.
Other Caliper Bleeding
Then bleed the other front caliper.
Repeat the same vacuum-bleed or crack-and-pump sequence you used on the far side.
Because most of the old fluid is already out, you’ll usually need less fluid to get clean, clear flow.
Keep the master cylinder topped up so the level never drops below the port.
Tighten the bleeder before you release the brake lever each cycle.
| Step | Action | Check |
|---|---|---|
| 1 | Open bleeder | Fluid flows |
| 2 | Close bleeder | No air backflow |
| 3 | Repeat | Clear hose |
Watch the hose for bubbles.
Move on only when the stream turns solid and new.
If you’re servicing the rear circuit, find its reservoir and bleed the farthest caliper first.
Use the same method.
Afterward, fill both reservoirs.
Confirm firmness, then inspect for leaks.
Rear Brake Bleeding
If you’re bleeding the rear brake, work on the caliper closest to the master cylinder next.
Attach the vacuum bleeder hose, crack the bleeder valve about half a turn with an 8 mm wrench, then open the vacuum to pull fluid through.
Keep the reservoir topped up so it never drops below the outlet.
Keep the bike level and use the DOT fluid specified in your owner’s manual.
With the vacuum pump running, repeat the bleed at the rear caliper until the fluid leaving the clear hose matches the fresh fluid color.
If you’re flushing the whole system, use a full small bottle.
Then tighten the nipple, wipe spills, and clean the caliper and pads with brake cleaner.
If the pedal feels spongy, re-bleed from the farthest caliper.
Final Firmness Check
With the first caliper bled, move to the other front caliper.
Repeat the vacuum- or pedal-bleeding process until clean, clear fluid runs out and the lever firms up.
This second caliper usually takes much less fluid than the first.
Then bleed the rear brake the same way.
Start at the caliper or slave cylinder farthest from the reservoir if it’s separate.
Keep topping up the reservoir so you don’t pull air into the circuit.
Finish with a firmness check.
Squeeze the front lever and press the rear pedal separately.
Each control should feel solid, not spongy, and shouldn’t sink under steady pressure.
If one does, re-bleed that circuit.
Tighten the bleeder while held, then release.
Tighten all valves to spec, refill reservoirs correctly, refit caps and diaphragms, and inspect for leaks before riding.
Stop When Clear Fluid Flows
Start at the caliper farthest from the master cylinder and keep bleeding until the fluid in the clear hose turns the same light amber or clear color as the new fluid, with no bubbles visible. You’re flushing out old, contaminated fluid, and you don’t want to draw air into the system by letting the reservoir drop too low.
Bleed from the caliper farthest from the master cylinder until the hose runs clear and bubble-free.
- Watch the hose closely and stop that caliper only when the flow stays clear and bubble-free.
- Top up the master cylinder often so the fluid level stays above the internal drain port.
- If you’re vacuum-bleeding, keep the valve open until clear fluid moves through, then close it before removing the hose.
When all calipers flow cleanly, refill the reservoir to the correct level and fit the cap and diaphragm securely.
Bleed Out Air If the Brakes Feel Spongy
Still feeling a spongy lever or pedal after the fluid change? Bleed the system to purge trapped air.
Start at the caliper farthest from the reservoir. Then move to the closest one.
Fit a clear hose to the bleeder valve. Hold or pump the lever, crack the valve, and tighten it before you release the lever.
Repeat the cycle: hold, open bleeder, tighten bleeder, then release.
Keep the master cylinder reservoir topped up above the drain port the whole time. This helps you avoid sucking in new air.
Continue until you see no bubbles in the outflow and the lever or pedal firms up.
If firmness still doesn’t return, verify every bleeder is tight. Then repeat the bleeding process.
ABS units may need manufacturer-specific purge steps.
Test Lever and Pedal Feel
Check the brake feel now by pulling the front lever and pressing the rear pedal.
Check the brake feel now by pulling the front lever and pressing the rear pedal.
You should feel a firm, non-compressible response, with lever travel limited to about 1–1.5 cm under steady hand force.
If either control feels soft or spongy, air is still in the brake system. Re-bleed starting at the caliper farthest from the reservoir.
If firmness varies, verify that every bleeder valve is tight. Also confirm the reservoir never dropped below the drain port during service.
On ABS models, persistent softness can mean air in the ABS unit. You may need manufacturer-specific pump cycling or dealer diagnostics.
Do a low-speed road check before normal riding. Do not ride until the brake feels solid.
Frequently Asked Questions
How Often Should Motorcycle Brake Fluid Be Replaced?
You should replace your motorcycle brake fluid at least every 12 months.
Replace it every 6 months if you ride often or in coastal or humid conditions.
You should also change it before each riding season.
Change it whenever it turns darker than light amber.
Always use the DOT rating on your cap or manual.
Don’t mix DOT 5 with glycol-based fluid.
Fresh fluid keeps your brakes reliable.
It also reduces boiling risk.
Can I Mix Different Brake Fluid Brands Safely?
Yes, you can usually mix different brake fluid brands if they share the same DOT spec.
You’re safe as long as you match the required rating.
Check the cap or your manual first.
Use the same DOT type, such as DOT 3, DOT 4, or DOT 5.1.
DOT 3, DOT 4, and DOT 5.1 can be mixed.
The mixture will take on the lowest boiling point of the fluids you use.
Do not mix DOT 5 with the others.
Also, don’t use old or already opened fluid.
What Should I Do if Brake Fluid Gets on Paint?
Wipe the brake fluid off immediately with a clean, lint-free rag. Then flush the area with plenty of water and mild detergent. Acting fast helps reduce the chance of etching.
If dulling or staining remains, test isopropyl alcohol on an inconspicuous spot. Gently dab the area with a microfiber cloth. For etched clearcoat or damaged paint, consult a professional detailer.
How Do I Know if My Brake Fluid Is Contaminated?
You can tell your brake fluid’s contaminated by checking color, age, feel, and test results.
If it’s dark brown or black, it’s likely degraded.
If it’s over 12 months old, or 6 months in harsh use, replace it.
Test for water content.
Near 3.7% means failure.
If the lever feels spongy, you see bubbles during bleeding, or you repeatedly need to remove air, it points to contamination.
In that case, do a full flush.
Can I Use a Vacuum Bleeder on ABS Brakes?
Yes, you can use a vacuum bleeder on many ABS brakes.
But you have to follow the service manual exactly.
Some ABS units need a scan tool or an ABS bleed mode.
That’s to cycle the pump and purge trapped air.
Keep the reservoir from going dry.
Use the correct DOT fluid.
Bleed one circuit at a time.
If the lever stays spongy, you’ll likely need ABS-specific purging or professional service.
Conclusion
By changing your motorcycle brake fluid on schedule, you keep lever and pedal response firm. You also maintain consistent braking performance.
If you’re worried the job looks complex, picture the fluid path as a simple line. Old, dark fluid out, fresh fluid in, and air bubbles gone.
That sequence protects the master cylinder, calipers, and hoses from moisture damage. Finish by checking for leaks and a solid feel.
Ride only when both controls feel firm and reliable.