
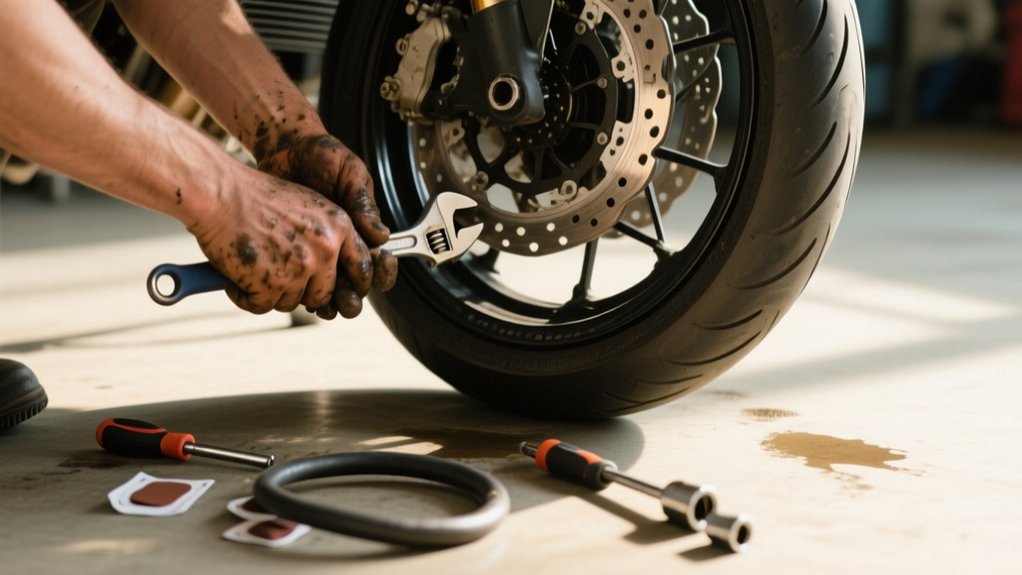
How To Change Motorcycle Tire – Beginner’s Guide
Gather two tire spoons, rim protectors, mounting lube, a valve-core tool, and a bead breaker before you start.
Remove the wheel, then fully deflate the tire.
Break both beads in short sections until they drop into the rim’s center.
Pry one side off at a time.
Mount the new tire with plenty of lube, and keep the bead in the drop center.
Inflate slowly, confirm both beads seat, and then balance and torque it correctly.
Gather the Right Tire-Changing Tools
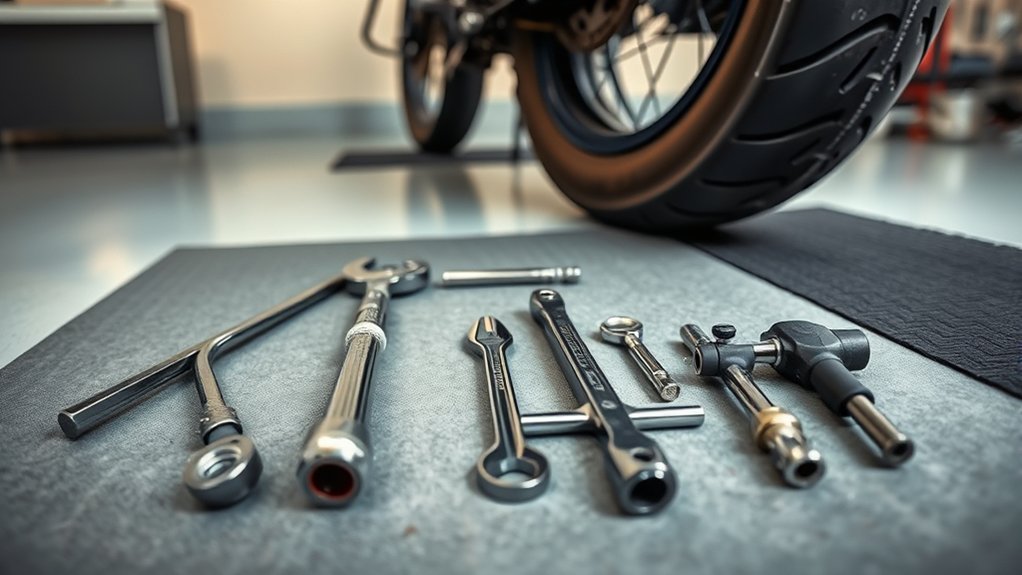
Before you start, gather the right tools.
Gather the right tools before you start; it makes tire removal and remounting safer and easier.
This helps you break the bead, remove the tire, and remount it without damaging the rim.
You’ll need at least two curved tire spoons.
Have several thin rim protectors on hand too.
Keep a fresh box cutter available for stubborn carcasses.
Use a dedicated bead breaker, like a bench vise, C-clamp, bead buster, or tire machine.
Avoid prying with levers to prevent rim damage.
Keep plenty of mounting lube ready.
Soapy water or a body-wash mix works well, and warming the tire helps.
Set up a stable workbench, tire changer, or floor-mounted stand.
Use blocks to support the wheel and protect rotors.
For finishing, have stick-on weights or Dynabeads for balancing.
Keep Scotch-Brite, lacquer thinner, and wax for rim cleanup and protection.
Remove the Wheel and Break the Bead
Take the wheel off the bike. Fully deflate the tire by removing the valve core so no trapped air is fighting you.
Set the wheel on a stable surface or axle stand. Block the rotor or sprocket to prevent damage.
Use a bead breaker, not brute force, to push the tire bead off the rim. Work in 10–12 inch sections.
Reposition as needed, and work both sides until each bead drops into the rim center.
- Use rim protectors on finished rims.
- Keep clamps or spoons off the finish.
- Check the bead’s position before each pry.
- Break small sections, not the whole circle.
- Cut a stubborn carcass only as a last resort.
Take Off the Old Tire
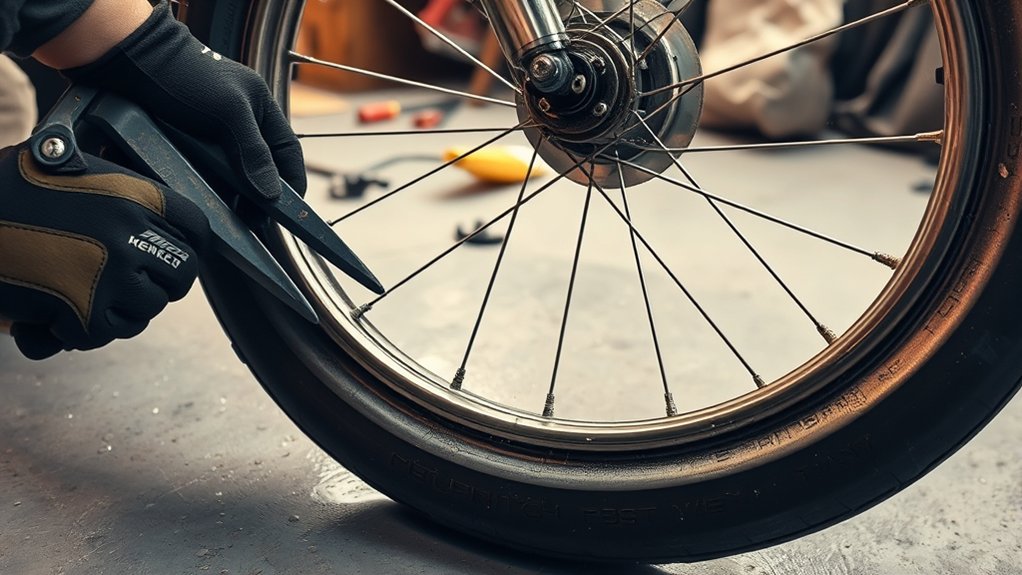
Once the bead is fully broken, slip the tire spoons under the bead, with rim protectors in place. Use plenty of lube or soapy water, then lever one side of the old tire over the rim edge.
Work in small, controlled sections, keeping the wheel supported on a stable stand or block. Rotate your leverage points as you go so you don’t distort the rim.
Use multiple tire spoons instead of brute force. Reapply mounting lube whenever the bead starts to grab.
Once one side is off, lift the carcass clear. Then work the second bead free the same way.
If the tire fights you, don’t pry harder. Inspect for missed bead sections, then cut the sidewall with a fresh blade and remove the carcass to expose the beads.
Mount the New Motorcycle Tire
Start by cleaning the rim’s bead seat completely. Old rubber, corrosion, or grit can keep the new tire from sealing properly.
Clean the rim bead seat thoroughly so old rubber, corrosion, or grit won’t prevent a proper seal.
For an old rim, clean it with lacquer thinner and Scotch-Brite. For a painted or powder coat finish, use car wax instead.
Warm the new tire, then coat both beads with mounting lube. Use rim protectors and proper tire spoons, and work one small section at a time.
Keep the bead in the drop center to gain slack before the last levered section.
- Protect painted edges
- Use steady pressure
- Avoid sharp tool contact
- Keep lubricant on both beads
- Finish the tire change carefully
Seat the Bead and Balance the Wheel
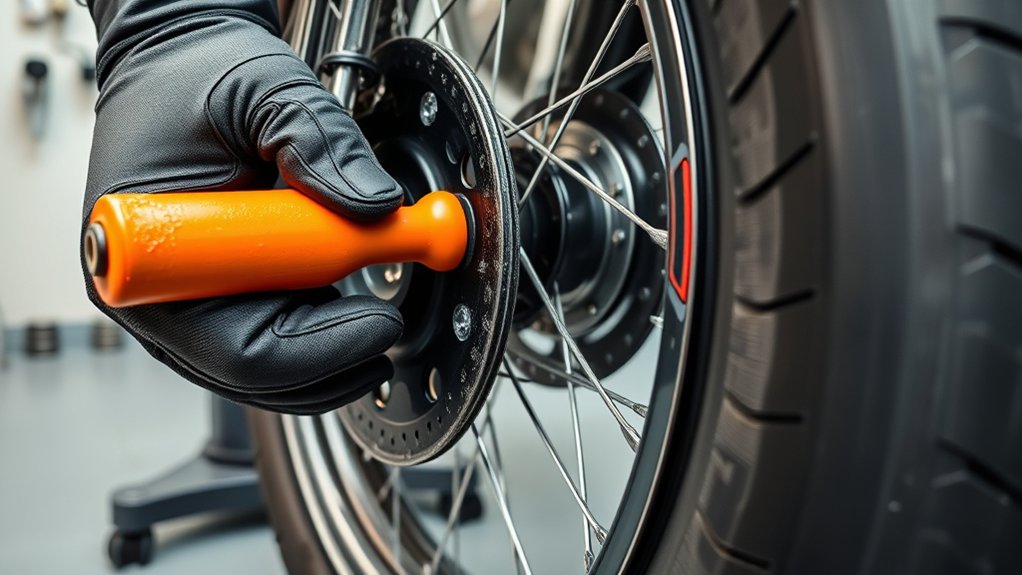
With the tire mounted, lubricate the bead area generously with soapy water or a body-wash mix.
Then push the bead into the rim’s drop center so it can climb onto the bead seat as you inflate it.
Inflate slowly to the pressure on the sidewall, starting low to confirm both bead edges seat evenly.
You should hear a clear pop on each side.
Watch for gaps, uneven bead height, or a rear tire sidewall that doesn’t line up.
Once seated, recheck the valve core and bring it to full pressure.
For balancing, spin the wheel on an axle stand and find the heavy spot.
Add stick-on weights opposite it until the wheel stays still.
For higher precision, use a dynamic balancer or ride-on beads.
Finally, check torque and leaks, then ride cautiously.
Frequently Asked Questions
How Often Should Motorcycle Tires Be Replaced?
You should replace your motorcycle tires every 5–7 years, even if tread looks fine, because rubber hardens and loses grip.
You should also swap them when tread reaches the legal minimum, usually 1.6 mm. On sport tires, replace sooner, at 0.8–1.6 mm.
Replace them immediately if you spot cuts, bulges, cords, or sidewall cracks.
If you feel vibration or poor steering, inspect the tires right away for internal damage.
Can I Change a Motorcycle Tire Without Special Tools?
Yes, you can, but you’ll need the right basics, not magic.
Think of it like fitting a stubborn boot over a wet foot.
You’ll want tire irons, rim protectors, mounting lube, and a bead breaker.
Those tools help you remove and reinstall the tire safely.
You can remove and reinstall many tires at home.
Stiff radials can fight back, though.
Use care to protect the rim, and balance the wheel before riding.
What Tire Size Is Compatible With My Motorcycle?
You’re compatible only with the tire size listed on your motorcycle’s placard or in your owner’s manual, such as 120/70-17 front and 180/55-17 rear.
Match the exact rim diameter and confirm the width fits the approved range.
Use the correct construction too. Choose tubeless for tubeless rims, and tube-type for spoked wheels.
Also meet or exceed the listed load and speed ratings.
If you use an alternate size, make sure it stays within the manufacturer’s diameter tolerance.
How Do I Know if My Wheel Needs Replacement?
You should replace the wheel if you notice cracks, bends, or hairline fractures anywhere on the rim, spoke bed, or hub.
Check runout with a dial indicator. If it’s more than 0.5–1.0 mm, the rim is likely warped.
Inspect the bead seat for corrosion or pitting.
Also look for elongated spoke holes, cracked welds, rough bearings, or hub damage.
If truing doesn’t stop the vibration, don’t reuse the wheel.
What Tire Pressure Should I Use After Installation?
Use the motorcycle maker’s cold tire pressure right after installation.
It’s usually 32–36 psi for street bikes.
If the tire maker gives a bead-seating pressure, inflate briefly to that higher value to seat the bead.
Then drop back immediately.
Check pressure when the tire’s cold, not hot from riding.
Recheck after a few miles and again after 24–48 hours, and add a couple psi if you’re carrying a passenger.
Conclusion
Changing a motorcycle tire is straightforward when you use the right tools.
Follow the sequence and work carefully.
You’ve probably heard that tire changes are mostly about strength.
But the real key is control.
Breaking the bead, protecting the rim, and seating the bead evenly matter far more than force.
If you inspect your work, you’ll catch issues early.
Torque the axle correctly and balance the wheel.
Then you’ll finish with a safer, smoother ride.
You’ll also get a tire that performs as intended.