
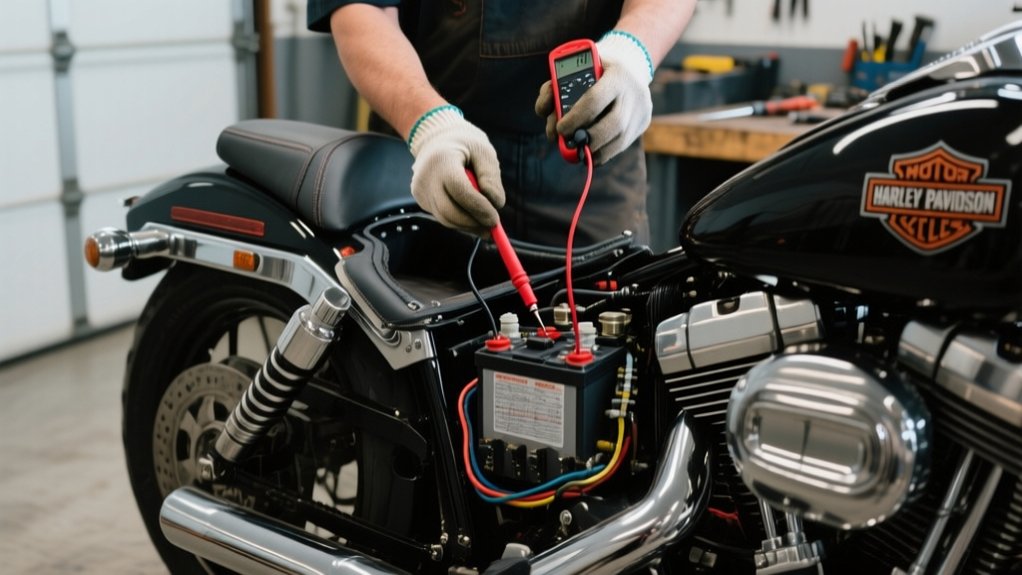
How To Test Harley Voltage Regulator – Full Tutorial
To test your Harley voltage regulator, start by fully charging the battery and verifying it reads between 12.5V and 13.2V. Next, measure voltage across the battery terminals at idle and at 2,500 to 3,000 RPM. It should range from 13.2V to 14.6V.
Inspect the wiring for damage or corrosion. Then run a diode test on the regulator and confirm proper grounding. These steps help pinpoint common regulator faults and guarantee accurate diagnostics before moving into detailed troubleshooting.
Signs Your Harley Voltage Regulator May Be Failing

If your Harley’s voltage regulator starts failing, you’ll likely notice the battery voltage rising above 15 volts. This risks overcharging and damaging the battery. You might also see inconsistent voltage readings, fluctuating below 13 volts or spiking above 14.6 volts during operation.
This irregular voltage can cause sluggish starting or dimming headlights. These are signs of poor power regulation. Pay attention to any burnt electronics smell or overheating regulator fins. These are clear signs of imminent failure.
Frequent fuse blowouts or blown bulbs also indicate the regulator isn’t controlling electrical flow properly. Monitoring these symptoms helps you catch voltage regulator issues early. That way, you protect your battery and electrical system from damage and keep your Harley running reliably.
Get Your Battery Ready for Testing
Before testing your Harley’s voltage regulator, make sure your battery is fully charged and in good condition. This helps guarantee accurate measurements. Use a reliable voltmeter to check the battery voltage on your Harley-Davidson motorcycle.
Ensure your Harley’s battery is fully charged before testing the voltage regulator for accurate results.
You want the reading to be between 12.5V and 13.2V DC. That range shows the battery is healthy and fully charged. Don’t forget to disconnect any accessories or electronics that might mess with your readings.
Also, take a moment to inspect and clean all battery terminals and connections. Make sure they’re tight and free from corrosion. If you’re unsure about the battery’s capacity or charge level, you can always get a load test done at a certified auto parts store.
Getting your battery ready like this helps make sure your voltage regulator test results are precise and reliable. It also helps prevent misdiagnosis or replacing parts you don’t really need.
Check Charging Voltage at the Battery

When you run your Harley’s engine, use a voltmeter to measure the voltage directly across the battery terminals to assess the charging system’s performance. Set your voltmeter to DC Volts and record the reading with the engine idling.
Then, rev the engine to about 2,500-3,000 RPM, watching if the voltage stabilizes between 13.2 and 14.6 volts. This range confirms the voltage regulator is functioning correctly and maintaining proper battery charge.
If the voltage stays below 13 volts, it means the charging system isn’t supplying enough power. That could suggest a faulty regulator or stator.
On the other hand, voltages above 15 volts signal the regulator may be overcharging, which risks battery damage.
Accurately measuring voltage at the battery terminals gives you a direct, reliable check of your Harley’s charging system health.
Inspect Harley Voltage Regulator and Stator Wiring
Measuring the charging voltage at the battery gives you a clear indication of overall system performance. But the wiring between the stator and voltage regulator can often be the source of issues. So, it’s important to inspect that carefully.
Measuring battery charging voltage reveals system health, but stator-to-regulator wiring often causes hidden issues.
To accurately inspect the Harley voltage regulator and stator wiring, follow these steps:
- Examine stator wires and the wiring harness for damage, corrosion, or melted insulation. Pay special attention near heat sources and connectors.
- Verify all connectors are firmly plugged in, clean, and free from corrosion or dirt. Also, check for broken or bent pins that might disrupt electrical flow.
- Cross-reference wiring color codes against the service manual. This helps guarantee correct connections between the stator and regulator.
This thorough inspection helps identify wiring faults that impact charging efficiency. It’s a good idea to catch these problems before moving on to further electrical tests.
Run a Diode Test and Confirm Regulator Grounding and Voltage Output
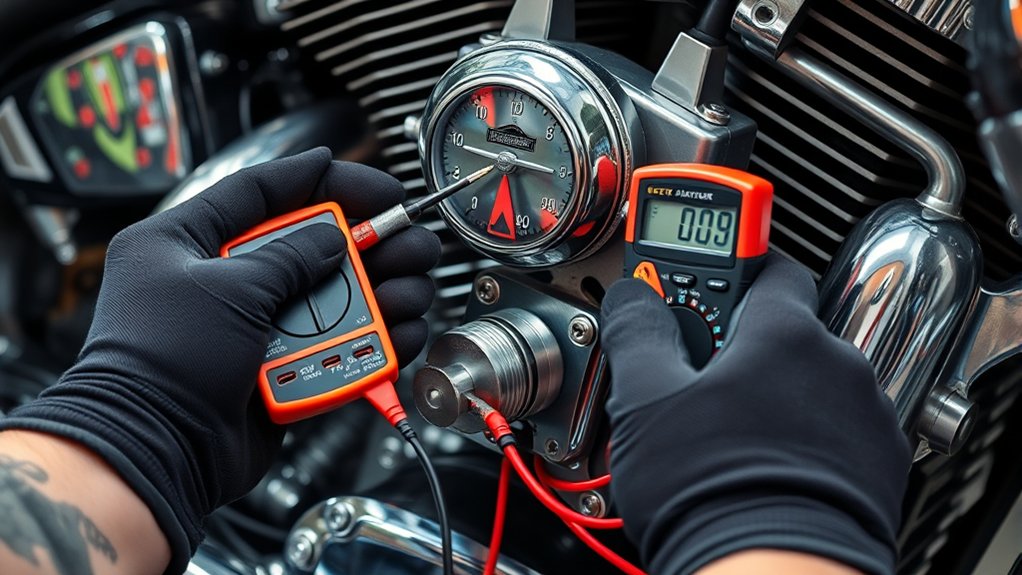
Although inspecting wiring is essential, running a diode test on your Harley voltage regulator provides a direct assessment of its internal components. Set your multimeter to diode mode and measure across the AC leads. You should expect about 0.5V forward and infinite reverse.
Next, verify the regulator’s grounding by checking continuity between its case and a good ground. Zero resistance confirms proper grounding.
Finally, measure voltage output by connecting the positive lead to AC output wires and the negative lead to the battery charge lead. A healthy regulator should output around 14.6V at idle. This ensures proper current flow and helps extend battery life.
Use the table below to interpret diode test results:
| Test Direction | Expected Reading | Interpretation |
|---|---|---|
| Forward | ~0.5V | Current flows normally |
| Reverse | Infinite | No current flow |
| Ground Check | 0Ω | Solid grounding |
Frequently asked questions
Can a Faulty Voltage Regulator Damage Other Electrical Components?
Yes, a faulty voltage regulator can damage other electrical components. When it fails, it can cause overvoltage, which fries sensitive parts like the ECU, sensors, and LEDs. You’ll also risk overheating your battery and wiring insulation, leading to premature failure.
Undercharging can cause misfires or erratic ignition. Voltage spikes can destroy rectifiers and downstream modules.
To protect your bike, you need to monitor and test your regulator regularly. It’s definitely worth keeping an eye on to avoid bigger problems down the road.
How Often Should I Replace My Harley Voltage Regulator?
You should replace your Harley voltage regulator every 30,000 to 50,000 miles, but don’t wait until it fails completely. Watch for signs like overvoltage above 15V or erratic charging. If you notice these issues, it’s time to take action.
If you replace your stator, swap the regulator at the same time to avoid electrical issues. Regular testing during maintenance helps catch problems early, so keep an eye on it.
Upgrading to a MOSFET regulator can boost reliability and extend service life. This upgrade gives you peace of mind on every ride.
Are Aftermarket Voltage Regulators Reliable for Harley Motorcycles?
Yes, aftermarket voltage regulators can be reliable for your Harley if you choose high-quality units specifically designed for Harley systems. You’ll want to prioritize reputable brands, especially MOSFET-based regulators. These offer better efficiency and heat management.
Proper installation and matching to your bike’s electrical specs are essential. Avoid cheap or incompatible options to prevent premature failure or damage.
When done right, aftermarket regulators can improve your bike’s electrical stability and longevity.
Can Extreme Weather Affect the Voltage Regulator’s Performance?
Yes, extreme weather can markedly affect your voltage regulator’s performance. High heat accelerates MOSFET degradation, while cold increases electrical resistance. Both of these can cause unstable voltage output.
Moisture and humidity promote corrosion or shorts, which compromises reliability. Rapid temperature shifts cause expansion and contraction, potentially loosening connections.
To keep your regulator working well, protect it from harsh conditions. Also, make sure to inspect it regularly for signs of wear or damage caused by weather extremes.
What Tools Do I Need Besides a Multimeter to Test the Regulator?
You’ll need a test light or a dedicated voltage regulator tester to quickly check output voltage.
An infrared thermometer helps you monitor the regulator’s temperature, making sure it’s not overheating.
A wiring diagram is essential to identify input and output wires accurately.
For advanced diagnostics, an oscilloscope lets you observe voltage waveforms.
Also, test harnesses or jumper wires allow you to isolate the regulator safely from the rest of the system during testing.
These tools make the whole process easier and safer.
Final Thought
Now that you know how to test your Harley voltage regulator, you’re armed to catch electrical issues before they snowball. Think of your voltage regulator as the heart of your bike’s charging system. It keeps the battery energized and the engine humming smoothly.
By following these steps precisely, you guarantee reliable performance and avoid unexpected breakdowns. Stay proactive, and your Harley will reward you with consistent power and longevity on every ride.