How To Set Up A Motorcycle Training Course – Quick Guide
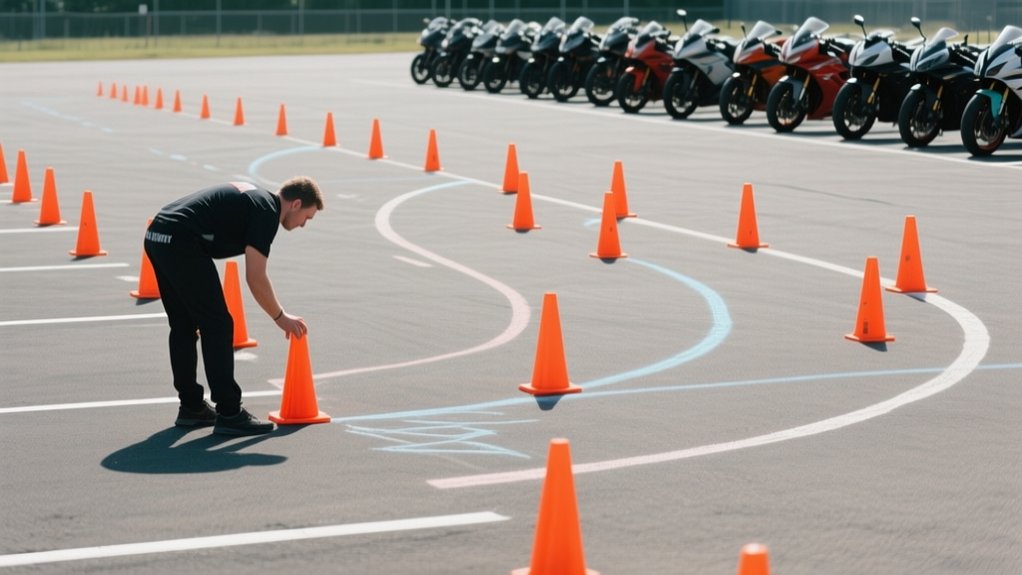
To set up a motorcycle training course, start by securing a spacious, traffic-free area with good visibility and emergency access. Equip riders with certified helmets, gloves, protective clothing, and boots. Lay out bright cones in clear, modular patterns for progressive drills focused on clutch control, braking, and turning.
Use videos and feedback sessions to enhance learning. Keep detailed progress records and design your course to easily expand with evolving rider skills. Exploring these steps will help you build a thorough, safe training environment.
Find the Right Location for Your Motorcycle Training Course
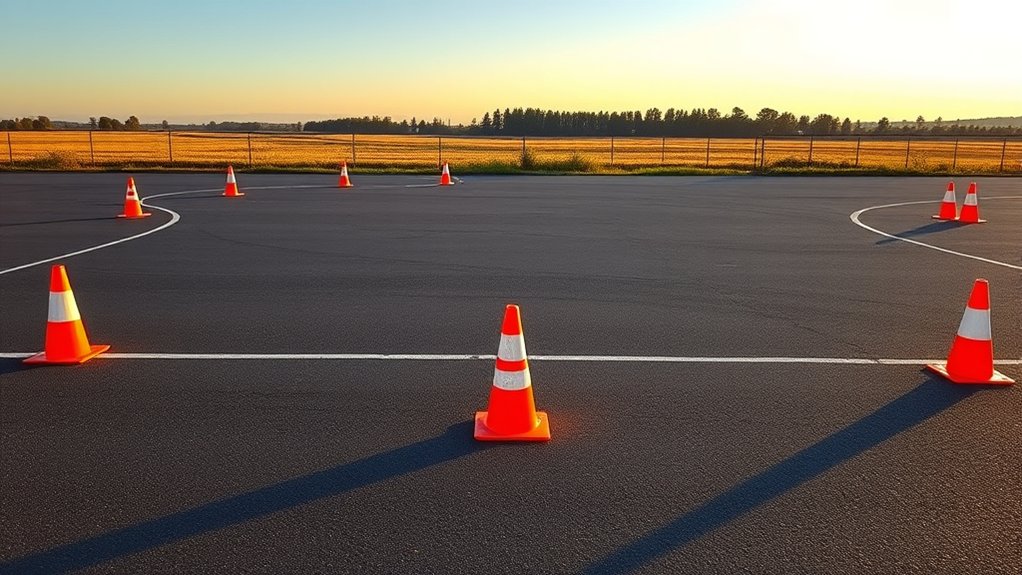
Before setting up your motorcycle training course, you need to find a large, flat, and traffic-free location that guarantees safety and allows for various exercises like turning, braking, and cone drills. Choose a training area with at least a quarter-acre of open space to accommodate these activities comfortably.
Make certain the site offers excellent visibility and minimal obstacles to maintain a controlled environment for your riders.
Don’t forget to secure all necessary permits from property owners or local authorities before proceeding.
Also, prioritize locations with easy emergency access and proximity to medical facilities in case of accidents.
Choose Safety Gear for Your Riders and Course Staff
You’ll want to make sure your riders and staff have the right protective gear. That means full-face helmets and reinforced clothing to keep everyone as safe as possible.
It’s important that all the equipment fits well and meets recognized safety standards.
Don’t forget to check everything regularly before each session. That way, you can keep the training environment secure and worry-free.
Essential Rider Protective Gear
How exactly do you guarantee every rider and staff member stays safe during your motorcycle training course? Start by requiring full-face helmets that meet DOT or ECE safety standards and fit snugly. Equip everyone with reinforced gloves and durable protective clothing, like long-sleeve shirts or jackets, sturdy pants, and over-the-ankle boots to ensure thorough coverage.
Before each session, conduct a pre-ride safety check using the SAFE-T protocol to confirm all protective gear is worn correctly and free of damage. Encourage riders to add armor gear, such as padded jackets and pants, for extra impact protection.
Always verify that helmets, gloves, and clothing comply with recognized safety standards and remain well maintained.
This approach guarantees your course prioritizes safety without compromise. It’s all about making sure everyone feels confident and protected every time they hit the road.
Staff Safety Equipment
Where should you start when choosing safety gear for both riders and course staff? Begin by selecting DOT or ECE-rated full-face helmets that fit snugly and secure properly with chin straps. Make certain everyone wears reinforced gloves, long-sleeve shirts or jackets, durable pants, and ankle-high boots to provide maximum protection during riding exercises.
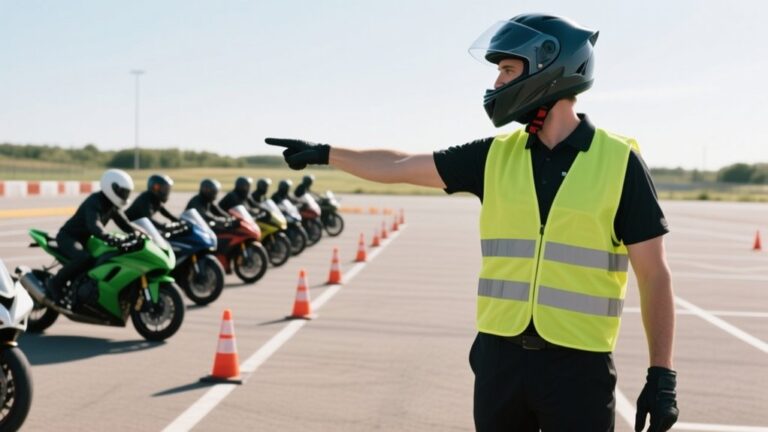
For course staff, add high-visibility vests or reflective clothing to enhance visibility on site. Before any riding begins, conduct a thorough safety check to confirm all protective equipment is in good condition, fits correctly, and is worn properly.
Emphasize full armor gear, protective jackets and pants, as the standard for safety. Prioritizing this safety gear setup creates a secure environment, helping everyone focus confidently on training without unnecessary risks.
Set up Your Training Area With Cones and Markings
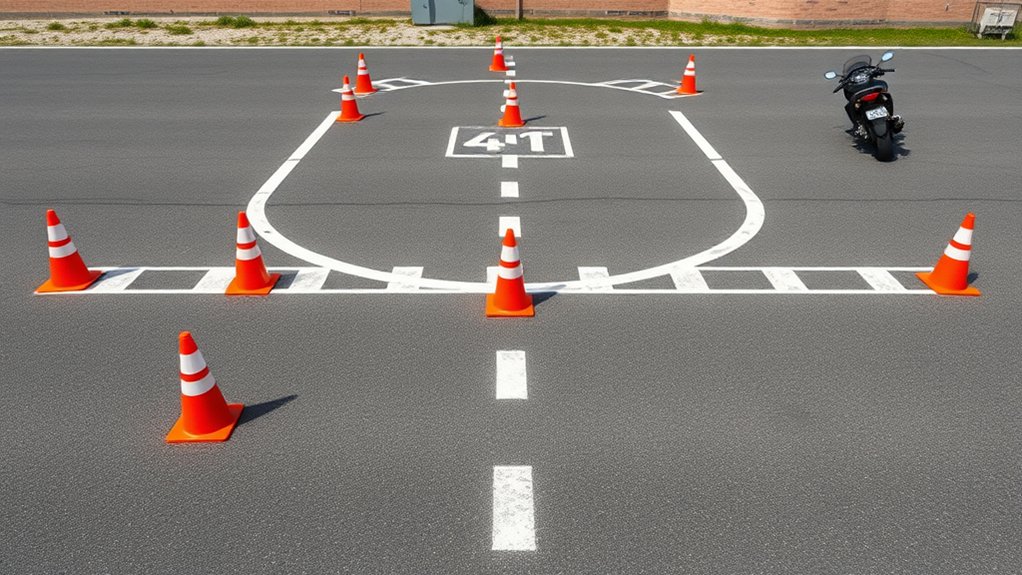
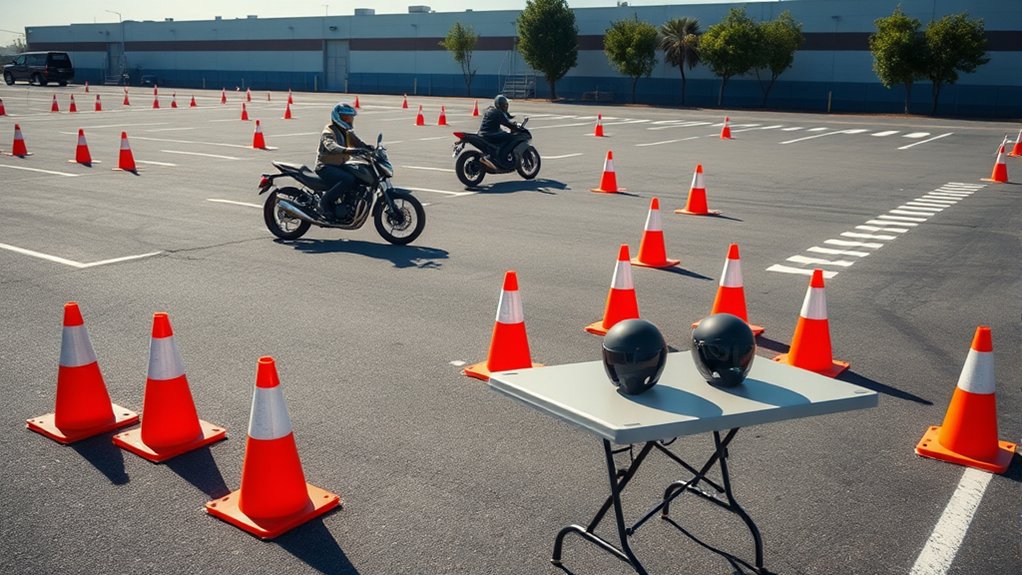
You’ll want to use brightly colored cones to clearly mark your course boundaries and skill zones. Place the cones carefully so your drills match your riders’ skill levels.
That way, each area is easy to spot and follow.
Also, make sure to mark the start and end points with visible tape or lines. This helps keep every session consistent and safe for everyone involved.
Cone Placement Techniques
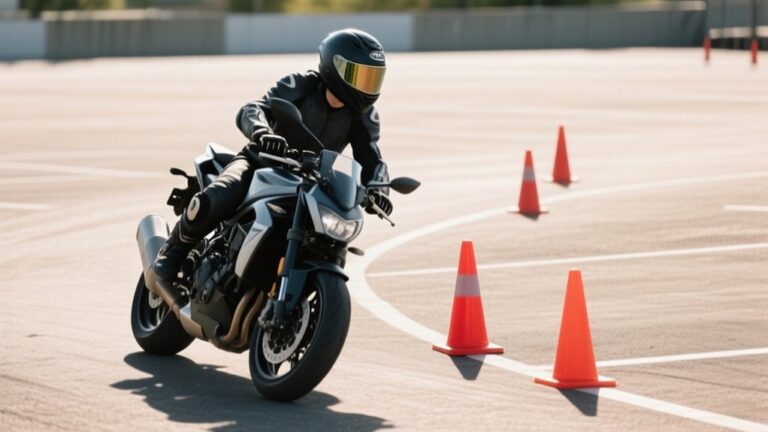
Although setting up cones might seem straightforward, precise placement is essential for effective motorcycle training. Start by spacing cones 3 to 5 feet apart for low-speed control practice exercises, adjusting distance based on skill level. Use brightly colored cones like orange or yellow to maximize visibility in all lighting conditions.
Arrange the cones in purposeful pattern designs such as straight lines, figure eights, or U-turn boxes to mimic real-world riding scenarios. Make sure each cone is stable and securely positioned to maintain consistent spacing and prevent shifting during sessions.
Proper cone placement defines your training area clearly and supports safe, focused practice. By setting safety boundaries with cones, you help riders develop control and confidence within a controlled environment.
Stay precise and intentional throughout the process to optimize learning outcomes. It really makes a difference when you pay attention to the details.
Marking Course Boundaries
When setting up your motorcycle training course, clearly marking the boundaries with brightly colored cones is essential to keep things organized and safe. Use cones spaced evenly to define the training area. You can form a rectangular or circular course layout depending on what works best for you.
Make sure the cones are placed where they’re easy to see from all angles to boost visibility. Adding markings like tape or signs at starting lines, stopping zones, and turning points helps guide riders precisely.
It’s a good idea to regularly check and adjust the cones to keep boundaries clear and avoid any hazards.
This careful setup gives you plenty of space for low-speed maneuvers, turns, and emergency stops. That way, you maximize both safety and training effectiveness.
Design Progressive Riding Drills for Skill Building
Because mastering motorcycle control requires building skills step-by-step, you should design progressive riding drills that start with fundamental maneuvers like clutch control and low-speed turns.
Structure a training sequence that gradually increases difficulty, incorporating riding exercises such as figure eights, U-turns, and cone weaving. These incremental drills support maneuver development and enhance rider confidence by targeting specific skills like braking, steering, and throttle control.
Each drill should build on the last, ensuring smooth shifts and continuous skill building. Include self-assessment and feedback opportunities so riders can identify strengths and areas needing improvement.
Use Videos and Demonstrations to Guide Riders
To guarantee riders grasp each skill effectively, use videos and demonstrations that visually break down techniques step-by-step. Incorporate training videos featuring animations and real rider examples to guide riders through drill setup, execution, and essential safety tips.
Use clear demonstrations of clutch control, head turns, and emergency maneuvers to ensure riders understand and replicate proper techniques during practice.
Videos also help emphasize correct gear usage, safety protocols, and control checks, reinforcing preparation before riding.
Furthermore, include visual examples of common mistakes alongside corrections to help riders identify and improve their skills.
Plan Rider Skill Evaluations and Feedback Sessions
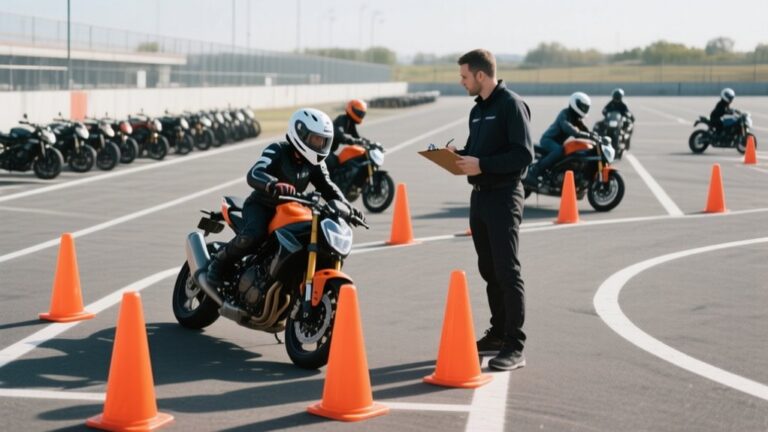
Although mastering motorcycle skills requires consistent practice, you won’t know how effective your training is without regular rider skill evaluations. Schedule skill assessment sessions in controlled practice environments like parking lots to safely test clutch control, turning, and emergency maneuvers.
Use standardized criteria during feedback sessions to pinpoint strengths and areas needing technique correction. Incorporate video recordings for clear visual feedback, boosting rider self-awareness and coach-led critique. Keep feedback constructive, focusing on confidence building and setting personalized goals.
| Evaluation Aspect | Method | Outcome |
|---|---|---|
| Skill Assessment | Controlled practice | Accurate proficiency check |
| Feedback Sessions | Standardized criteria | Targeted improvement focus |
| Video Recordings | Practice environment | Visual technique correction |
Prepare Your Course for Future Growth and Advanced Drills
When you design your motorcycle training course, think ahead about how it can grow and adapt as your riders advance. Prioritize scalability by leaving room for course expansion and integrating modular design elements. This makes it easier to introduce advanced drills and new equipment without overhauling the layout.
Develop a clear curriculum progression that gradually increases difficulty and safety challenges. This helps riders build confidence and skills step-by-step.
Keep things manageable by maintaining robust feedback systems to monitor progress and adjust the course as needed.
Focus on modular stations for versatile, reconfigurable practice zones. Use scalable equipment like adaptable cones and markers to keep things flexible.
And don’t forget documentation to track student growth and identify what your course might need next.
Frequently asked questions
What Is the Ideal Number of Instructors per Number of Riders?
You should aim for one instructor for every four to six riders to keep teaching effective and safe.
If you’re running beginner courses, lower ratios like one instructor for two or three riders work best. Beginners need close supervision and hands-on guidance.
For advanced courses, you can raise the ratio a bit since riders require less individual attention.
Keeping this balance helps you provide personalized feedback and monitor progress efficiently. It’s all about making sure everyone gets the support they need.
How Long Should Each Training Session Typically Last?
Each training session should typically last between 1 to 2 hours. You’ll want to keep sessions around an hour for beginners to maintain focus and avoid fatigue.
For more advanced riders, you can extend sessions up to 2 hours, but be careful not to exceed that. Concentration and skill retention drop after that point.
Always tailor the duration based on skill level and drill intensity to maximize learning and safety. It really depends on what works best for you.
What Is the Best Way to Handle Weather-Related Course Cancellations?
Handling weather-related course cancellations is like steering through fog. You need clear direction. You should monitor forecasts closely and set strict cancellation policies for hazardous conditions like lightning or heavy rain.
Communicate any changes promptly through emails or calls so participants stay informed. Offer flexible makeup sessions or virtual alternatives to keep progress on track.
Always prioritize safety by postponing if weather threatens visibility, traction, or rider comfort. It’s better to be safe than sorry when the conditions aren’t right.
Are There Recommended Certifications for Motorcycle Training Instructors?
Yes, you should pursue certifications like the MSF RiderCoach or an equivalent national credential. These programs require you to complete specialized training, pass practical and knowledge exams, and demonstrate your riding skills.
They also emphasize safety and teaching ability.
Many states mandate these certifications before you can instruct publicly. Staying current with continuing education guarantees you maintain your competence and credibility as a motorcycle training instructor.
It’s definitely worth keeping up with any updates or new requirements that come along.
How Can I Incorporate First Aid Training Into the Course?
You can incorporate first aid training by adding a dedicated module focused on motorcycle-specific injuries. Use realistic scenarios and hands-on practice to teach wound care, CPR, and injury assessment. Include visual aids like videos and demonstrations to boost understanding.
Teach students how to stabilize injured riders and control bleeding safely. This kind of training really helps riders feel more confident in emergencies.
Plus, it makes sure they know what to do if someone gets hurt on the road.
Finally, require first aid certification upon course completion to guarantee every rider is prepared for emergencies. This way, everyone finishes the course with a solid skill set they can rely on.
Final Thought
Setting up your motorcycle training course isn’t just important, it’s absolutely life-changing. With the right location, safety gear, and well-designed drills, you’ll transform riders from nervous beginners into confident pros faster than you ever imagined.
Every cone you place and every skill evaluation you conduct builds not just riders, but future champions of the road. Stay patient and clear in your approach, and watch your course become legendary.
Because excellence isn’t optional, it’s inevitable.